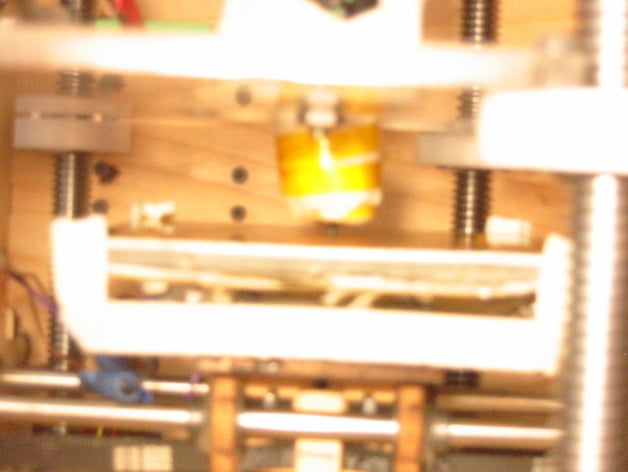
Heated Build Platform (HBP) support bracket/brace
thingiverse
I built my MakerGear ceramic heated build platform and added the provided aluminum plate. To prevent sliding, I taped it down but sought a removable attachment method for potential future changes. Consequently, I devised a design using existing M3 bolts from the platform, extra nuts, and washers to secure everything firmly. This setup has worked well for 10-15 builds. To enhance the contacts' reliability, I wired all connections (except LED light) directly to the ceramic piece under the plate, using epoxy for stability. The provided STL files for left and right brackets, inspired by Catarina Mota's shapes.scad file, should be printed and installed following these steps: 1. Remove HBP from your MakerBot. 2. Take out screws from the mount, keeping track of their original positions. 3. Place one bracket on, securing it with an additional washer and nut on each bolt. Repeat for the other bracket. 4. Level all bolts to ensure a level platform and tighten nuts securely without over-tightening to avoid stripping threaded inserts. 5. Put the platform back on, align everything, and use needle-nose pliers if needed to position the bolts accurately. 6. Heat up and begin building. Considering future improvements, I might try longer M3 bolts (20mm) for additional security but haven't yet due to unavailability.
With this file you will be able to print Heated Build Platform (HBP) support bracket/brace with your 3D printer. Click on the button and save the file on your computer to work, edit or customize your design. You can also find more 3D designs for printers on Heated Build Platform (HBP) support bracket/brace.
