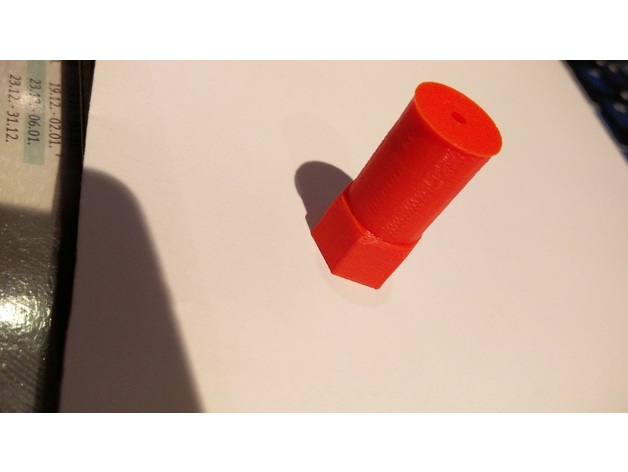
Heatbed leveling screw M3
thingiverse
This handy tool makes leveling your heatbed much easier and more accurate! You'll need a simple M3 nut that fits perfectly inside the printed leveling bolt. To place it, use an approximately 40mm M3 screw, position the nut in front of it, and give it a gentle tap with a hammer while sliding it into the bolt. Then, remove the screw, and your leveling screw is ready for use. I was fed up with breaking my fingers on those tiny wheels. The larger leveling screw is much easier to handle, and you can level your heatbed more precisely. By the way: I'm using a 0.4mm nozzle, so I have to shim it 0.2mm above the heatbed. A simple trick is to use a sheet of paper - fold it in half and place it between the nozzle and the heatbed. Since normal paper is about 0.10mm thick, doubling it up works perfectly! Print Settings: Printer Brand: Ultimaker Printer: Ultimaker 2 Infill: 20%
With this file you will be able to print Heatbed leveling screw M3 with your 3D printer. Click on the button and save the file on your computer to work, edit or customize your design. You can also find more 3D designs for printers on Heatbed leveling screw M3.
