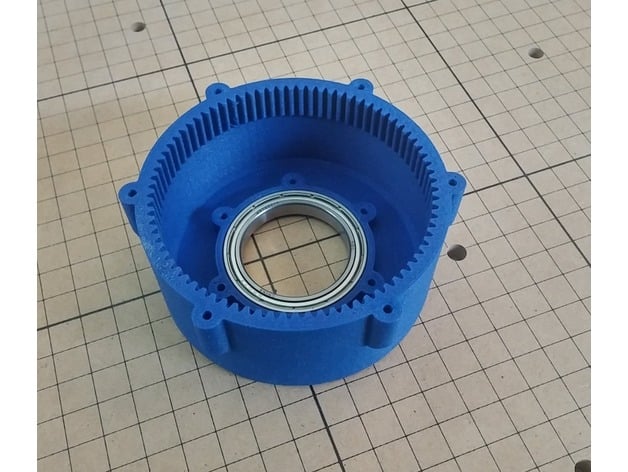
Harmonic Drive
thingiverse
This is a harmonic drive. A harmonic drive is a simple gear reducer that lends itself well to 3D printing. It uses an outer rigid gear and an inner flex spline. The flex spline has fewer teeth (typically two less) than the outer gear. You stretch the flex spline so it engages on opposite sides of the outer gear. The stretching mechanism, called the wave generator, rotates. This causes the flex spline to slowly advance along the outer gear in the opposite direction on the spinning wave generator. The ratio is calculated as: Ratio = (Flex - Outer) / Flex In my case that is (78 - 80) / 78 = -1/39 A good harmonic has zero backlash and is very strong. It holds a large percentage of teeth fully engaged at all times, which is great for things like robot arms during power loss. It also puts less load on servo motors. I used Ninjatek Cheetah filament for the flex spline. The slightly less flexible version of Ninjaflex was sufficient for this application. The required flexing is quite low. The ellipse formed on my unit is about 74mm x 70mm. This design was inspired by other designs, but it's a clean sheet design where I could tweak all settings to get the desired results. I designed the gears in Gearotic, using round spur gears with a 1-tooth-per-millimeter pitch and a 20-degree pressure angle. A STEP model is included in the source files. I plan to put this in a robot arm using a stepper motor that needs serious gearing down. Design Tips It appears to work better if the bottom of the flex spline is stiff. I bolted it to a rigid part to help with this. You want a good bearing on the output, as the flex spline will wobble otherwise. I tried making the flex spline shorter, but it was not as smooth. I'm going to add more bearings to try to hold the material closer to the ideal ellipse, which should make it quieter and have less vibration (as shown in the video). Printing Tips No support is needed on any parts. My Z is typically wrong, so rotate the parts before printing. The Cheetah sticks very well. Use blue tape and no heat. If you use a special surface like PEI, you might not get it off. I tweaked my models for a perfect fit on the bearings and screws. You might need to do some tweaking on your own. The screws tap into the holes, and the bearing press fits. Video Here is a video of it running I think the input is running about 600rpm in the video, and I've had it up to about 40% faster. Steppers don't like to go too fast, but they never stalled. I was using Grbl to run it, and it maxed out on speed. Edit I added a second version of the wave generator. This one uses an elliptical array of ten 5x16x5 bearings. The flex gear runs much smoother with this design. The un-meshed teeth tended to vibrate with the two-bearing version.
With this file you will be able to print Harmonic Drive with your 3D printer. Click on the button and save the file on your computer to work, edit or customize your design. You can also find more 3D designs for printers on Harmonic Drive.
