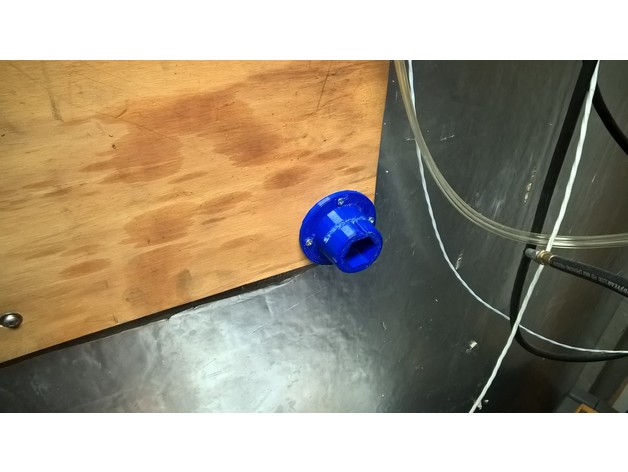
Hardinge lathe chuck holder
thingiverse
I finally got to the point that my collection of chucks overflowed the lathe stand, and it was absolute chaos! I had to find a solution to organize them properly, so I set up custom mounts on a board, and now I can securely attach my Hardinge chucks. These new mounts also keep debris out of the taper, which is a huge plus. The locking mechanism works just like on the original Hardinge: slide it onto the slot, turn it, and you're locked in place. They aren't overly tight, but that's not a problem - the lock pin ensures my chucks stay put. I'm printing these mounts with the WeldingRodBot using the following settings: Printer: WeldingRodBot Rafts: Not necessary Supports: Yes Resolution: Coarse is fine Infill: 30% Notes: I'm using a Volcano nozzle with a 1.2mm diameter, so make sure to use at least two shells for stability. With a standard nozzle, four shells would be the minimum. When printing, ensure that your support system leaves some space between the supports and the walls. This is crucial because you can't taper the lower surfaces; the lock pin needs to interact with them, and it requires a square corner. After printing, remove the supports from the locking slot by cutting along the bottom edge with a saw (I use a drywall saw). When you cut through into the gap, stop. Use a chisel to trim off the supports from the top edge. Finally, clean off any bumps on the tapered surface and run a drill bit through the mounting holes if needed.
With this file you will be able to print Hardinge lathe chuck holder with your 3D printer. Click on the button and save the file on your computer to work, edit or customize your design. You can also find more 3D designs for printers on Hardinge lathe chuck holder.
