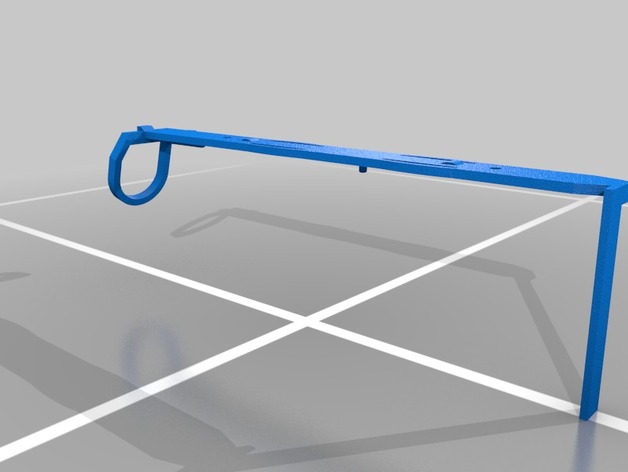
Hard drive mount
thingiverse
Slide in the hard drive, firmly grasping it by the casing. Insert it into the open slot on the motherboard, securing it with screws until they click into place. Once locked in position, lift up and remove the protective cover. Carefully maneuver the metal clip on top of the casing out of its recessed path to expose the wires connected below. Now is the time to attach them according to manufacturer specifications: Connect the black wire from your hard drive directly into an unused 12V line using a crimp-on terminal and secure it tightly with a plastic fastener before threading it through the motherboard standoff's gap at right angles to meet its opposing contact surface above – leaving about half its total length visible from this viewpoint – slide any excessive material away using fingers alone until there are no wrinkles or kinks whatsoever present within. Make sure each connector meets their assigned counterpart exactly one time only; you want complete confidence that power supply will work as intended during normal system operation!
With this file you will be able to print Hard drive mount with your 3D printer. Click on the button and save the file on your computer to work, edit or customize your design. You can also find more 3D designs for printers on Hard drive mount.
