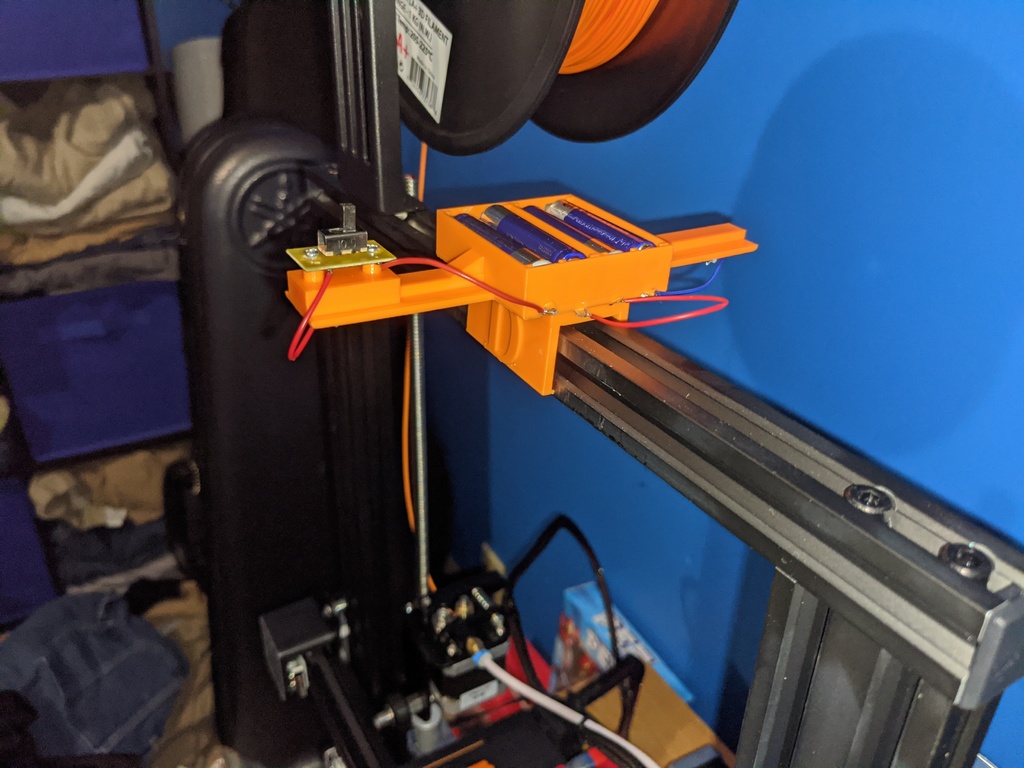
Harbor Freight light switch light kit for Ender 3
thingiverse
I crafted this DIY kit specifically for Creality printers, making it an easy and affordable solution. All you need is a 3D printer and a light switch light from Harbor Freight. Link to the required light: https://www.amazon.com/Lumens-Bright-Harbor-Freight-64189-63922/dp/B07D5JCBW4/ref=sr_1_6?dchild=1&keywords=harbor+freight+switch&qid=1586535644&sr=8-6 This light is intended for temporary use only, so make sure to switch it off when not in use. To assemble this kit, you'll need the components from the light switch and some leftover PLA to secure the light. You'll also require a screwdriver, soldering iron, solder, and 4 AAA batteries that come with the light. Feel free to update my design as I'm just an amateur designer. Here's how to build this kit: 1. Disassemble the light switch and save the screws. 2. Carefully desolder the wires from the battery leads, taking photos before disassembly for future reference. 3. Attach the battery leads to the print and resolder the wires according to the configuration shown in the image below. 4. Use discarded PLA to attach the light bars to the print, as demonstrated in the picture below. 5. Enjoy your new DIY kit! This kit is compatible with any Creality printer that has a top rail similar to the Ender 3.
With this file you will be able to print Harbor Freight light switch light kit for Ender 3 with your 3D printer. Click on the button and save the file on your computer to work, edit or customize your design. You can also find more 3D designs for printers on Harbor Freight light switch light kit for Ender 3 .
