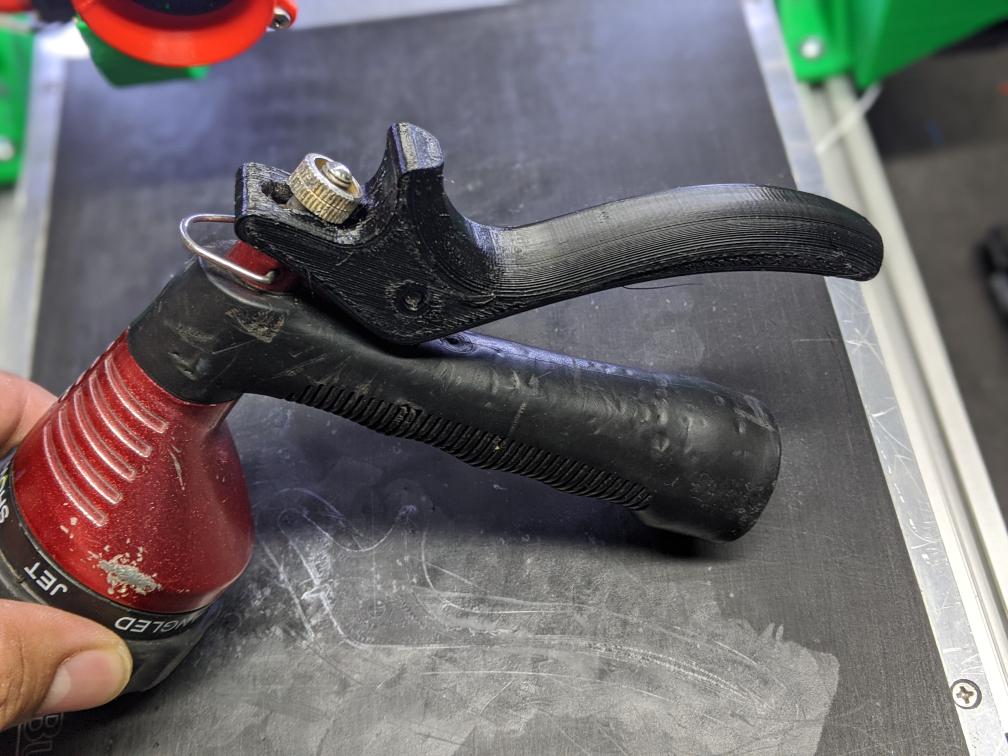
Harbor Freight Garden Hose Nozzle Handle
thingiverse
You're looking to replace the handle on your Harbor Freight garden hose gun? Don't worry, it's a straightforward process that requires some basic tools and know-how. Here's how you can do it: First, turn off the water supply to the hose by locating the shut-off valve and turning it clockwise. This will prevent any accidental water spraying while you work. Next, remove the old handle from the gun by unscrewing the two screws that hold it in place. These screws are usually located on either side of the handle, near the base of the gun. Once the screws are removed, gently pull the old handle straight off the gun. Be careful not to touch any of the internal mechanisms or you may damage them. Now it's time to install the new handle. Take the replacement handle and align it with the gun's mounting points. Make sure it's securely seated before moving on to the next step. Take one of the screws from the old handle and screw it into the new handle, making sure it's tightened firmly. Then do the same for the second screw. Turn the water supply back on and test the gun by spraying some water through it. If everything is working properly, you should be able to control the spray pattern with ease. That's it! With these simple steps, you've successfully replaced the handle on your Harbor Freight garden hose gun.
With this file you will be able to print Harbor Freight Garden Hose Nozzle Handle with your 3D printer. Click on the button and save the file on your computer to work, edit or customize your design. You can also find more 3D designs for printers on Harbor Freight Garden Hose Nozzle Handle.
