Hanging Void
prusaprinters
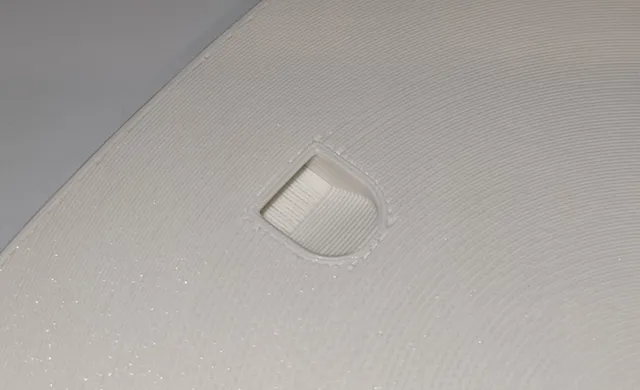
WhyI have been experimenting with wall mounted pieces and got frustrated by having to model a negative space in a complex model to allow for a wall mounting options over and over.Then I realized that I could model the void as a separate object and then add it to any other model in PrusaSlicer as a negative volume. Reducing effort over time and standardizing along the way.The model can also be resized independently to suit various model requirements.The void is small enough in its basic form that printing supports should not be needed. (As shown in the print photo)HowDesign or download your chosen model as you normally would.Load the model STL or 3MF into PrusaSlicer.Right click your model and choose to add negative volume, load from existing model.Select the void.stl.Select the void object and drop it to the print bed. Resize it as required.Optional - Add a density modifier to strengthen the area around the void if your chosen model infill density is low.Move the void (and density modifier if chosen) into your model and position it as desired.Slice the model and inspect the resulting gcode.Print and hang your model.Never have to worry about having to model such a void in any future designs!
With this file you will be able to print Hanging Void with your 3D printer. Click on the button and save the file on your computer to work, edit or customize your design. You can also find more 3D designs for printers on Hanging Void.
