Hanging Bedside Lamp
prusaprinters
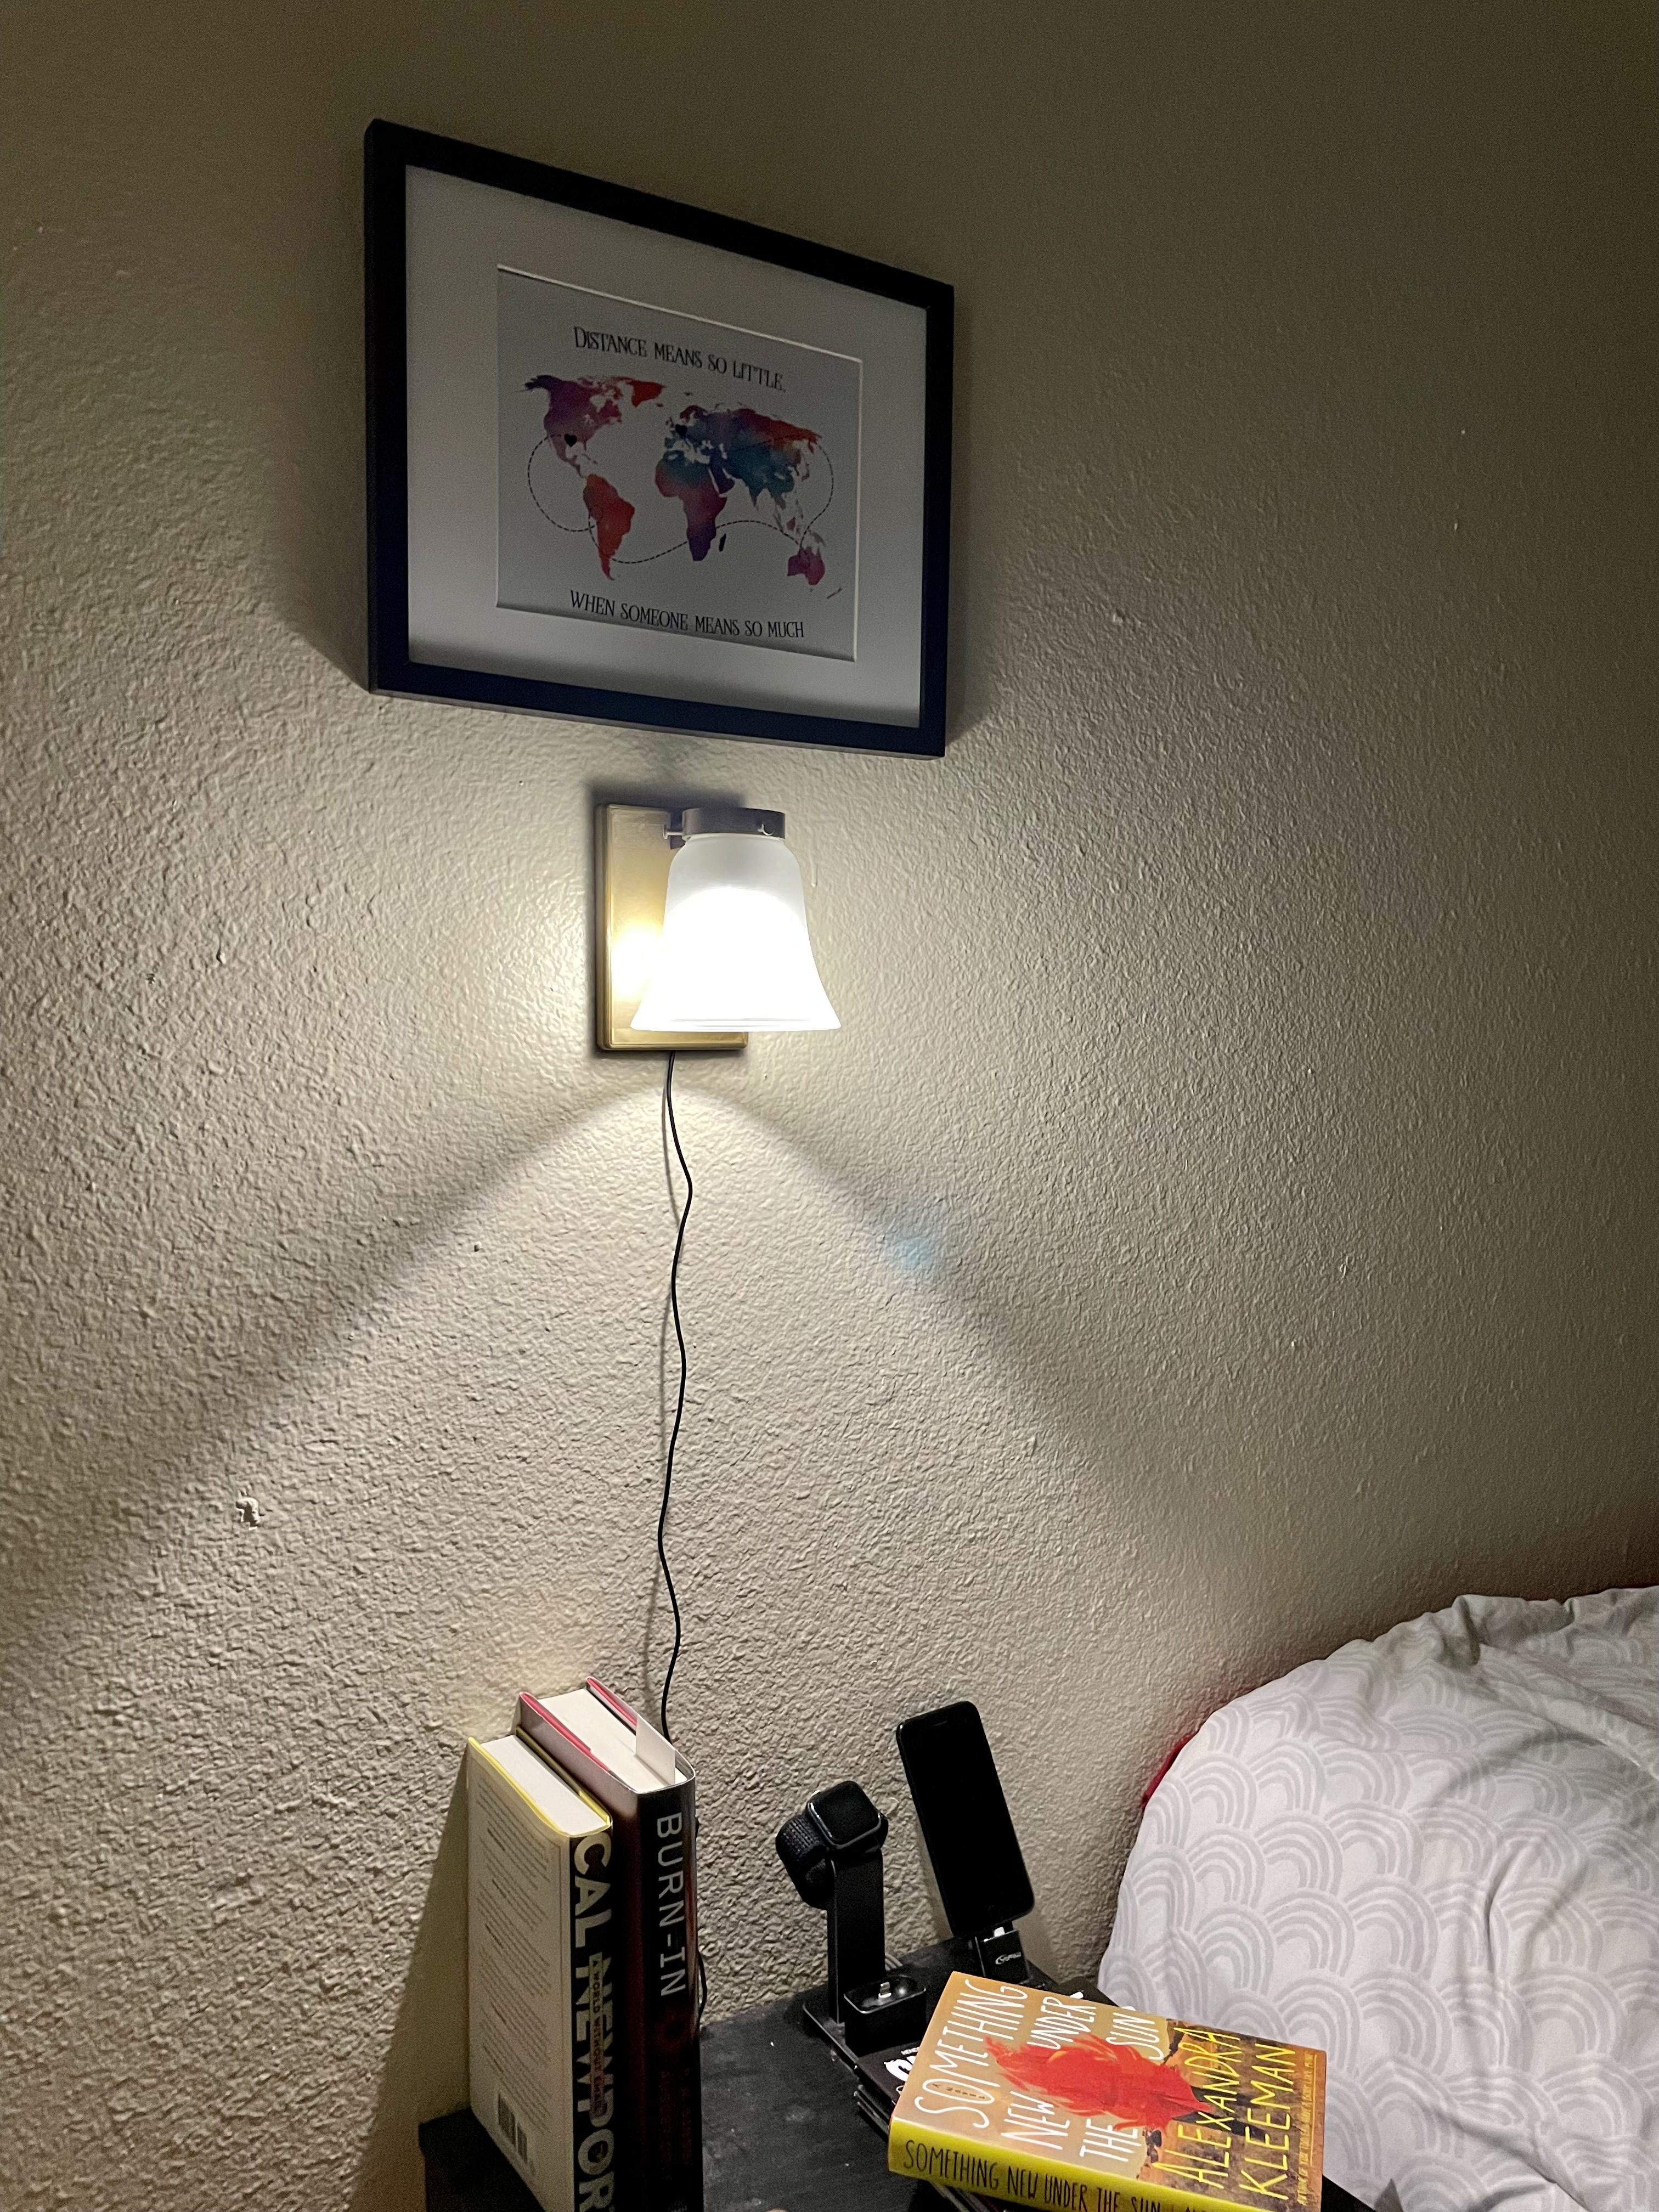
<p>The lamp shades have an outside connection diameter of 55 mm and use 3 screws ~M4x12 to hold the shade in place. This is fairly common so other shades could be used as well. </p><p>The fixture is designed to fit a <a href="https://www.toolmoon.com">Toolmoon tBulb 2 Model S</a> lamp. These are great 1W LED dimmable bulbs that are powered over a 5V USB charger. I learned about them from some of <a href="https://www.prusaprinters.org/social/533-bugman_140/prints">Bugman's</a> projects.</p><p>The plate and lamp shade holder must be printed and then assembled with the glue of your choice. I prefer <a href="https://www.micromark.com/SAME-STUFF-APPLICATOR">Same Stuff</a>. Depending on your print tolerances, it may be necessary to add a small amount of glue to hold the threaded connector bushing (dia. 22 mm x 7 mm) from the tBulb in place. Run the power cable through the hole in the back of the plate and down the shaft of the shade holder. It's tight so needle-nose pliers may help to pull it through. Connect the bulb and screw into the bushing.</p><p>Attach your recycled lamp shade and screws then mount the assembly to the wall using an anchor (preferably #8 or metric equivalent).</p>
With this file you will be able to print Hanging Bedside Lamp with your 3D printer. Click on the button and save the file on your computer to work, edit or customize your design. You can also find more 3D designs for printers on Hanging Bedside Lamp.