Hands Free Oreo Dispenser
prusaprinters
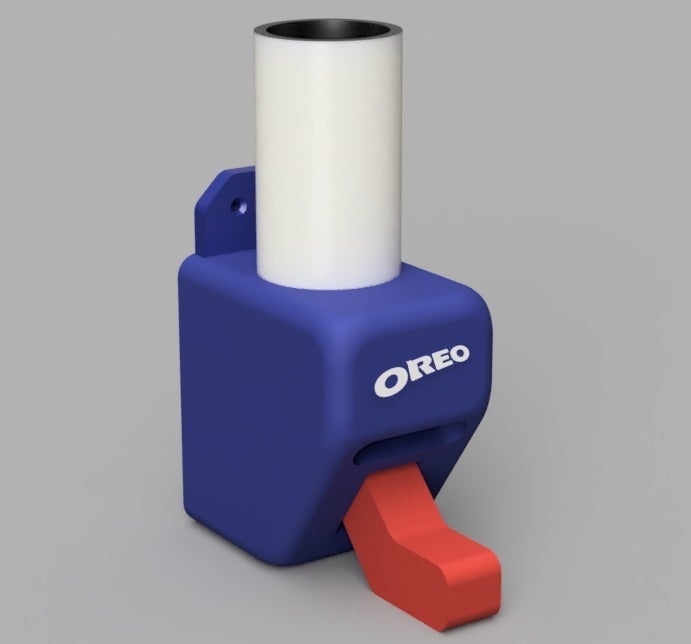
<p>This is my best attempt at making <a href="https://www.youtube.com/channel/UCbU6yTk6NzZSKuBEl0PhABQ">The Practical Engineer</a>'s hands free oreo dispenser.</p> <p>Please check out his <a href="https://www.youtube.com/watch?v=XjogNT3YSWo">video</a> and <a href="https://thepracticalengineer.com/blog/oreodispenser">blog post</a> relating to the build to get a better idea of how it works.</p> <p>Designed in Fusion 360 from <a href="https://secure.squarespace.com/checkout?cartId=dg0mLK90u9WVhQ26pgWzM08nEeFnwWtrdR4pHeMs">purchased plans</a> from The Practical Engineer's website.</p> <p>It is recommended to print case and lever on side with supports, and back on ... well the back.</p> <p><strong>How to assemble:</strong><br/> It is pretty straight forward once you have all pieces printed.</p> <p>I recommend getting the assorted <a href="https://www.harborfreight.com/347-piece-nut-and-bolt-assortment-67621.html">screw</a> and <a href="https://www.harborfreight.com/200-piece-assorted-spring-set-67562.html">spring</a> sets from Harbor Freight</p> <p><em>Note: This case prints for use with the<strong>Double Stuff</strong> sized Oreos (if you're going hands free with your Oreos it might as well be double stuff eh?),<br/> There is a spacer that slides on the shelf from the back for use with Standard size Oreos.<br/> This spacer should be added before the back is attached to the case.</em></p> <p>1) Lever attaches to back between slats and hinges on a single (1) Bolt from hole toward bottom.</p> <p>2) (4) - Small screws and (2) - springs are used in the remaining holes to give the lever tension to the back. (holes are a bit tight by design, so threads will cut in to plastic)</p> <p>3) Once the back and lever are assembled, they simply screw into the case in the 4 holes provided.</p> <p>4) Add a 2" PVC or whatever piping of your choosing to the top and load it up!</p> <p>Happy (binge) Snacking!</p> <h3>Print instructions</h3><h3>Category: Gadgets Summary</h3> <p>This is my best attempt at making <a href="https://www.youtube.com/channel/UCbU6yTk6NzZSKuBEl0PhABQ">The Practical Engineer</a>'s hands free oreo dispenser.</p> <p>Please check out his <a href="https://www.youtube.com/watch?v=XjogNT3YSWo">video</a> and <a href="https://thepracticalengineer.com/blog/oreodispenser">blog post</a> relating to the build to get a better idea of how it works.</p> <p>Designed in Fusion 360 from <a href="https://secure.squarespace.com/checkout?cartId=dg0mLK90u9WVhQ26pgWzM08nEeFnwWtrdR4pHeMs">purchased plans</a> from The Practical Engineer's website.</p> <p>It is recommended to print case and lever on side with supports, and back on ... well the back.</p> <p><strong>How to assemble:</strong><br/> It is pretty straight forward once you have all pieces printed.</p> <p>I recommend getting the assorted <a href="https://www.harborfreight.com/347-piece-nut-and-bolt-assortment-67621.html">screw</a> and <a href="https://www.harborfreight.com/200-piece-assorted-spring-set-67562.html">spring</a> sets from Harbor Freight</p> <p><em>Note: This case prints for use with the<strong>Double Stuff</strong> sized Oreos (if you're going hands free with your Oreos it might as well be double stuff eh?),<br/> There is a spacer that slides on the shelf from the back for use with Standard size Oreos.<br/> This spacer should be added before the back is attached to the case.</em></p> <p>1) Lever attaches to back between slats and hinges on a single (1) Bolt from hole toward bottom.</p> <p>2) (4) - Small screws and (2) - springs are used in the remaining holes to give the lever tension to the back. (holes are a bit tight by design, so threads will cut in to plastic)</p> <p>3) Once the back and lever are assembled, they simply screw into the case in the 4 holes provided.</p> <p>4) Add a 2" PVC or whatever piping of your choosing to the top and load it up!</p> <p>Happy (binge) Snacking!</p> <h3> Print Settings</h3> <p><strong>Printer:</strong> Monoprice Maker Select Plus</p> <p><strong>Rafts:</strong> Doesn't Matter</p> <p><strong>Supports:</strong> Yes</p> <p><strong>Resolution:</strong> .1 - .2</p> <p><strong>Infill:</strong> 30%</p>
With this file you will be able to print Hands Free Oreo Dispenser with your 3D printer. Click on the button and save the file on your computer to work, edit or customize your design. You can also find more 3D designs for printers on Hands Free Oreo Dispenser.