handgun mount
myminifactory
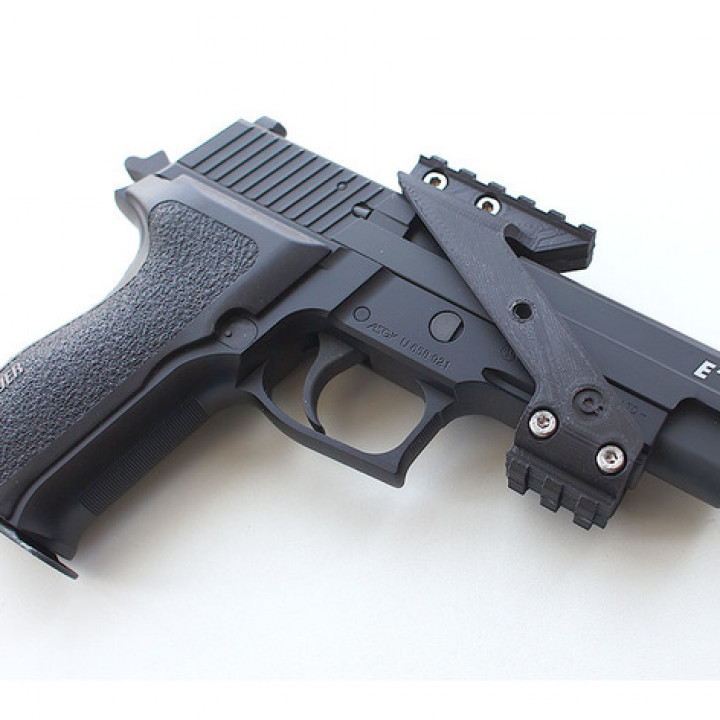
Mounting a Red Dot Sight and Light on Your Handgun: A Step-by-Step Guide Ensuring your handgun is equipped with a high-quality red dot sight and light can significantly enhance its performance and accuracy. This guide will walk you through the process of mounting these essential accessories. Gather Your Tools and Materials To begin, gather all necessary tools and materials, including: A handgun mount specifically designed for your firearm A red dot sight A flashlight or light module Any additional hardware or adapters required for your specific setup Choose a Mounting Location Determine the most suitable location for mounting your red dot sight. Typically, this is on top of the handgun's slide or on the frame. Select a Red Dot Sight When selecting a red dot sight, consider factors such as size, weight, and power source. Some popular options include battery-powered sights and those that use fiber optics or lasers. Install the Mounting Hardware Carefully install the mounting hardware onto your handgun, ensuring it is securely attached to prevent any movement during use. Mount the Red Dot Sight Securely mount the red dot sight onto the mounting hardware, aligning its reticle with the firearm's barrel. Make sure the sight is properly zeroed and adjusted for optimal performance. Add a Light Module Attach a light module to your handgun, either on top of the slide or frame, depending on your chosen configuration. Ensure the light is securely attached and aligned correctly. Complete Any Additional Adjustments Double-check all connections and adjust any settings as needed to achieve perfect alignment and functionality.
With this file you will be able to print handgun mount with your 3D printer. Click on the button and save the file on your computer to work, edit or customize your design. You can also find more 3D designs for printers on handgun mount.