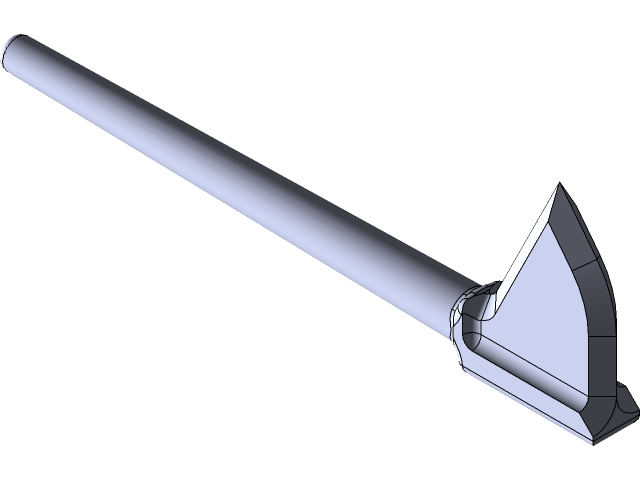
hammer
grabcad
Creating a Basic Hammer Design in SolidWorks To begin creating a basic hammer design in SolidWorks, start by launching the software and clicking on the "New" button to create a new part file. Next, select the "Part" template from the available options and click "OK." The first step in designing a hammer is to define its overall shape. Using the "Extruded Boss/Base" feature, sketch out the basic shape of the hammer head, which should be roughly cylindrical in shape. To add some detail, create a series of radial lines on the face of the hammer using the "Sketch" tool. Moving on to the handle, use the same "Extruded Boss/Base" feature to define its overall length and diameter. The handle should be slightly thicker at the grip end than at the other end. To add some detail to the handle, create a series of lines that run along its length using the "Sketch" tool. These lines will give the handle a textured look. Next, use the "Revolve" feature to create the hammer's striking surface. This feature allows you to define the shape of a 2D sketch and then revolve it around an axis to create a 3D shape. Finally, add some detail to the striking surface by creating a series of radial lines using the "Sketch" tool. These lines will give the striking surface a textured look. Once all of these features have been added, use the "Fillet" feature to round off any sharp edges on the hammer. This will give it a more polished look. The final step is to add some material properties to the hammer design. To do this, click on the "Materials" tab in the top toolbar and select a suitable material from the available options. Then, click on the "Save As" button to save your design as a SolidWorks part file.
With this file you will be able to print hammer with your 3D printer. Click on the button and save the file on your computer to work, edit or customize your design. You can also find more 3D designs for printers on hammer.
