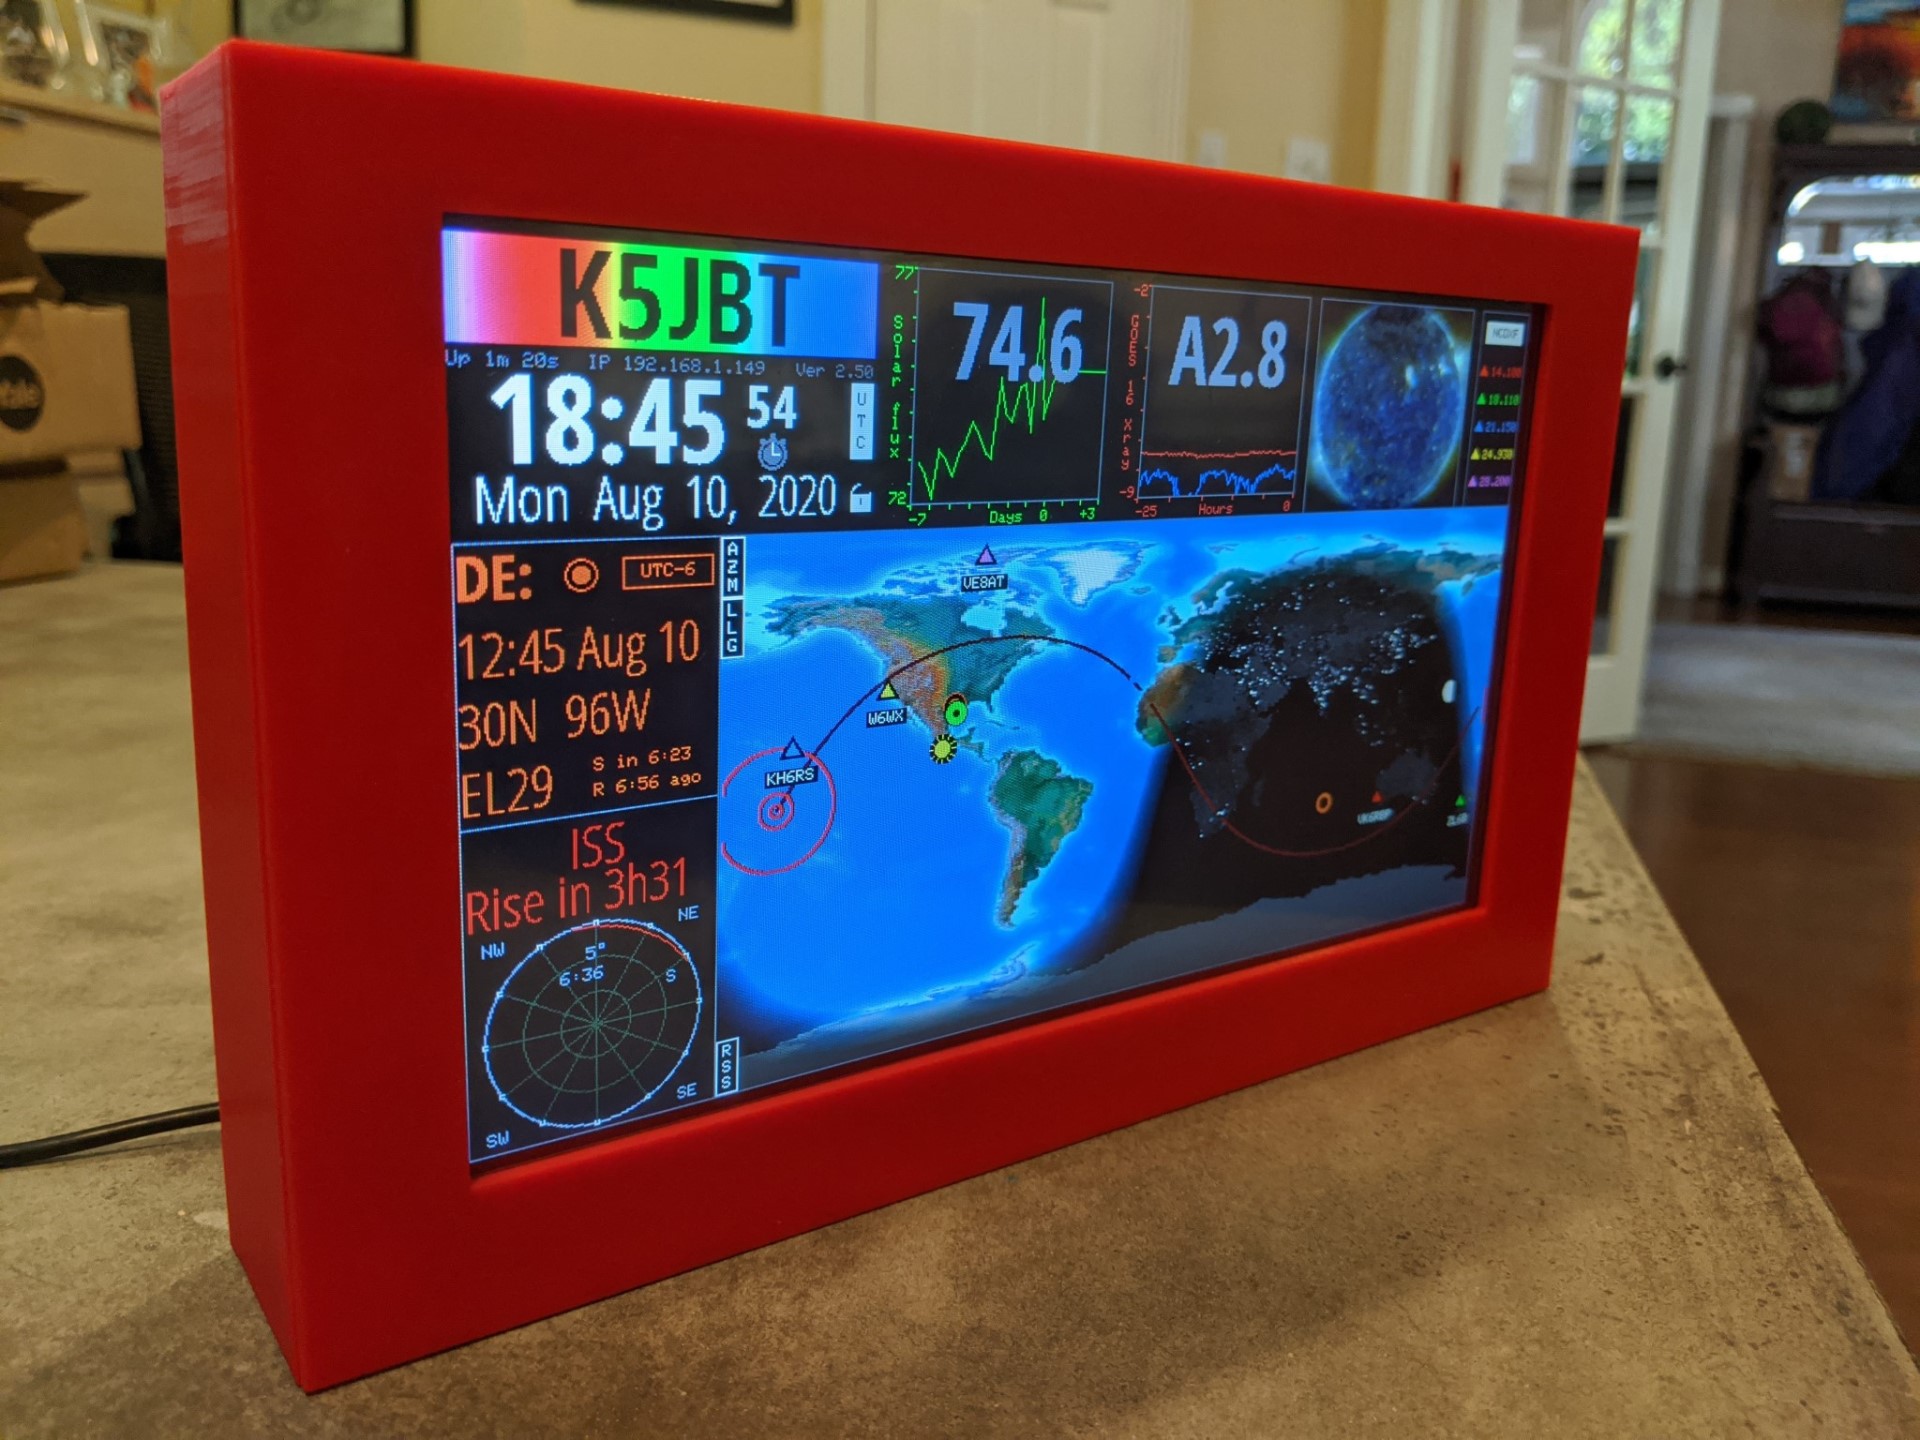
HamClock Case
prusaprinters
<p>This is a case for the <a href="https://www.clearskyinstitute.com/ham/HamClock/">HamClock</a> from WB0OEW, as described on his web site. It is designed to house the <a href="https://learn.adafruit.com/adafruit-feather-huzzah-esp8266">Adafruit Feather Huzzah ESP8266</a>, and the <a href="http://www.buydisplay.com/default/9-inch-lcd-module-tft-display-w-touch-panel-i2c-serial-spi-arduino">9" LCD from BuyDisplay</a>.</p> <p>If you enjoy my projects, please consider <a href="https://ko-fi.com/grajohnt">buying me a coffee!</a></p> <h3>Print instructions</h3><h3>Printing</h3> <p>These will just barely fit on a Prusa i3 bed - print @ .2mm height with no support. Warping could be an issue on these parts, so a thin smear of PVA glue is a good idea for PLA prints.</p> <h3>Assembly</h3> <ul> <li>Wire up the Huzzah to the LCD display as described on the HamClock website. Note that it's not required to make <em>all</em> the connections to USB power and ground, one of each is sufficent (I used pins 38 and 40). The case has enough space to fit standard Dupont jumper wires, so you can use those for a solder-free experience.</li> <li>Attach the Adafruit Huzzah upside down (as pictured) to the bottom right of the case with two M2.5 screws. This places the USB power connection next to the hole in the case. </li> <li>Place the LCD screen so the mounting holes line up on the screw pillars and attach with 4-5 M3 screws.</li> <li>The front bezel snaps in place - orientation is important due to the asymmetry of the LCD!</li> </ul>
With this file you will be able to print HamClock Case with your 3D printer. Click on the button and save the file on your computer to work, edit or customize your design. You can also find more 3D designs for printers on HamClock Case.
