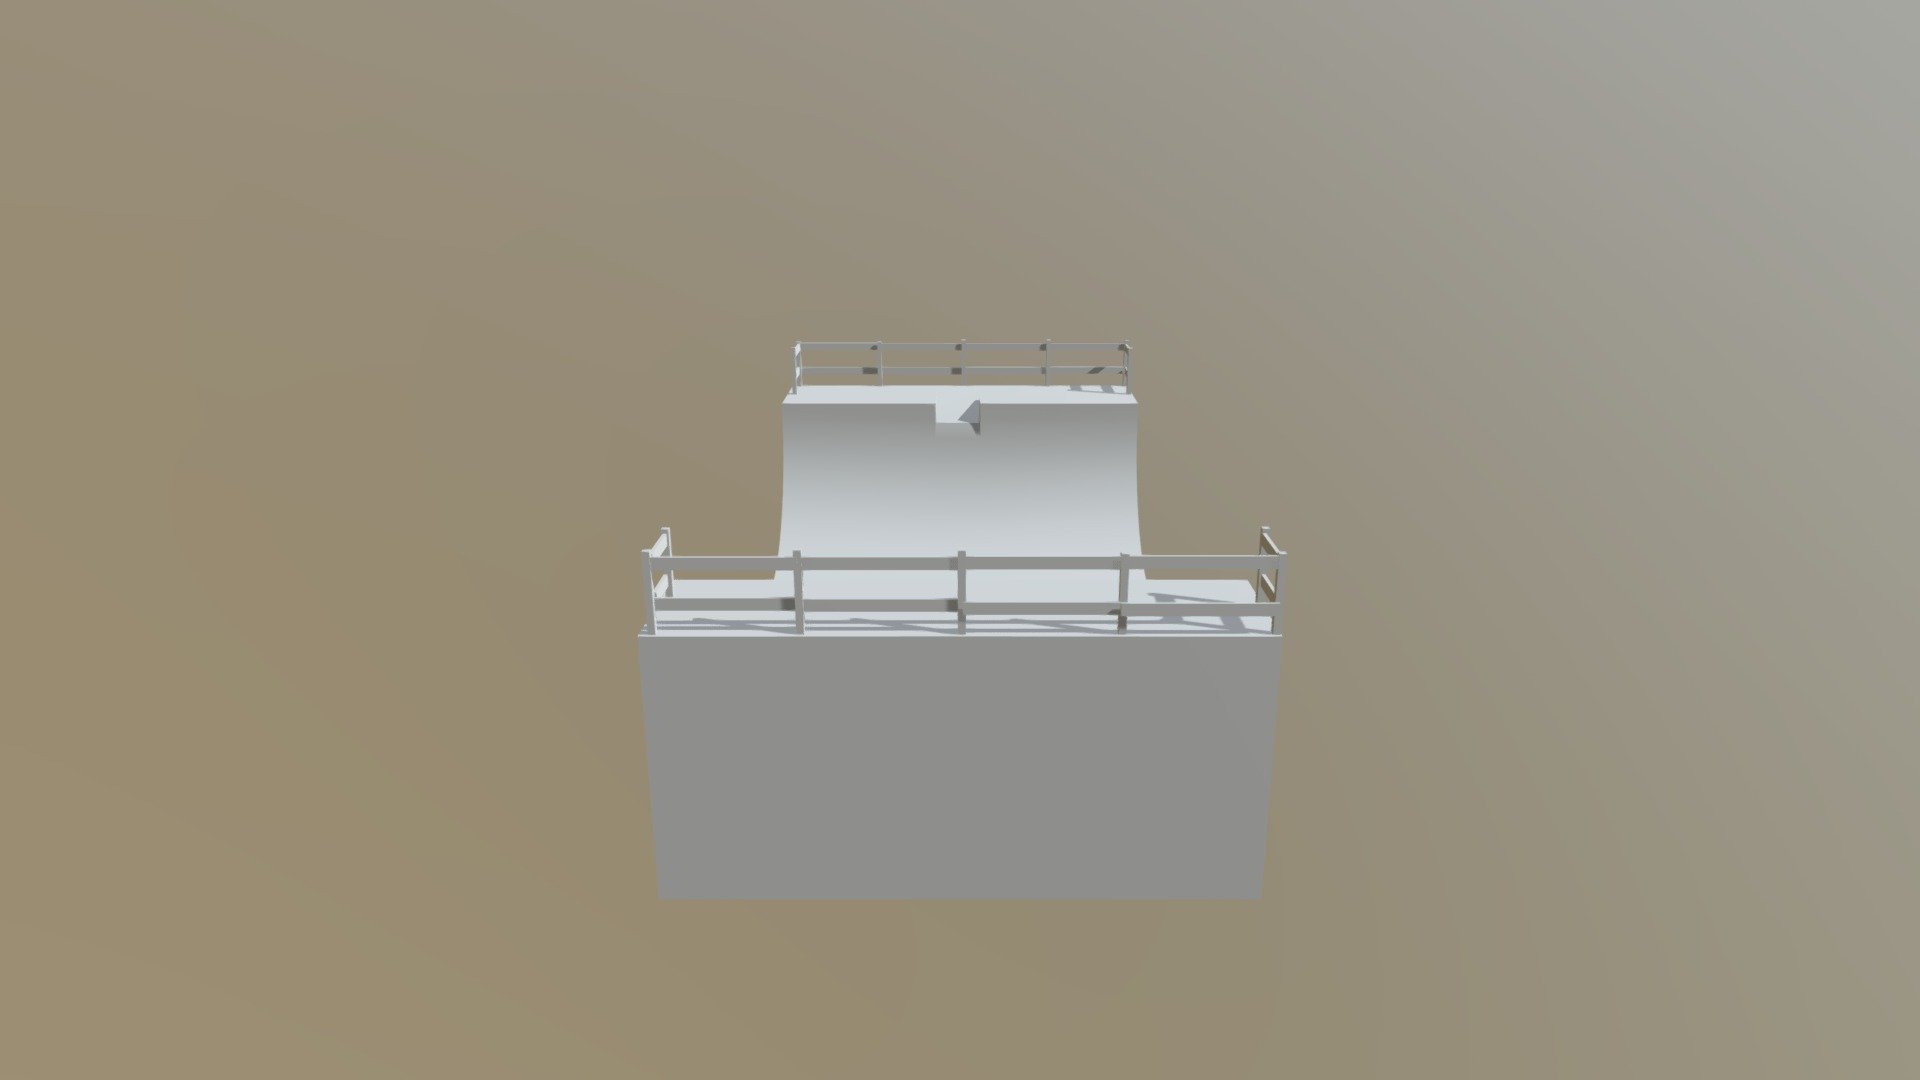
Half Pipe Build
sketchfab
Building a half pipe is a challenging but rewarding project that requires careful planning and execution. To start, determine the size of your half pipe based on the space available and the type of tricks you plan to perform. Next, mark out the shape of the pipe using stakes and string or rope, ensuring it is symmetrical and evenly proportioned. Then, dig a trench for the pipe, about 2-3 feet deep and 1 foot wide, depending on the height of your pipe. Cut four boards to size: two for the sides, one for the bottom, and one for the top. Assemble the frame by screwing the sides together with the bottom board in place, ensuring it is level and secure. Attach the top board to the frame, overlapping the edges by about 1 inch. Cover the entire structure with a layer of plywood or oriented strand board (OSB) to create the surface. To finish the pipe, install a coping at the top, which will prevent riders from falling off when performing aerials. Finally, add some safety features like handrails and padding to protect users in case of falls.
With this file you will be able to print Half Pipe Build with your 3D printer. Click on the button and save the file on your computer to work, edit or customize your design. You can also find more 3D designs for printers on Half Pipe Build.
