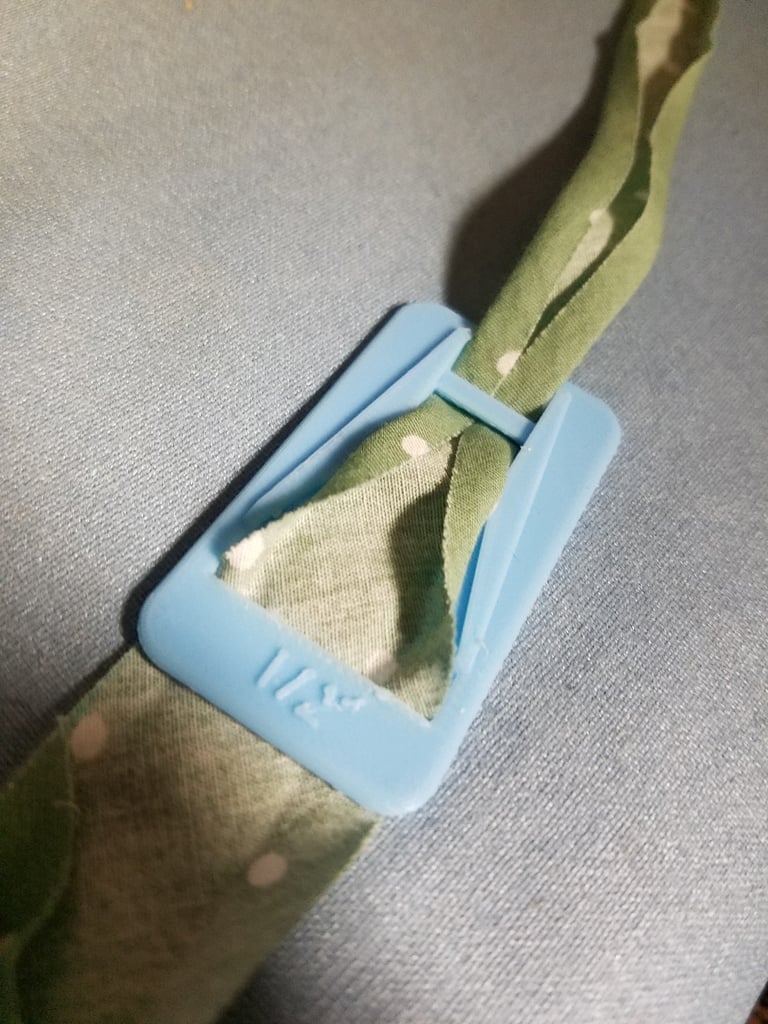
Half inch bias tape maker
thingiverse
I'm creating a basic half-inch bias tape maker based on the tutorial at stitch-n-smile.com. It's a simplified design compared to the original creator's inspiration. To make one of these makers, start by cutting two identical pieces from a thin piece of plastic or cardstock. The exact size isn't crucial, but they should be roughly 1/4 inch thick and about an inch wide. Next, bend both pieces into identical curved shapes, making sure the edges align perfectly. This is where you want to focus on precision, as it will affect how well the tape feeds through the maker later on. Using a ruler or straightedge, draw a line down the center of each piece, making sure they're symmetrical. Cut along this line to create two identical halves. Now it's time to assemble your bias tape maker. Take one half and place it onto a flat surface with the curved side facing upwards. Place the second half on top, aligning the edges carefully. Using a small amount of glue or adhesive, attach the two pieces together, making sure they're securely bonded. Allow the glue to dry completely before moving on to the next step. With your bias tape maker now assembled, you can start creating bias tape. To do this, simply feed a piece of fabric through the machine and use the curved edge to create a continuous strip of tape. The finished product should look like a half-inch wide strip of fabric with a smooth, even edge. You can use it for various sewing projects, such as making hemlines or binding seams.
With this file you will be able to print Half inch bias tape maker with your 3D printer. Click on the button and save the file on your computer to work, edit or customize your design. You can also find more 3D designs for printers on Half inch bias tape maker.
