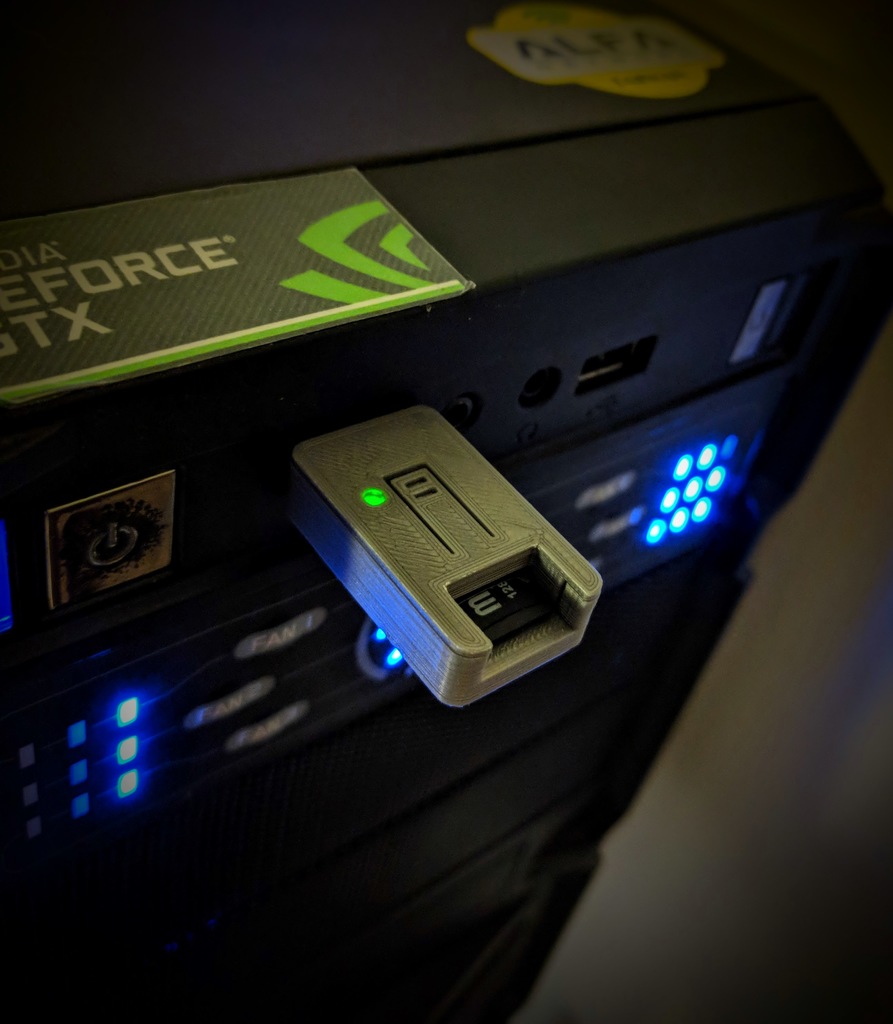
Hak5 USB rubber ducky case
thingiverse
This is a perfect scenario for the Hak5 USB rubber ducky. It features an accessible hole for the status LED and a convenient lever to activate the rubber ducky button. You will find eight files, requiring you to print one base and one top. The "top" file includes a hole for easy insertion and removal of the microSD card with your bare hands. Alternatively, you can use "top_2," which does not have a hole, necessitating the use of kapton tape to facilitate its removal. If you're working on stealth bases, consider using "top_stealth," which features both an LED hole and button. If you prefer a more discreet option without an LED hole, choose "top_stealth_no_led." For a stealth design with no button, select "top_stealth_no_led_button." The "base" file comes engraved with GDATA, while the "base_black" file has no engravings. If you're building a stealth base, use "base_stealth," which lacks a microSD hole. To assemble the rubber ducky case, follow these simple steps: Place your Rubber Ducky in the base and press the top into position, using a press fit mount that makes assembly effortless. That's it!
With this file you will be able to print Hak5 USB rubber ducky case with your 3D printer. Click on the button and save the file on your computer to work, edit or customize your design. You can also find more 3D designs for printers on Hak5 USB rubber ducky case.
