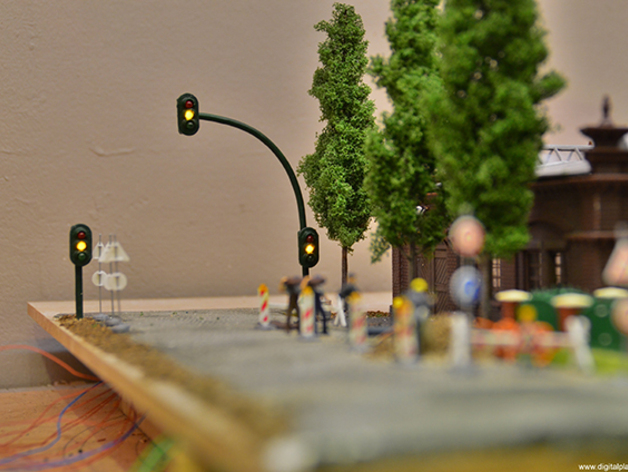
H0-scale (1:87) real working traffic lights for model railroad
thingiverse
Print both front and backplates for the traffic light. Drill a small hole in the backplate so you can pass three thin wires through it. Place a red, yellow, and green 3mm LED in the frontplate and solder it to the LEDs' cathodes. Use a small brass tube as a pole for the lights and bend it accordingly. Drill a small hole in the tube where you'll glue the backplate to the tube. Connect all three anodes of the LEDs together and solder them with a small wire to the brass tube. Run the three wires through the pole, which will act as positive for the fourth wire. Mill or etch the PCB. You can find the EagleCAD schematic and BRD files for the traffic light controller inside the zip, along with the HEX file to program the Microchip PIC IC. The PicBasic sources are also included, in case your country uses a different "light-scenario" for traffic lights. The included light-scenario is for Belgian traffic lights. System operates on 5V power. The socket shown in the second picture has a built-in 5V power supply.
With this file you will be able to print H0-scale (1:87) real working traffic lights for model railroad with your 3D printer. Click on the button and save the file on your computer to work, edit or customize your design. You can also find more 3D designs for printers on H0-scale (1:87) real working traffic lights for model railroad.
