Guitar string tie
thingiverse
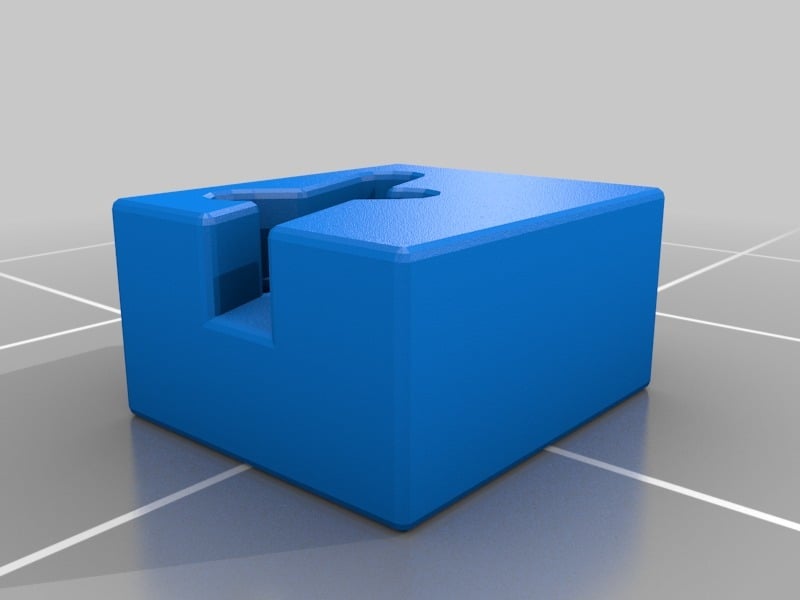
Acoustic guitar or ukulele nylon strings are typically secured by tying them around the bridge behind the saddle, with string tension holding them in place. To create such a tie, no special instrument is required; it's not a complex process, but some practice is needed to get it right. There are some drawbacks to this traditional method of securing a string: * If left unattended, string ends can scratch the soundboard or your hand. * The extra length of the string loop contributes to the string settling time. * Under-the-bridge pickups receive less pressure than they could. There are alternative methods to this traditional approach: * Tie a knot on the end. * Use a glass or plastic bead. * Employ a specialized "string-tie" bead. The idea behind string-tie beads is appealing - beads remain consistent across all strings, and they're easy to tie in (the string simply passes through the bead several times). Here's my take on string-tie beads: I've considered the following factors: * A low profile of 4mm. * The strings aren't compressed between the bead and the bridge. * The large flat area of contact with the bridge helps distribute pressure. * The tie self-adjusts under normal string tension. * String ends do not protrude from the bead. * They're printable without support, requiring no post-processing. I've used these on my ukulele, and I'm pleased with them. Guitar bass strings would likely require some model adjustments for bass strings. The tie has two sides: * The bridge side features a central hole alone. * The outer side boasts a depression connecting all holes. To secure the string (assuming you hold the bead so that you're viewing its outer side): * Pass the string through the central hole from the bridge side to the outer side. * Leaving some slack on the outer side (about 1/2 inch), insert the string into the corner hole (the one connected to the central hole by a straight depression). * On the bridge side, pass the string along the depression and through the other hole. * On the outer side, pass the string under the earlier-created slack to the side and out. * Cut the string at the depression exit.
With this file you will be able to print Guitar string tie with your 3D printer. Click on the button and save the file on your computer to work, edit or customize your design. You can also find more 3D designs for printers on Guitar string tie.