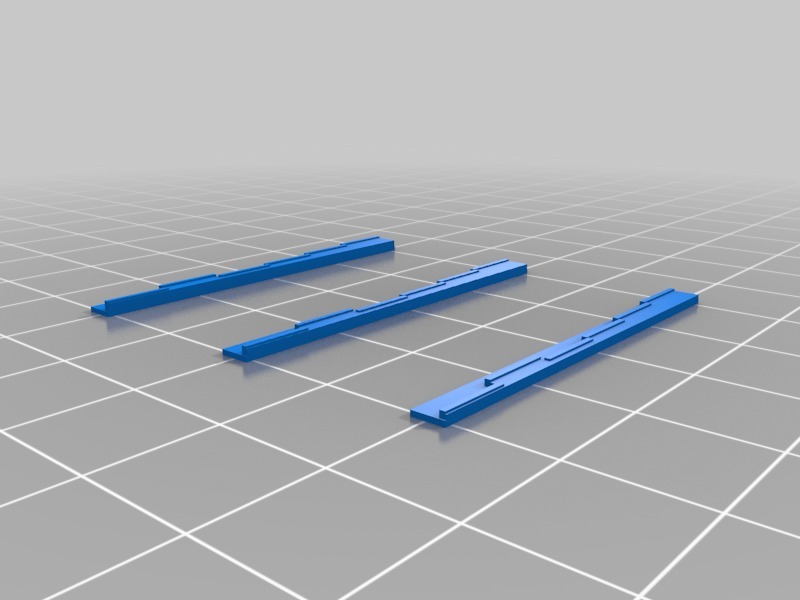
Guitar nut compensation
thingiverse
Set action + fret height and compensation values in file to ensure proper fitment under the strings at the nut. The strings must lay flat on this compensation for it to work properly. Print the middle one first; it should be the correct one - although it depends on your action and printer settings, all three are essentially the same with only a difference in layer height. Before utilizing this: - Optionally set octaves at the saddle, particularly beneficial for luthier work on acoustic guitars. On my guitar, the third string compensation goes in the opposite direction of premade saddles' compensation. - Set the truss rod and action according to established guidelines (https://www.instructables.com/id/Acoustic-Guitar-Setup/, http://www.frets.com/FretsPages/Musician/GenSetup/NutAction/nutaction.html). Tune your guitar, then proceed with each string: - Fret the string at the first fret and utilize a tuner (clip, built-in, or Guitar Tuna app). - If the string sounds too sharp, add 0.1-0.2 mm to the compensation. - If it sounds too deep, subtract -0.1 to -0.2 mm from the compensation. - Correct the compensation value in SCAD and move on to the next string. Print again with the corrected values and repeat the process; you'll likely need 3-4 loops of adjusting compensations. P.S. There's a mistake in the customizer: Action should be set to 1.3.
With this file you will be able to print Guitar nut compensation with your 3D printer. Click on the button and save the file on your computer to work, edit or customize your design. You can also find more 3D designs for printers on Guitar nut compensation.
