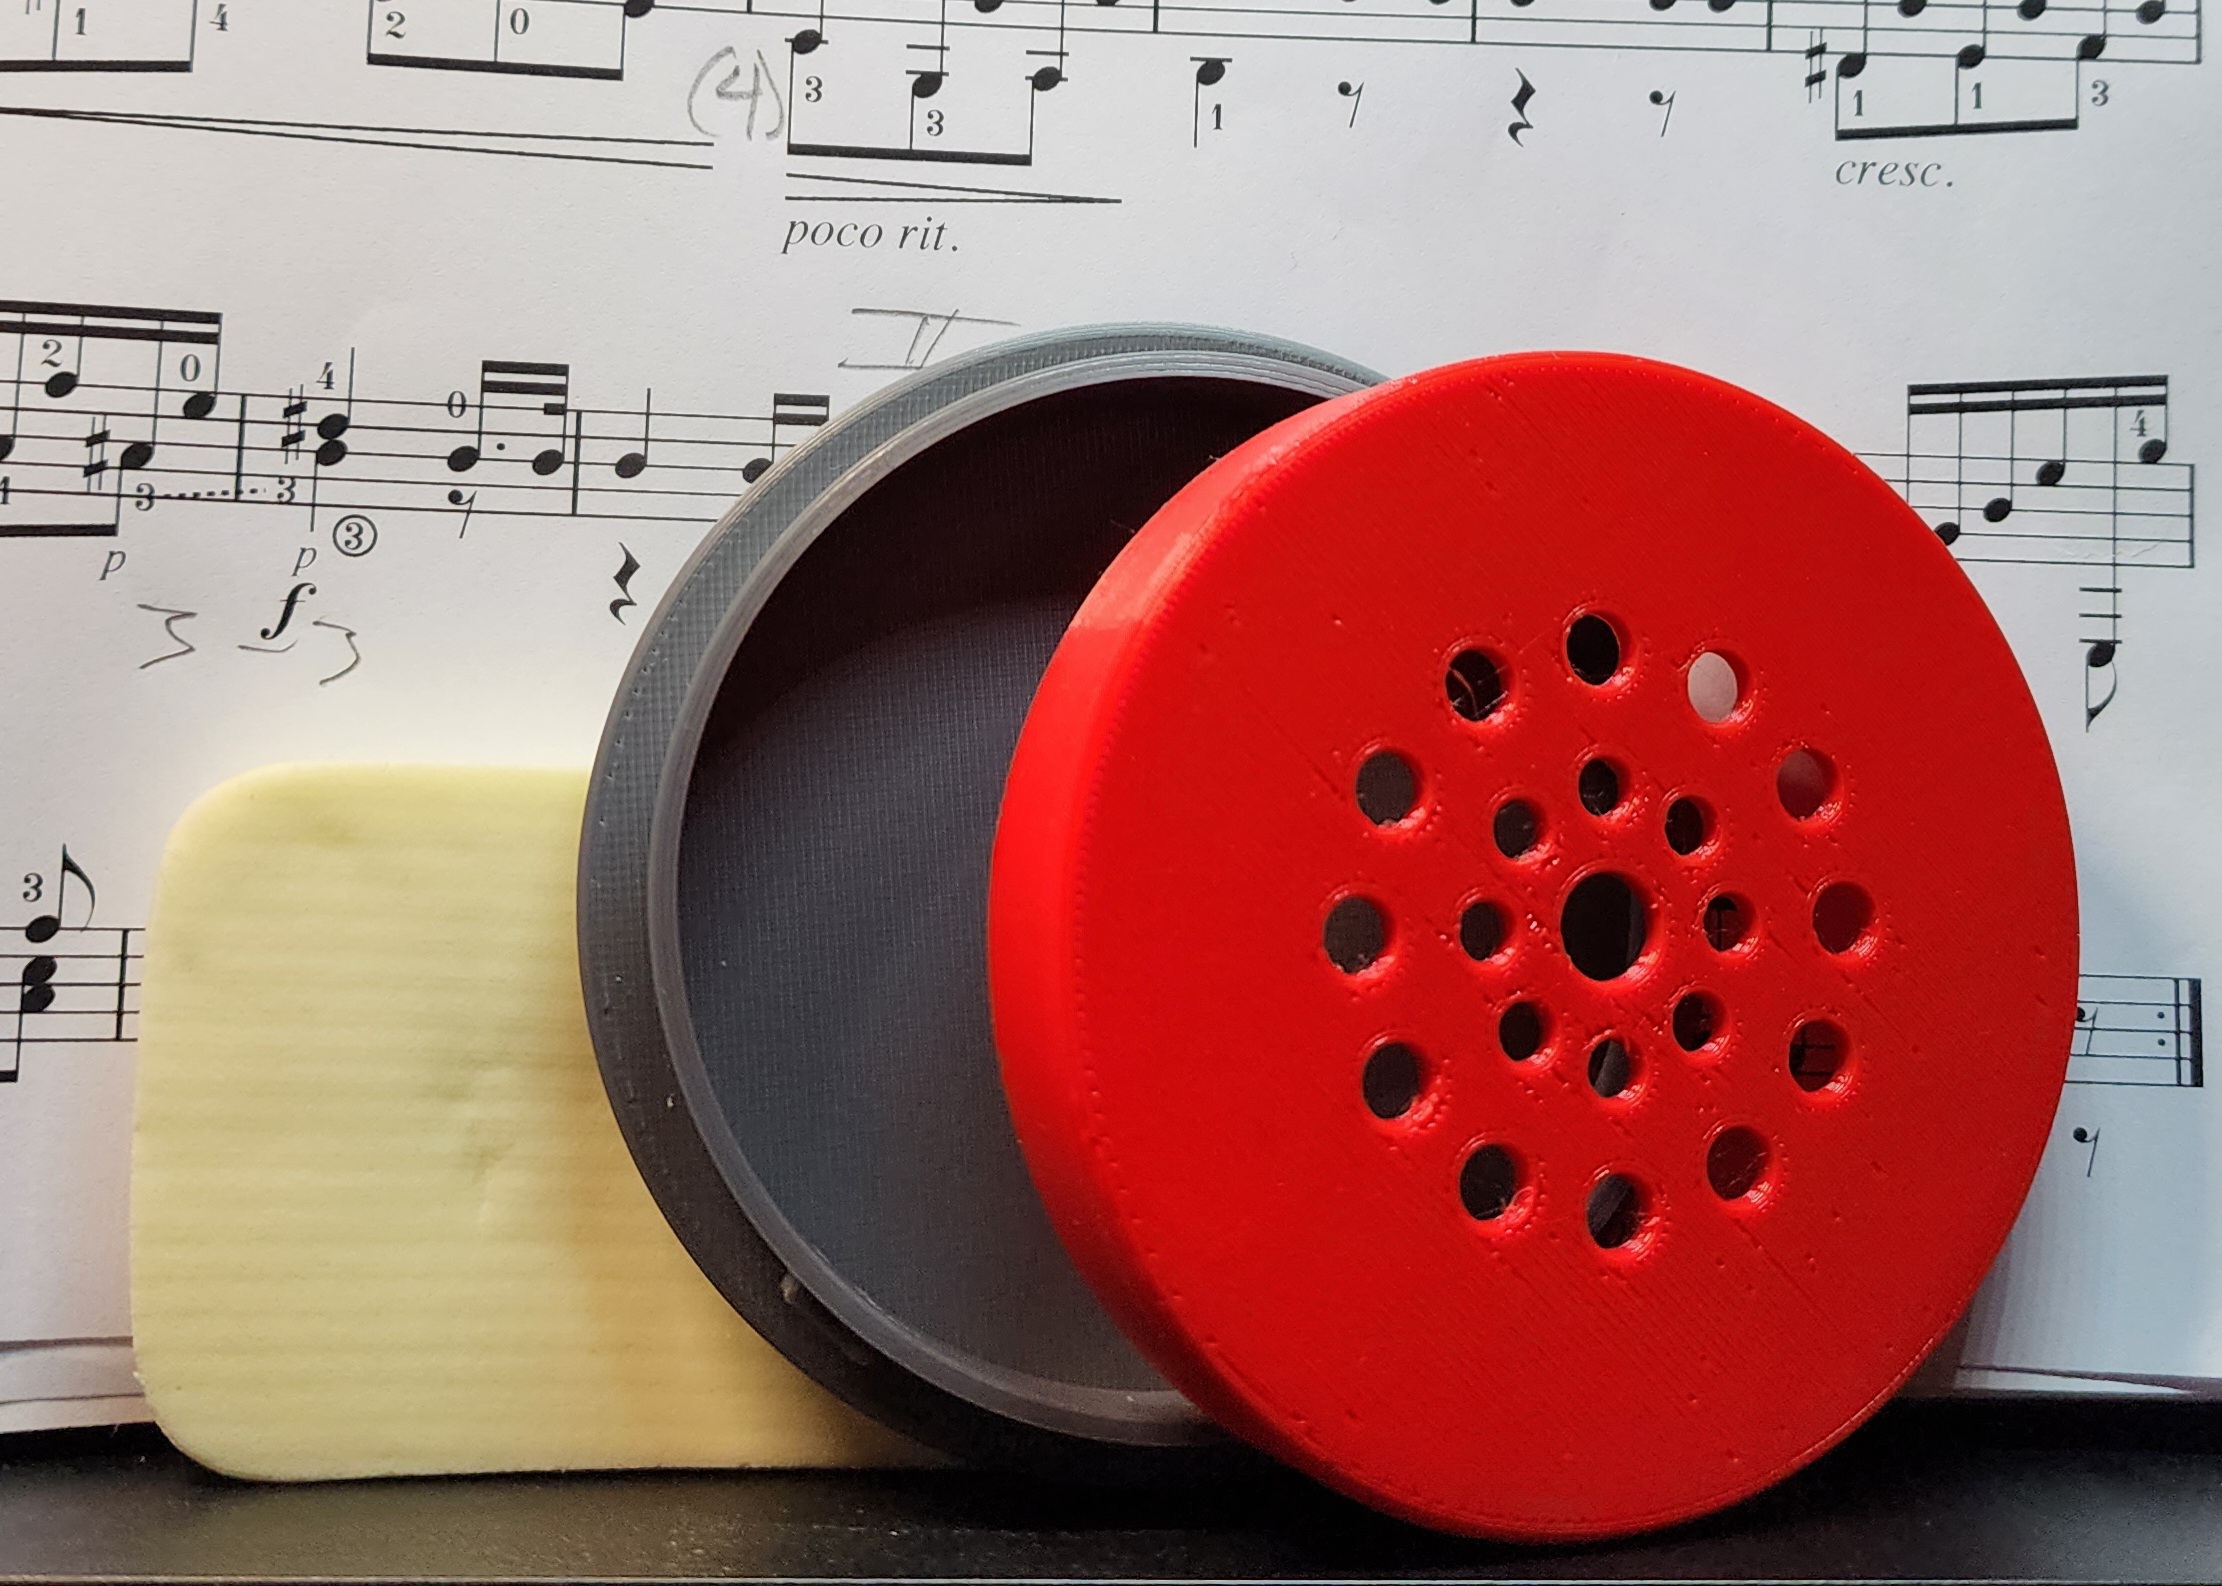
Guitar Humidity Box
prusaprinters
<p>This project started when I was looking for a way to keep my guitars from being damaged by the cold, dry winters. In the past, I have stored them in a room with a humidifier, but that meant weekly cleanings of the humidifier, and a certain musty smell in the room. </p><p>Sweetwater offers numerous options for controlling humidity directly in the case (https://www.sweetwater.com/c1152--Guitar_Humidifiers); however, I needed several, and I wanted my humidifier to sit over the strings, rather than on them. I designed this with Fusion 360, and so far, have been happy with the results.</p><p> </p><p>PRINTING INSTRUCTIONS</p><p>----------------------------------</p><p>Slicer: PrusaSlicer</p><p>Printer: Prusa Mini</p><p>Print Settings: 0.20mm QUALITY</p><p>Supports: None</p><p>Infill: 15%</p><p>Material: PLA (*)</p><p>(*) NOTE: I have not tried this with PETG, but the tolerances should allow you to print with that material as well.</p><p> </p><p>INSTALLATION</p><p>-------------------</p><ol><li><strong>Print Box_Base.stl and Box_Lid.stl</strong> with the instructions above.</li><li><strong>Choose your sponge</strong>. I used the <a href="https://www.sweetwater.com/store/detail/MN301--musicnomad-humid-i-bar-replacement-sponge-for-mn300-and-mn303">MusicNomad Humid-i-Bar</a> sponge, but the <a href="https://www.stringsbymail.com/daddario-sponge-pro-replacement-pack-for-guitar-humidifier-pro-18630.html">D'Addario Replacement Sponge </a>will do as well. The sponge will need to be cut to size to fit into the Box_Lid.</li><li><strong>Test the installation position for your box</strong>. You will want to place the box above the sound hole, over the strings, but not actually on the strings. To test this, close the Box_Lid over the Box_Base, and rest the box on the strings of your guitar in the case, along side a folded piece of paper held in place by the strings. The piece of paper should jut out above the box. Close the lid of the case and re-open the case to check the position of the paper. If the top of the paper is still above the top of the box, you can safely place the box against the top of the case in this position without hitting your strings.</li><li><strong>Glue the Box_Base to the top of the case</strong> in the position you tested.</li><li><strong>Moisten sponge and be careful to wring out all of the excess water. </strong>Because this box sits above your strings, if your sponge is too wet, it could drip through the holes and onto your guitar.</li><li><strong>Place the sponge in the Box_Lid, and twist shut.</strong></li></ol><p>You will want to periodically check that your sponge is still moist, and re-wet as necessary. </p><p> </p><p>MAINTENANCE</p><p>-------------------</p><p>It is a good idea to monitor the humidity in the case, to be sure that it's not too high (over 55%) or too low (below 45%). I have had good results with the <a href="https://www.amazon.com/dp/B087Q1G6QJ?psc=1&ref=ppx_yo2ov_dt_b_product_details">Rojuna Mini Thermometer Hygrometer. </a></p><p>If you are consistently getting humidity readings that are too low, consider printing a second to place in the headstock as well.</p>
With this file you will be able to print Guitar Humidity Box with your 3D printer. Click on the button and save the file on your computer to work, edit or customize your design. You can also find more 3D designs for printers on Guitar Humidity Box.
