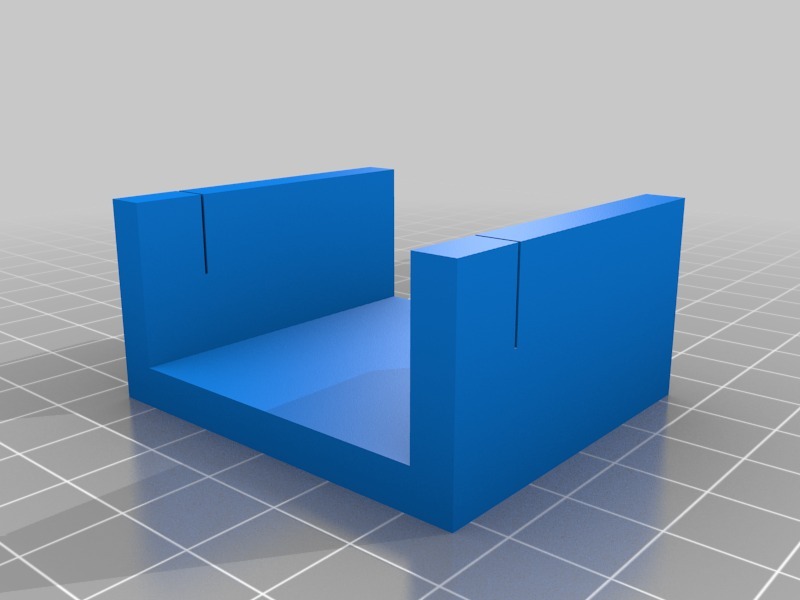
Guide to make Ukulele frets
thingiverse
To Craft Smooth Sounding Ukulele Frets, Follow These Easy Steps. First, Take Your Ukulele and Inspect Its Neck for Any Visible Debris or Dirt. Gently Wipe It Clean with a Soft Cloth to Prevent Any Interference With the Fretting Process. Next, Mark the Locations of Each String's Intonation Point Using a Pencil. This Will Provide You With Accurate Placement Information for Your Frets. Now, Use a High-Temperature Soldering Iron and Apply a Thin Layer of Flux to the Area Where the Fret Will Be Installed. Hold the Fret in Place With One Hand While Holding the Iron With the Other. As You Melt the Glue, Move the Iron in Small Circles Until It Reaches the Desired Shape. Allow the Fret to Cool Completely Before Moving On to the Next Step. Once All Frets Are Installed, Use a Guitar File to Smooth Out Any Bumps or Irregularities on the Neck of Your Ukulele. Finally, Apply a Thin Coat of Polyurethane to Protect the Frets and Give Them a Rich, Glossy Finish.
With this file you will be able to print Guide to make Ukulele frets with your 3D printer. Click on the button and save the file on your computer to work, edit or customize your design. You can also find more 3D designs for printers on Guide to make Ukulele frets.
