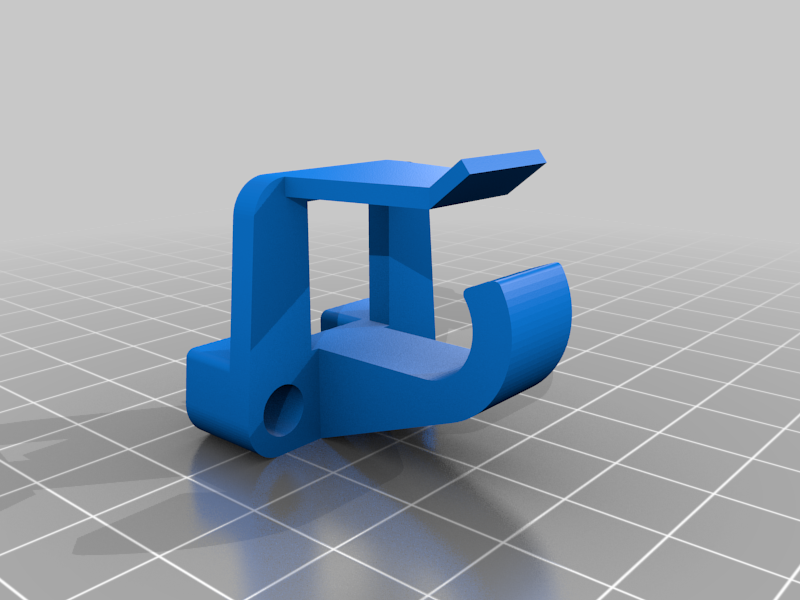
guide de durite de frein yamaha 125 DT / DTR
thingiverse
Braking Pad Durability Guide for 125 DT and DTR Models from 1988 to 1998. To ensure optimal braking performance, it is essential to follow the correct procedure when replacing your brake pads. First, locate the brake caliper on the wheel assembly and remove the caliper bolts using a socket wrench. Next, pull the caliper away from the rotor, taking care not to damage any surrounding components. Once the caliper is removed, inspect the brake pad for signs of wear or damage. If the pad is excessively worn or damaged, it should be replaced immediately. When installing new brake pads, make sure they are properly seated and aligned within the caliper. Finally, reattach the caliper to the rotor using the original bolts. It's also a good idea to inspect the brake fluid level regularly to ensure that it is at the recommended level. Low brake fluid levels can cause the brakes to malfunction, leading to reduced stopping power and increased risk of accidents.
With this file you will be able to print guide de durite de frein yamaha 125 DT / DTR with your 3D printer. Click on the button and save the file on your computer to work, edit or customize your design. You can also find more 3D designs for printers on guide de durite de frein yamaha 125 DT / DTR.