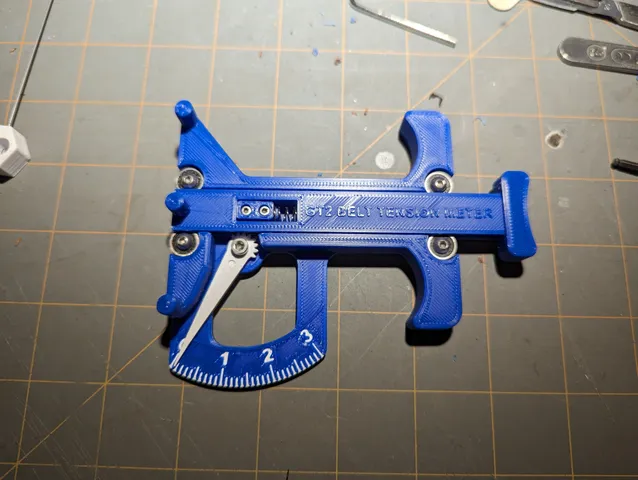
GT2 Belt Tension Meter w/Bearings
prusaprinters
Please see original post on GitHub for thorough description, manual and instructions.Geometrically this is the same as the original and the gauge/meter will read just as the first one.Additional BOM:4- M3x10x4mm bearings (623-2RS), no flange, do not use washers4- M3x8 Button Head Cap ScrewAll parts (except the pointer):0.4 layer width0.2 layer height3 walls, 3 top/bottom layersColor change: Beginning of Layers 16 and 18, or your preferred method.Notes on the new slider: The goal is the slider will freely glide in the channel. A loose fit is fine and the bearings do not need to hug the slider. The slider should not touch the bed of the channel. If the bearings are too tight they may leave indentations along the bearing way.→ Print "BT Gauge Slider 0.2 undersize" first. If it is too tight or too loose, try another size.→ Sliders with v2 have the wire keeper added.→ Use aligned support in the bearing channel with .8mm wall separation (see photo).Usually the interior cavities do not need support and nits left behind may interfere with the spring. →Sand or cut off all leftover support nits/pimples/bumps, etc→Remove any elephants foot, pay careful attention to the gear teeth (the rack part of the rack and pinion gear)Printing the pointers:I had good luck at 0.1 layer height and 0.3 width, sand or clean out the elephant's foot in the gear teeth.
With this file you will be able to print GT2 Belt Tension Meter w/Bearings with your 3D printer. Click on the button and save the file on your computer to work, edit or customize your design. You can also find more 3D designs for printers on GT2 Belt Tension Meter w/Bearings.
