GT2 Belt Splicer
thingiverse
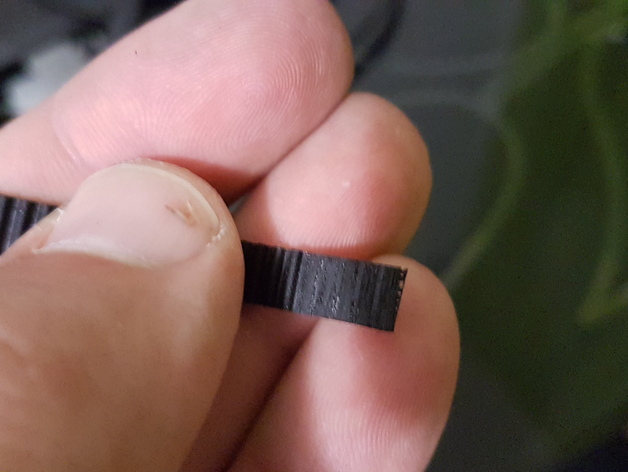
I've built a simple GT2 Belt Slicer/Joiner to create a Closed Loop GT2 belt from an open loop one I already had. To get started, carefully cut 5 to 10 teeth from one end using a razor or an abrasive tool - focus on just the teeth themselves so that the end stays flat like in the picture. Next, place the other end onto the Splicer so that it covers exactly half of its length. At the same time, position the trimmed end, leaving about one tooth empty to allow for smoother sliding on the pulley. Secure both ends together by gluing them with a suitable adhesive, making sure not to leave any gaps or bubbles in the process. Once you've applied an even layer of glue, place the other part of the splicer over it and use M5 screws to hold everything tightly in place. Wait for the glue to set completely before proceeding - the exact waiting time will depend on the type of adhesive used. As a general rule, the more teeth you cut from the original belt, the longer the glueing area will be, resulting in a stronger bond overall. If possible, use an elastic glue for the best results. Now your Closed Loop GT2 belt is ready to use - enjoy the benefits of a seamless and durable drive system!
With this file you will be able to print GT2 Belt Splicer with your 3D printer. Click on the button and save the file on your computer to work, edit or customize your design. You can also find more 3D designs for printers on GT2 Belt Splicer.
