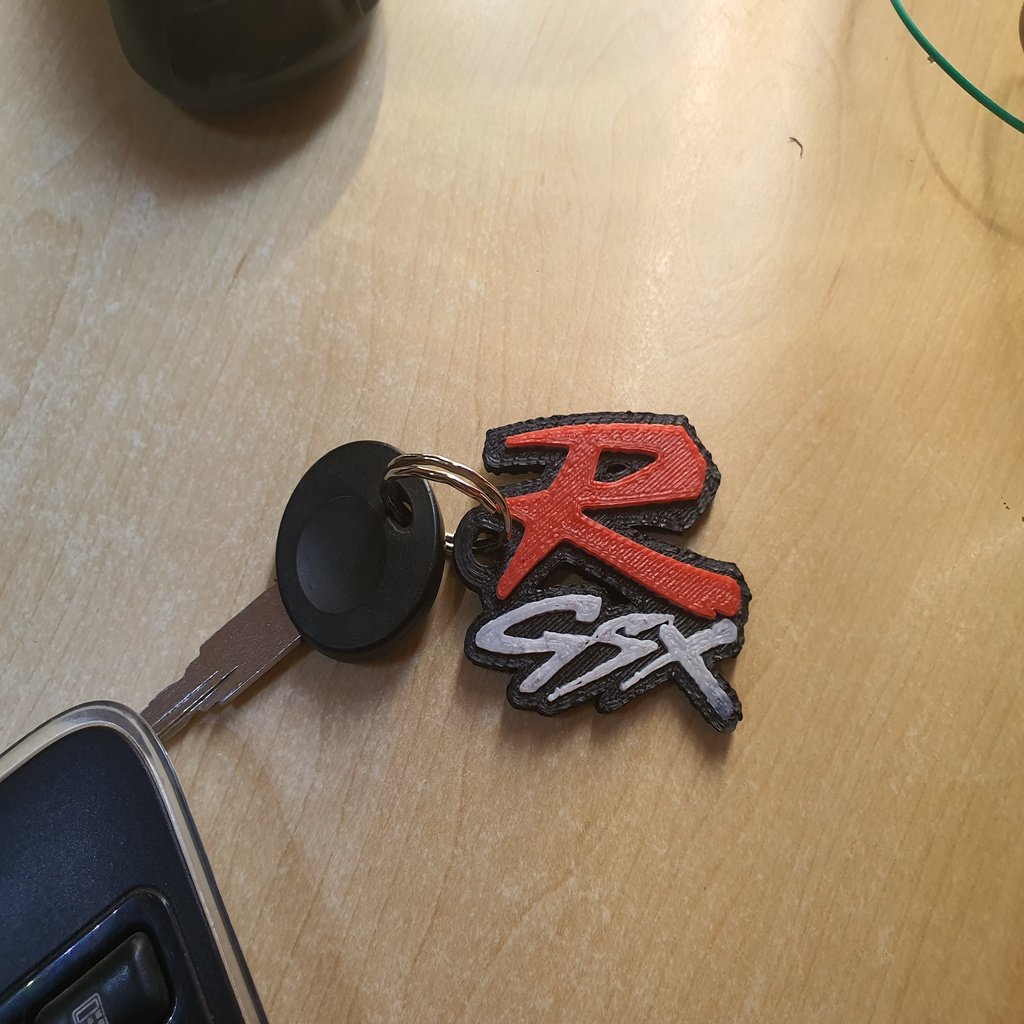
GSXR keyring
thingiverse
Transforming the iconic GSXR logo from the 1993 Suzuki GSXR 1100 WP, I will reimagine its design with a bold new color scheme that retains its original essence while injecting a fresh twist. To achieve this striking visual identity, I'll introduce the correct layer for the color change, ensuring that the vibrant hues harmonize seamlessly within the logo's framework. Here's how to accomplish this artistic transformation: 1. Duplicate the GSXR logo by going to Layer > Duplicate Layer. 2. With the duplicated logo selected, go to the Layers panel and click on the 'New Layer' icon at the bottom right corner of the panel. 3. In the resulting New Layer dialog box, choose a name for your new layer (e.g., "Color Change") and ensure that the 'Visible' checkbox is checked. 4. Click OK to create the new layer. Now that you have created a new layer, let's add our color change: 1. Select the Color Change layer by clicking on its icon in the Layers panel. 2. Choose your desired colors for the logo and apply them using the Color Picker tool. 3. Once you've selected your colors, click OK to apply them to the logo. Congratulations! Your GSXR logo now boasts a stunning new color scheme that will undoubtedly captivate audiences. To finalize this artistic transformation: 1. Merge the original and Color Change layers by going to Layer > Merge Down. 2. With both layers merged, rename your combined layer to something like "Final Logo." 3. Save your design as a high-resolution image file (e.g., JPEG or PNG) to ensure crisp visuals. Your GSXR logo is now ready to shine in its new, colorful form!
With this file you will be able to print GSXR keyring with your 3D printer. Click on the button and save the file on your computer to work, edit or customize your design. You can also find more 3D designs for printers on GSXR keyring.
