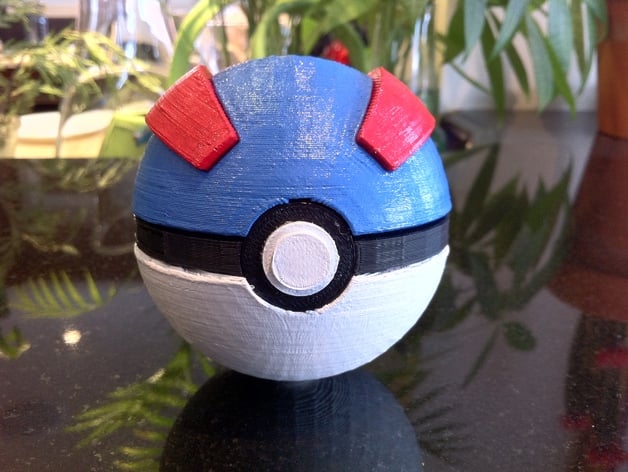
Great Ball, with magnetic clasp
thingiverse
The only thing I altered from the "Master Ball, with magnetic clasp" was the lid once more. Print two copies of the Lid.stl file and a single copy of the Lid_Arch.stl file, as they don't need supports to print successfully. After printing all parts, assembling the lid should be relatively easy. (Keep in mind that the arches fit into place only one way; if it doesn't seem to be fitting right, flip it over) Next, attach the button to the button holder with glue. Following that, attach the button assembly and ring to the bottom while making sure the hinge is properly aligned during this process as you glue the ring in place. Finally, snap the hinge into the lid itself. You'll need two small magnets (1/4" by 1/16") for this model, simply gluing them into position will do the trick. Printing tip: Make sure to increase the infill percentage on your bottom piece to around 40-50% while keeping the other parts at a low infill percentage of 5-10%. This ensures the design remains stable and won't roll away excessively.
With this file you will be able to print Great Ball, with magnetic clasp with your 3D printer. Click on the button and save the file on your computer to work, edit or customize your design. You can also find more 3D designs for printers on Great Ball, with magnetic clasp.
