Grado Headphones Rod Blocks
prusaprinters
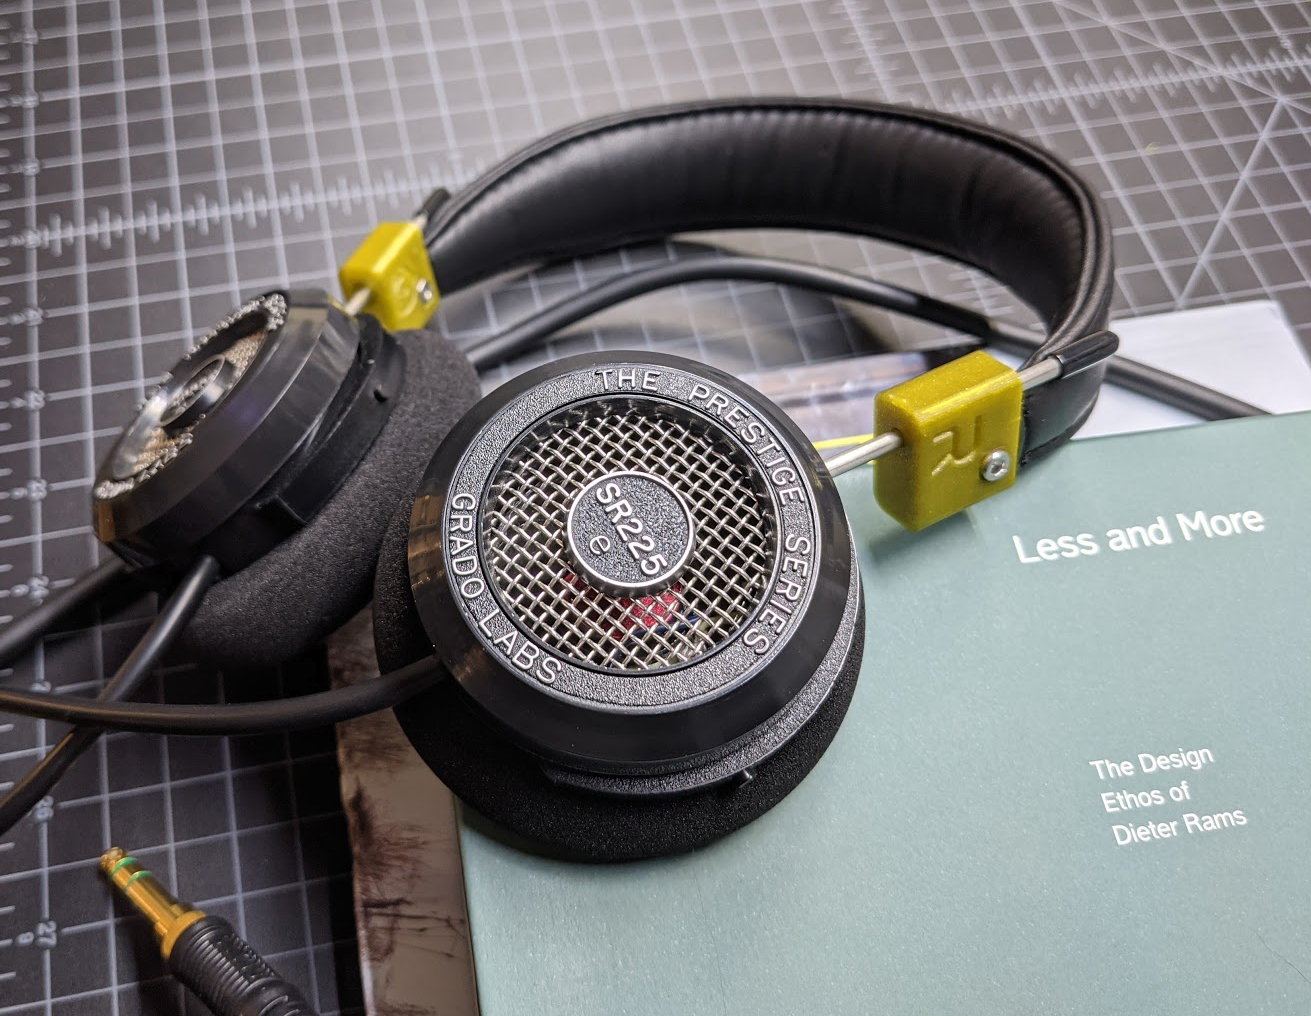
<p>This is one of those things that if you need them, you'll know. Otherwise you probably won't give them a second thought.</p> <p>If you need them, you've either had one break or you learned that if you want to customize your headphones, you're going to need to find a replacement for these. Grado has designed the rod blocks that join the Headband to the earcups without serviceability in mind which is kind of disappointing, but at the same time I don't think they expect they'll fail. Apparently they didn't anticipate a meat puppet like me.</p> <p>From what I observed in the admittedly violent disassembly process was that it appears they drive in or heat stake the headband into a plastic block that the earcup rod slides through, then glue an outer housing to that at the factory.</p> <p>Personally, I had one of the rodblocks on my Grado SR80's decide it wanted no part in the retention of the headband any longer. So spurred my need.</p> <p>I set about designing up a new set that could be printed and replace the lost functionality. As a bonus, they could also be removed if I ever wanted to add a leather headband later.</p> <p>What I came up with worked out pretty well. I made a number of versions trying to sneak up on a snug fit for the rod and a tight fit for the headband. They're also slightly smaller than the original ones with rounded, versus beveled, edges. Printed in black, they look pretty good from 6 ft with an astigmatism.</p> <p><h3>Instructions for use:</h3></p> <ol> <li>Using a measured amount of violence, remove the original rod blocks. I used a vice to crack them apart.</li> <li>Be sure to retain the four little rubber O-rings (two on each block) that are used to apply friction to the rods.</li> <li>Print out the rodblocks in your favorite <b>PETG</b> material (or whatever else you'd like, but make sure to re-slice for that material profile).</li> <li>Test the fit of the rods, if they are snug you may not need to O-rings.</li> <li>If you wish to use the O-rings, give them a touch of silicone grease, squeeze them into the hole (I used some needlenose pliers), then use a wooden toothpick to guide them into the reliefs designed for them.</li> <li>Now install the metal headband into the slots. The "R" and "L" are intended to show to the outside. I had to seat them using some gentle percussion (the back of a plastic brush) until the holes lined up.</li> <li>Once they're lined up I used an M3, cap head screw and matching nut. It should be fairly obvious which goes where. This just needs to be tightened snugly and frankly, probably aren't even necessary.</li> <li>Now, test your headphones with an audio source you can adjust the right and left balance to so you know which cup goes where.</li> <li>Reinstall the headphone on the appropriate side, replace the little black caps on the top, and you're done.</li> </ol><p>Nice.</p> <h3>Print instructions</h3><p>This was sliced and printed using <em>Prusament</em> Black <strong>PETG</strong>.</p> <p>The design is intended to print upright, without supports. The brimming probably isn't necessary and just requires more cleanup, but I was choosing the "better safe than sorry" route.</p>
With this file you will be able to print Grado Headphones Rod Blocks with your 3D printer. Click on the button and save the file on your computer to work, edit or customize your design. You can also find more 3D designs for printers on Grado Headphones Rod Blocks.
