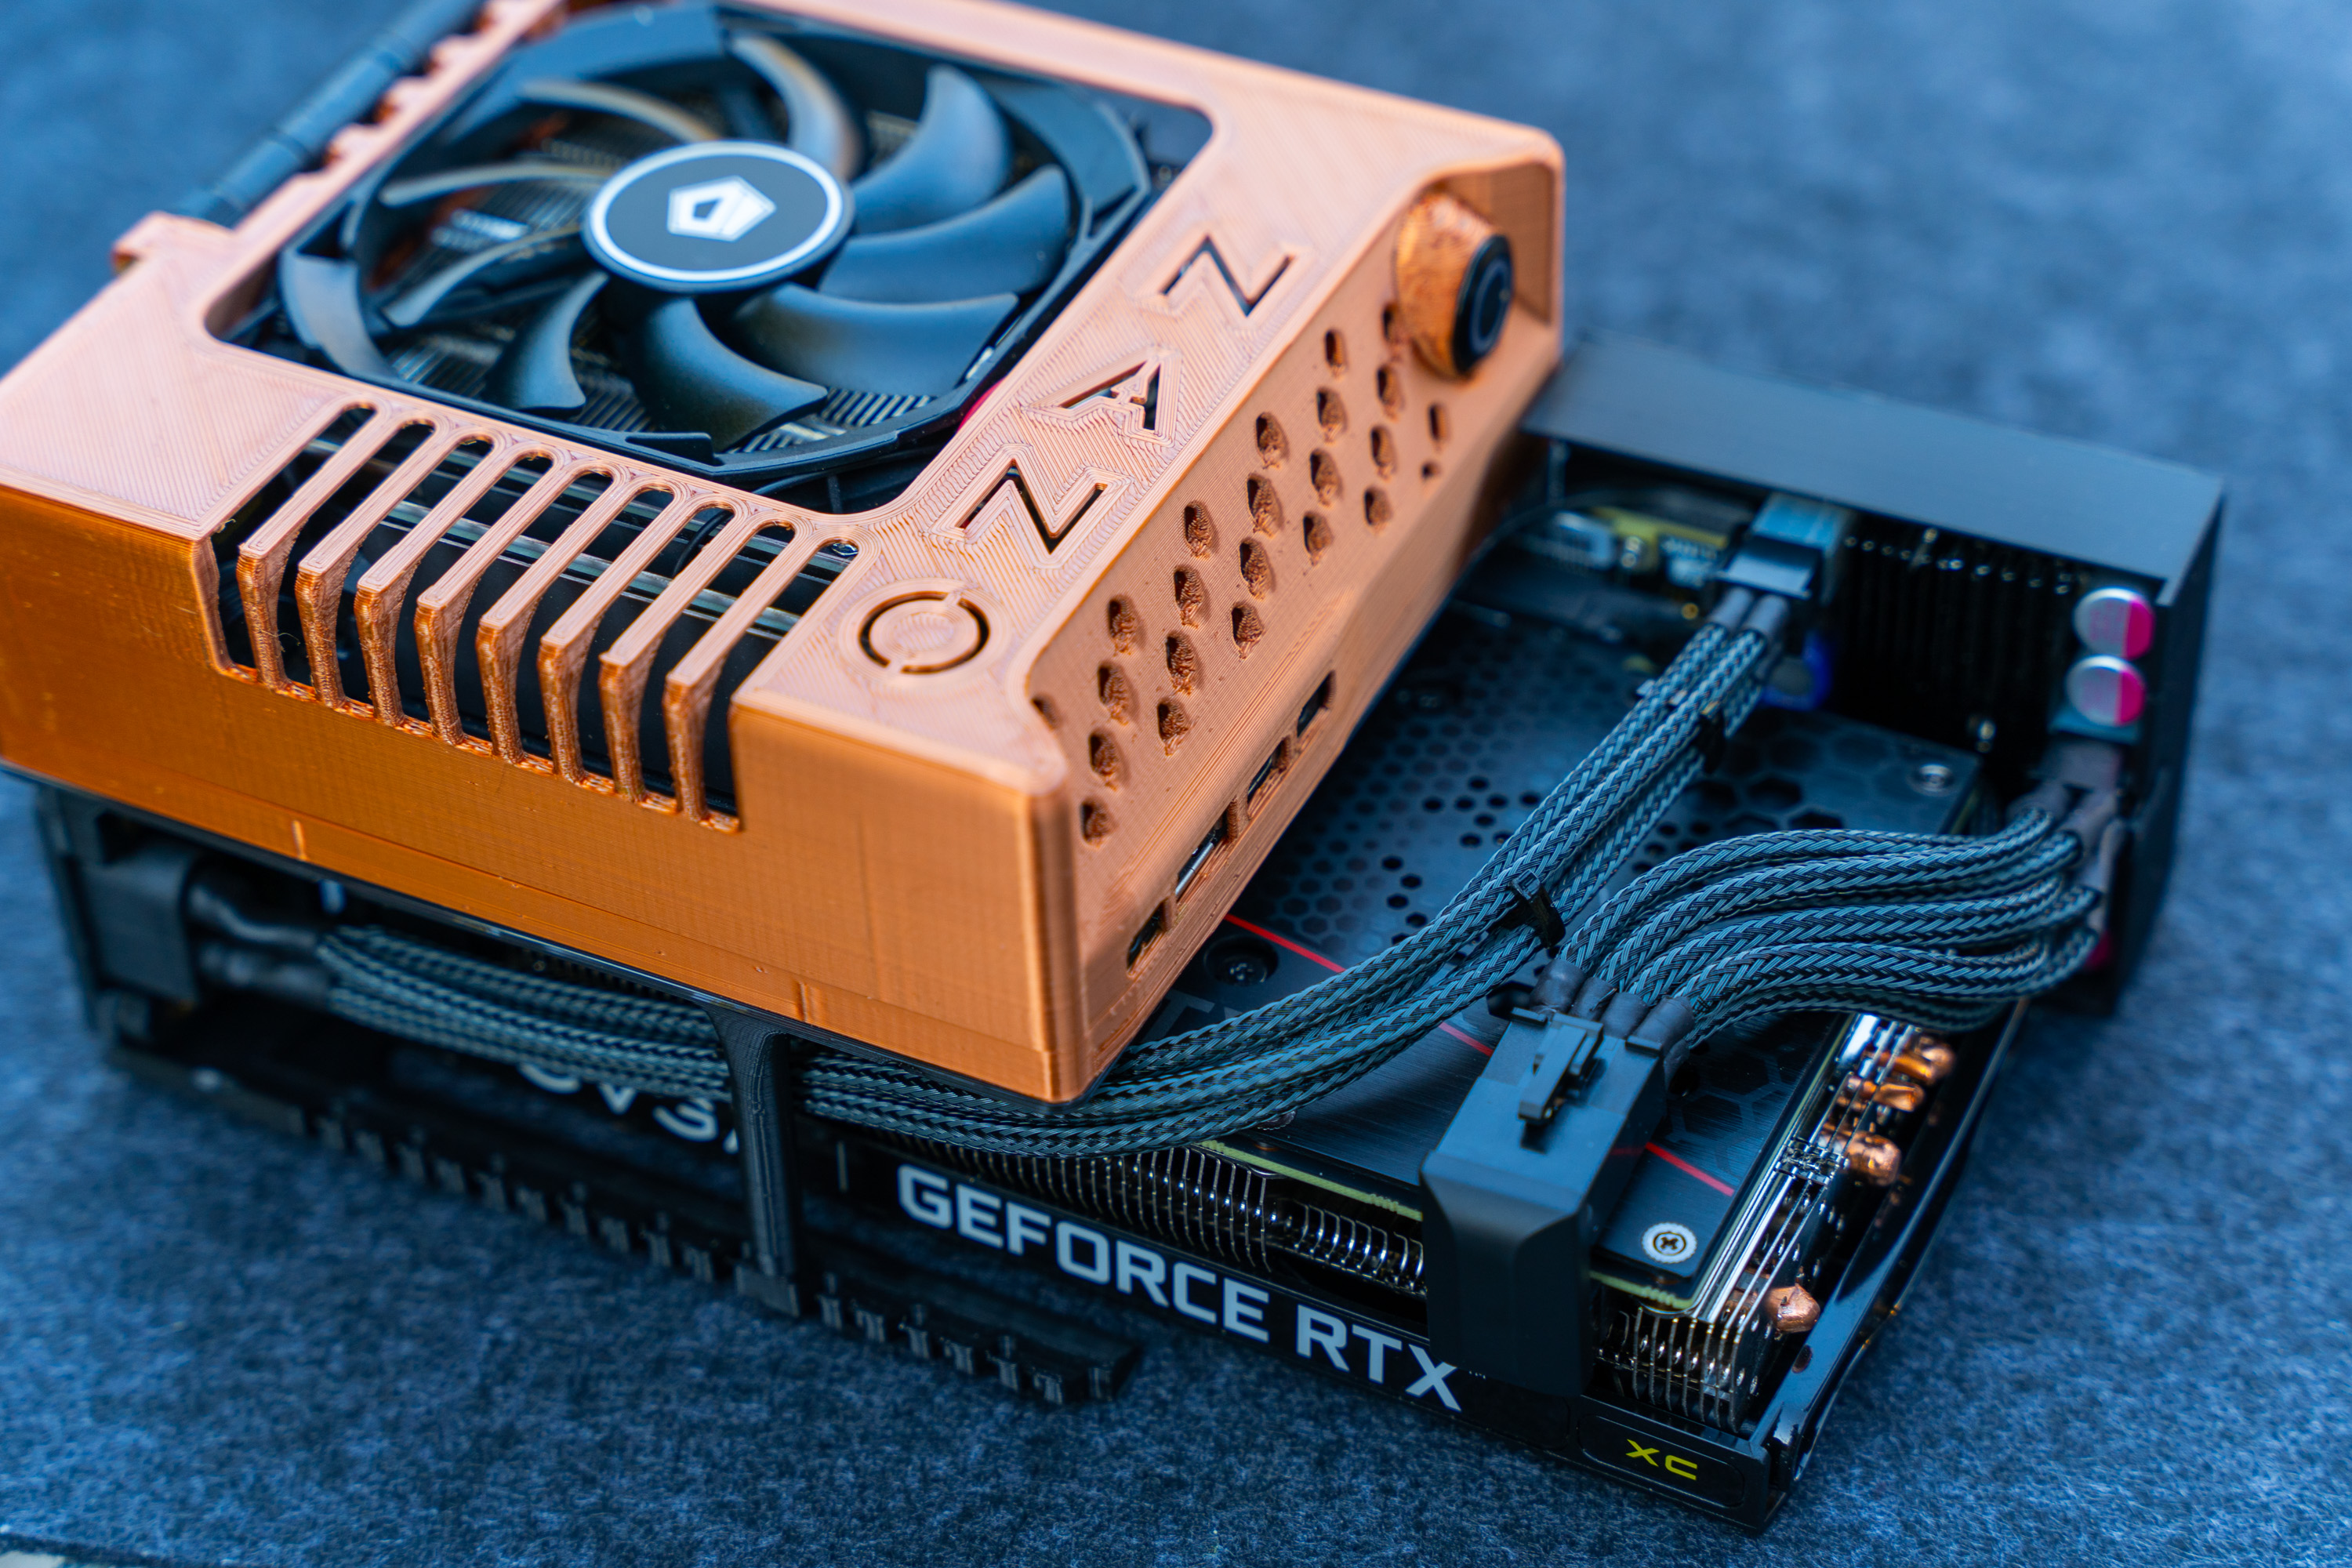
GPU Adapter for DeskMini and DeskNano x300
prusaprinters
<p>Disclaimer: Experimental feature. Use at your own risk. </p><p>Performance penalty of using m.2 (4 lanes) <a href="https://www.techpowerup.com/review/nvidia-geforce-rtx-2080-ti-pci-express-scaling/6.html">is approximately 5-10% up to the 2080ti/3060ti level</a>. If you use a more powerful card than this, your “lane penalty” will begin to increase.</p><p>Needs ADT-Link R43UH 4.0 riser 10CM length</p><p>And External power supply (Dell DA-2 12v Brick, ATX, SFX, etc)</p><p>[<a href="https://egpu.io/forums/psu-cables/us3-dell-da-2-pcie-splitter/">Some info on adapting the Dell DA-2's output to PCIe</a>]</p><p><strong>You will need a 12v psu to power the riser header, even if your PCIe card does not need a 6 or 8pin! </strong></p><p>Installation:</p><ol><li> Install threaded inserts ("Shroud" versions only)</li><li> Install Riser to Board</li><li> Install 1x SSD Cable (optional, and depends on model)</li><li> Install Adapter to Tray (use m3 x 5mm). Longer screw than 6mm will cause permanent damage.</li><li> Secure Riser to Adapter. (use m3 x 5mm)</li><li> Install SSD up to 7mm (optional, and depends on model)</li><li> Attach your Psu's (+12v SATA) power cable to the Riser power cable. For Non-ATX Psu, you'll be cutting this cable and making your own adapter. The cable comes with the Riser.</li><li> Install graphics card. </li><li> Secure Card bracket to Adapter (use m3 x 5mm)</li><li> Attach the retention clip or the shroud (Shroud versions replace the retention clip).</li><li> Cabling ??? </li><li> Connect power. If using an conventional ATX power supply, you'll also need a way of signaling it to turn on. You can either power it up manually with a latching switch, jumper it permanently on, or automatically power up it up with a <a href="https://smallformfactor.net/forum/threads/gxr-diy-edition-a-tiny-12v-600w-load-switch-module-works-with-nuc-deskmini-pico-psus-and-more.15106/">load switch</a>.</li></ol><p> </p><p>Pico shrouded version has (optional) internal room for a Pico 200 dcdc step down module for when using 19v brick. The reason for doing this is you can use a single ultra-compact GAN brick like the SlimQ 240w to power the Deskmini and GPU at the same time. This is only for expert users with their own crimping, cabling, and soldering equipment and is completely experimental.</p><p>More info on Pico version- https://egpu.io/forums/builds/2021-asrock-deskmini-x300-r5k8g-3060ti-25-5gbps-m-2-adt-link-r43uh-win10-3d-modular-m-2-enclosure-with-internal-pico-dcdc-200-psu/</p><p>------------------------------------</p><p>1.2L 3D printed case for ASRock a300 and x300 mini pc. </p><p>For more info & instructions see the DIY guide on this page:<br><a href="https://smallformfactor.net/forum/threads/desknano-x300-a-1-2l-replacement-for-the-deskmini-a300-x300.17605/">https://smallformfactor.net/forum/threads/desknano-x300-a-1-2l-replacement-for-the-deskmini-a300-x300.17605/</a></p><p> </p>
With this file you will be able to print GPU Adapter for DeskMini and DeskNano x300 with your 3D printer. Click on the button and save the file on your computer to work, edit or customize your design. You can also find more 3D designs for printers on GPU Adapter for DeskMini and DeskNano x300.
