gps mount f450 50mm
thingiverse
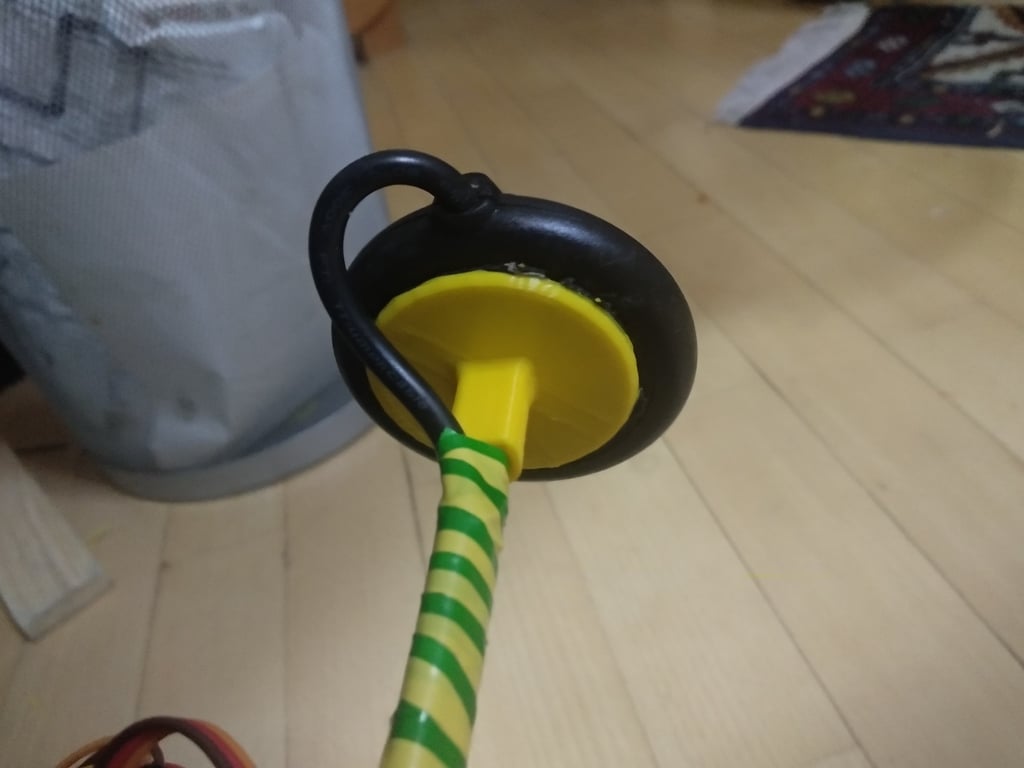
Mounting a GPS Module on an F450 Frame Requires Careful Attention to Detail. To begin with, you'll need to locate a suitable mounting point on the F450 frame that can accommodate a 53mm diameter GPS module. The ideal spot is likely near the center of the frame, allowing for optimal satellite reception and minimal interference from other components. A 40mm hole in the GPS module suggests it's designed for a standard M5 or M6 screw thread. You'll want to find a corresponding nut or bolt that fits snugly into this hole, ensuring a secure connection between the module and its mounting bracket. When selecting a GPS mount, consider factors such as durability, adjustability, and ease of installation. A sturdy, adjustable arm will provide flexibility in positioning the module while minimizing stress on the frame and surrounding components. Installation typically begins by attaching the GPS module to its mounting bracket using the provided screws or nuts. Next, carefully position the mounting bracket onto the F450 frame, aligning it with the pre-drilled holes or marks indicating the optimal mounting location. Secure the bracket firmly in place using additional screws or fasteners. Once the GPS module is securely attached to the frame, double-check its position and orientation to ensure accurate satellite reception. Make any necessary adjustments to the mounting bracket to achieve optimal performance.
With this file you will be able to print gps mount f450 50mm with your 3D printer. Click on the button and save the file on your computer to work, edit or customize your design. You can also find more 3D designs for printers on gps mount f450 50mm.