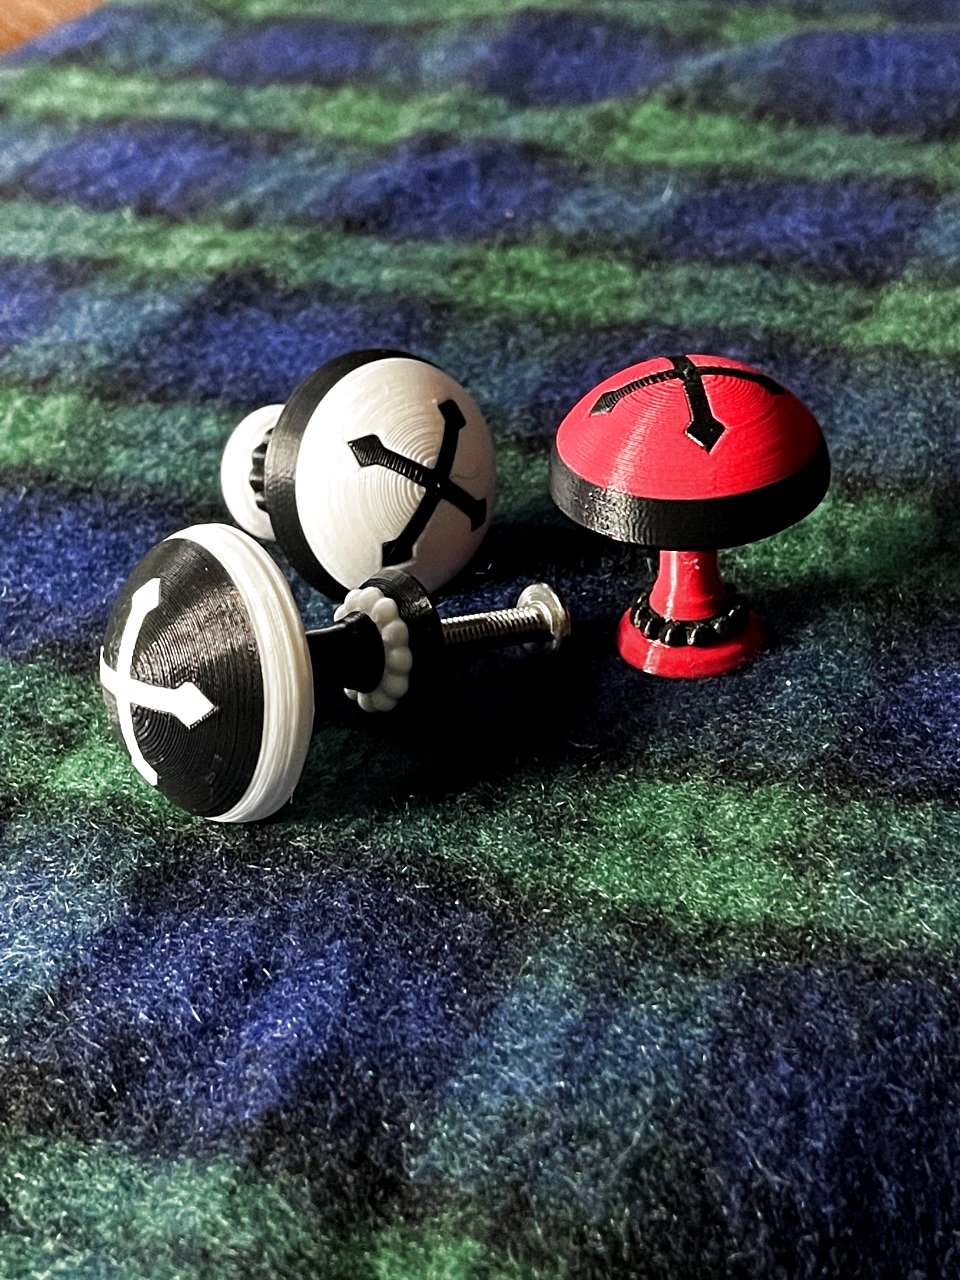
Gothic Cameo Knob
prusaprinters
<p>Each Gothic Cameo Knob has a 3D printed cap, stem, and cross insert plus a heatset threaded insert and screw. No supports or brims are needed in printing. An installation tool for the cross is also included to ease assembly. To assemble: place cap on sturdy table, insert cross into slot in cap, and push in slightly. Then place installation tool over cross and cap and push down firmly on tool with palm of your hand until cross bottoms out in slot. There will be a series of loud clicks during this press fitting. When installed properly the cross will be flush with the rounded cap surface. Next place the heat set insert into hole in back of cap and push leading edge in with your fingers as far as it will go. Then using a heated soldering iron with tip larger than the insert inner diameter, heat the insert and gently push into hole with soldering iron as the plastic softens from heat. Install Goth Cameo Knobs in your favorite cabinet by inserting screw through backside of door hole then through the stem and into the threaded insert in cap. Align cross orientation to vertical and tighten screw with screwdriver. </p>
With this file you will be able to print Gothic Cameo Knob with your 3D printer. Click on the button and save the file on your computer to work, edit or customize your design. You can also find more 3D designs for printers on Gothic Cameo Knob.
