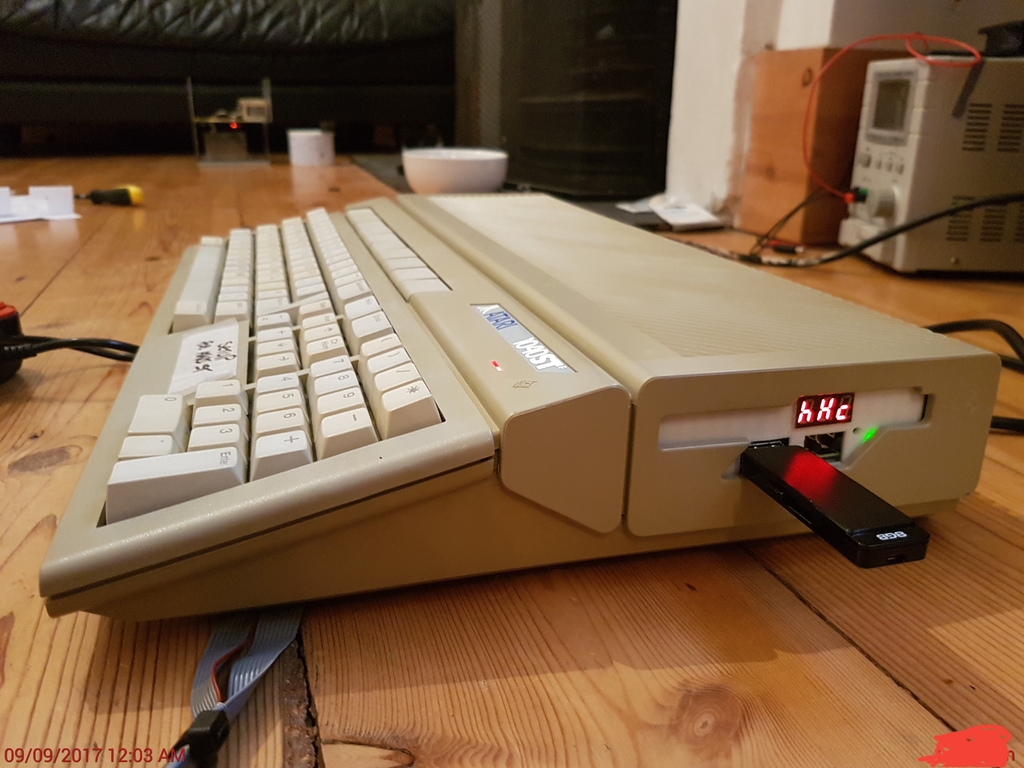
Gotek Floppy Emulator Carriage for Atari ST (1024STF)
thingiverse
I uploaded one of these for the Atari ST and it appears that nobody else has done so yet. I utilized the existing floppy drive bolts to secure it to the carriage. The Gotek, when removed from its case, can be held in place with two short M3 bolts. To make room for the LCD and buttons, I adjusted their position so they are visible without modifying or damaging the Atari ST casing. This requires extending the supplied wires slightly. You may also need to lengthen the floppy drive power and ribbon cables. Please check the wiring carefully and don't rely solely on the colors in my picture, as I mistakenly swapped red and black. Be aware that the floppy ribbon cable on my ST was soldered directly onto the motherboard, so I replaced it with a longer one and new pin headers. You might find it easier to use back-to-back pin headers to extend the existing cable instead. Additionally, you may want to move the LED hole as I had to drill another. This can be done easily in Sketchup. A file is attached for your reference. Good luck with this project.
With this file you will be able to print Gotek Floppy Emulator Carriage for Atari ST (1024STF) with your 3D printer. Click on the button and save the file on your computer to work, edit or customize your design. You can also find more 3D designs for printers on Gotek Floppy Emulator Carriage for Atari ST (1024STF).
