Gorilla Yoyos
pinshape
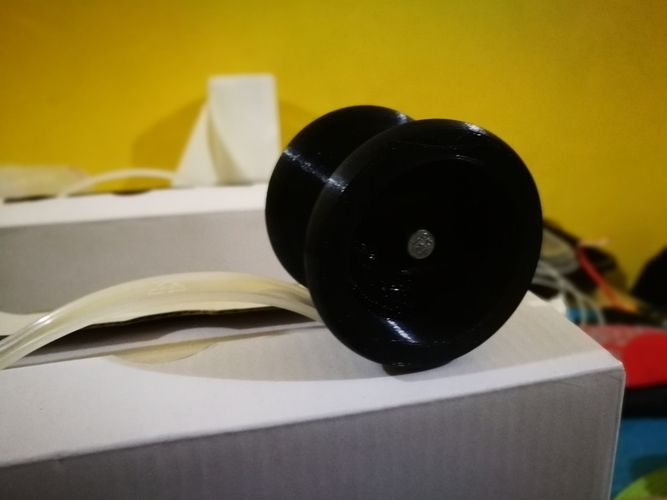
I was waiting anxiously for my 3D printer to arrive when I stumbled upon Zach's MicroYo, also known as PaperScarecrow's masterpiece. I couldn't resist the urge to try making something similar as a tribute to my old yoyo days. So far, I've only printed and tested the Damulag design at 85% infill without supports in the middle, which resulted in some layers not sticking together properly. However, I plan to retry it with supports and 100% infill if time permits. The first prototype was a bit too light for my liking but still functional. This got me thinking that the baby models might also be too light, making PaperScarecrow's innovative thrust washers idea a more viable solution. While experimenting with basic shapes like tori, cylinders, subtraction, and splitting, I accidentally stumbled upon designs reminiscent of classic yoyos from Duncan, Yoyojam, and Yoyofactory. I'm leaving these creations here in case someone wants to take them on as a challenge. Print Settings: Printer: Creality CR-7 Infill: 85% Post-Printing Requirements: You'll need an m3x16mm or m3x14mm bolt, an m3 nut or similar, a standard C-sized yoyo bearing, and a couple of o-rings or flowable silicone for the response system.
With this file you will be able to print Gorilla Yoyos with your 3D printer. Click on the button and save the file on your computer to work, edit or customize your design. You can also find more 3D designs for printers on Gorilla Yoyos.
