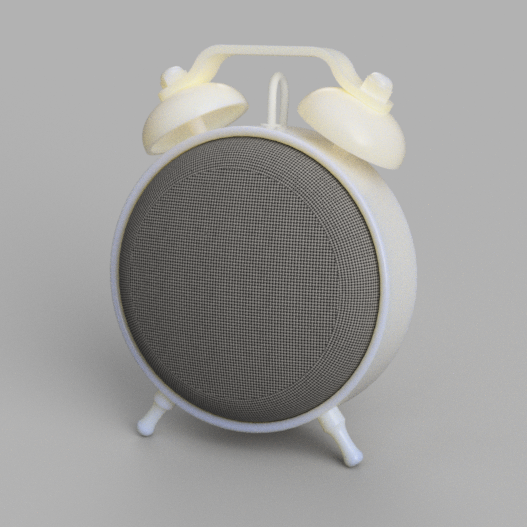
Google Nest Alarm Clock
thingiverse
I'm calling this a remix as the idea for the alarm appears to be originally from Yelt. I wanted to create an updated model for the Nest Mini that utilizes printed threads. I'm also not a fan of printing supports unless it is absolutely necessary. #Printing Print the following quantities in their given orientation: 1X - Body 1X - Handle 1X - Leg-Tall 2X - Leg-Short 2X - Nut 2X - Stem 2X - Bell If you have difficulty printing bridges you may want to add supports for the bells. If you do enable supports, ensure that the 4 threaded holes on the body do not have support. #Assembly No hardware needed but glue is recommended. 1.Using sandpaper, lightly taper the edges of all male threads. 2. Screw in the two Stems to the side of the Body. The smaller threads will be pointing away from the center of the Body and there will be a hole located between the two Stems. If you are having trouble with the threads, gently use pliers to tighten. 3. Place the Bells onto the Stems. 4. Place one side of the Handle onto one Stem. Using one hand to manipulate the Handle and one to manipulate the opposing Stem, gently bend the components into place. 5. Tighten the two Acorn Nuts onto the Stems. The nut is an M5 (M4.5 thread) if you must use a wrench to tighten them. 6. Place the two Short Legs into the side of the Body. 7. Place the Long Leg into the back of the Body. Again, if you are having trouble tightening the legs, gently use pliers to tighten them into place.
With this file you will be able to print Google Nest Alarm Clock with your 3D printer. Click on the button and save the file on your computer to work, edit or customize your design. You can also find more 3D designs for printers on Google Nest Alarm Clock.
