Golf Ball 2
sketchfab
Maximizing Efficiency in 3D Modeling with Golf Ball Geometry Creating a precise golf ball model requires a deep understanding of 3D geometry and spatial awareness. To achieve a realistic representation, designers must balance the subtle curvature of the ball's surface with its underlying structure. In this tutorial, we'll explore how to use 3ds Max to create a detailed golf ball model that captures the intricate details of real-world balls. By mastering these techniques, you can take your 3D modeling skills to the next level and produce high-quality models for various applications. Step 1: Setting Up Your Scene Begin by launching 3ds Max and creating a new scene. Set the unit system to millimeters, as we'll be working with very small objects. Then, set the render style to 'smooth' to ensure a high-quality finish. Next, create a new polygon mesh object by going to Create > Geometry > Polygon Mesh. Name this object "GolfBall". Step 2: Creating the Ball's Basic Shape To start modeling the golf ball, select the GolfBall object and go to Modify > Edit Geometry. In the Edit Geometry window, switch to the 'Poly' mode and create a sphere with a radius of about 20mm. Step 3: Adding the Dimples Golf balls have hundreds of small dimples that give them their aerodynamic properties. To recreate these dimples in our model, we'll use a combination of techniques. First, select the GolfBall object and go to Modify > Edit Geometry. In the Edit Geometry window, switch to the 'Poly' mode and create a new poly object by going to Create > Geometry > Polygon Mesh. Name this object "Dimples". Then, select the Dimples object and go to Modify > Edit Geometry. In the Edit Geometry window, switch to the 'Poly' mode and create a series of small polygons that will represent the dimples. Step 4: Adding Texture and Details To add texture and details to our model, we'll use a combination of materials and shaders. First, select the GolfBall object and go to Materials > Standard Material. In the Material Properties window, set the diffuse color to a light gray and the specular color to a dark gray. Next, select the Dimples object and go to Materials > Standard Material. In the Material Properties window, set the diffuse color to a medium gray and the specular color to a light gray. Step 5: Rendering Your Model Finally, it's time to render our model! Select the GolfBall object and go to Render > Render. In the Render Settings window, set the resolution to 1024x768 and the output file format to JPEG. Click 'Render' to generate a high-quality image of your golf ball model. Tips and Variations To take your model to the next level, try experimenting with different materials and shaders. You can also add more details such as the seams between the dimples or the texture of the ball's surface. By mastering these techniques, you'll be able to create highly realistic 3D models that capture the intricate details of real-world objects.
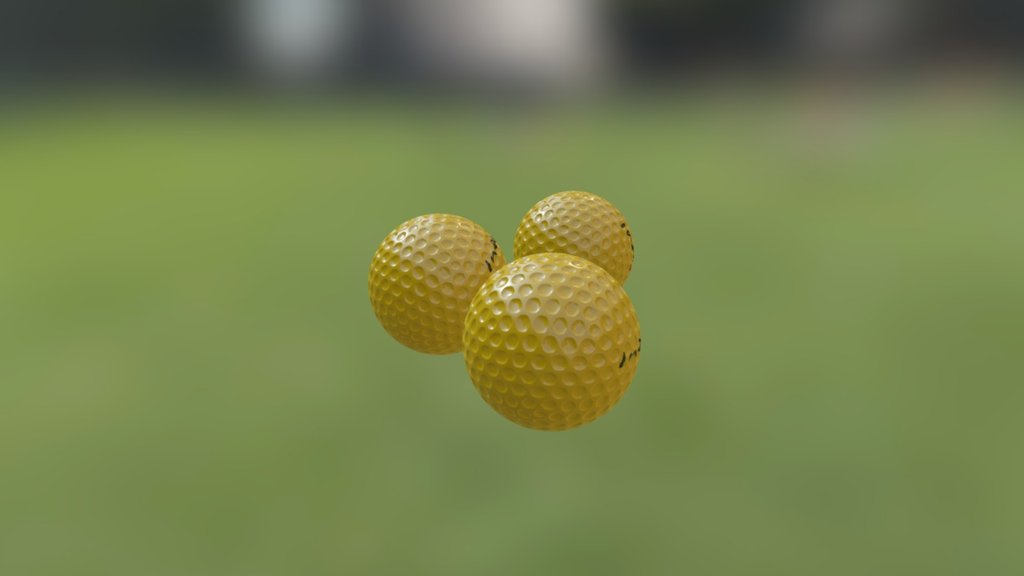
With this file you will be able to print Golf Ball 2 with your 3D printer. Click on the button and save the file on your computer to work, edit or customize your design. You can also find more 3D designs for printers on Golf Ball 2.