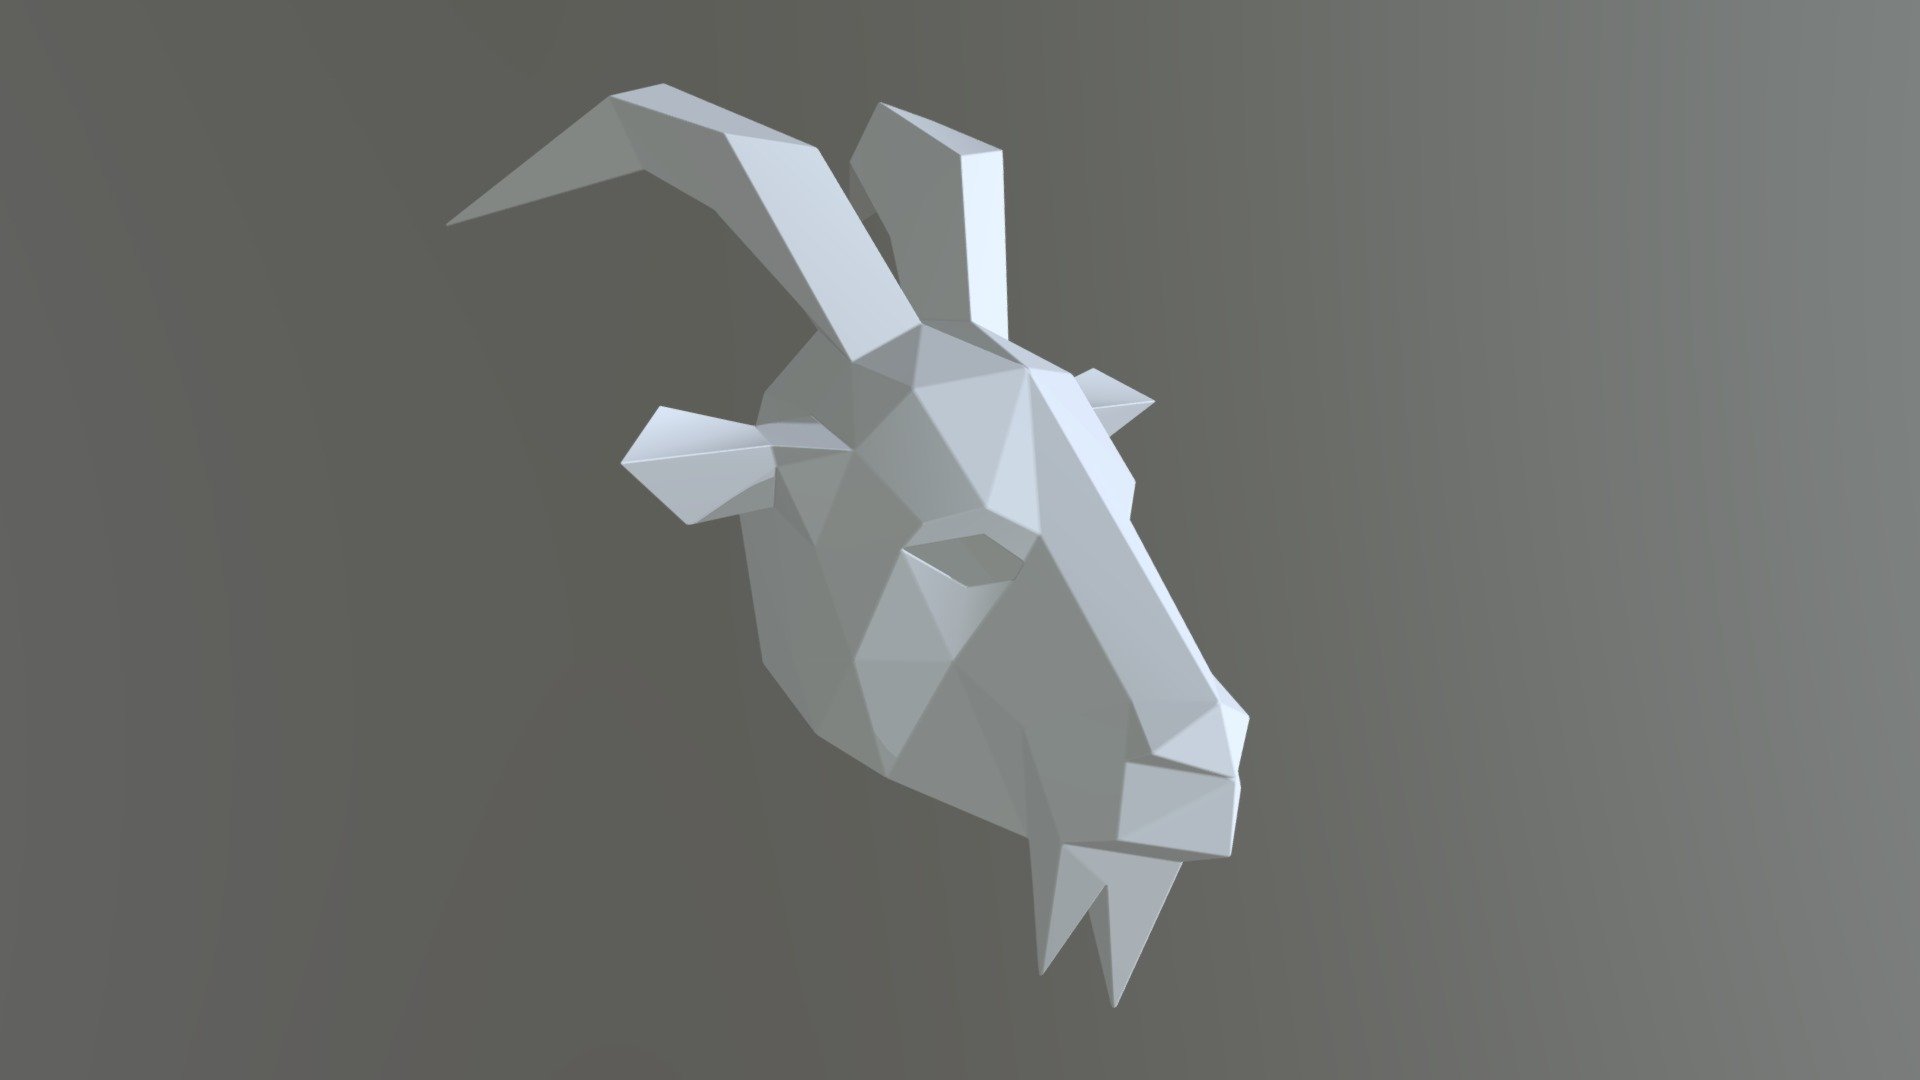
Goat mask
sketchfab
Creating a Low-Poly Black Philip Mask from Paper is a Fun and Creative DIY Project that can be Completed at Home. To begin, you will need to Gather Your Materials which include Black Cardboard or Construction Paper, Scissors, Glue, and a Ruler. The cardboard or paper should be Cut into a Square Shape to serve as the Base of your Mask. Next, Draw a Center Line on the Square using a Pencil and then Divide it into Four Equal Parts by Drawing Lines that Connect the Corners of the Square. This will help you Create the Symmetrical Shape of the Philip Mask. Using the Ruler, draw a Semi-Circle at the Top of each Quadrant, making sure to keep them Symmetrical with the Center Line. Then, Cut out these Shapes using Scissors, being Careful not to Damage the Cardboard or Paper. Now, take Two of the Semi-Circles and Glue Them Together, Making Sure they are Evenly Aligned and Securely Attached. This will form the Shape of the Mask's Face. Take the Remaining two Semi-Circles and Repeat the Process, Creating a Second Half of the Mask. Once you have both halves complete, Glue them Together at the Center Line, Ensuring they are Evenly Aligned and Securely Attached. To Add Details to your Philip Mask, use Markers or Paints to Draw on the Eyes, Nose, and Mouth. You can also Add Texture by Using a Sponge or a Brush to Apply Patterned Paper or Fabric to the Mask's Surface. Finally, Allow the Glue to Dry Completely before Wearing Your New Low-Poly Black Philip Mask. With its Unique Design and Easy-to-Follow Instructions, this DIY Project is Perfect for Crafty Individuals Looking to Create Something Special and Unique.
With this file you will be able to print Goat mask with your 3D printer. Click on the button and save the file on your computer to work, edit or customize your design. You can also find more 3D designs for printers on Goat mask.