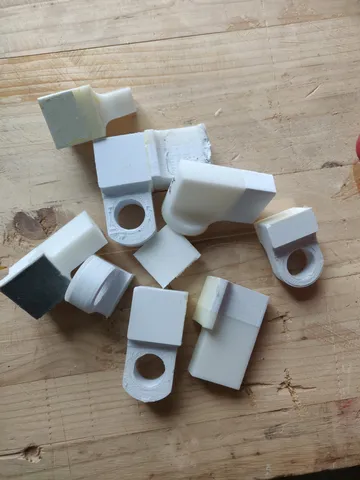
Glue strength test pieces
prusaprinters
Simple test prints to verify the strength of different adhesives. The 3mf has the proper print orientation. I recommend printing a few degrees hotter than normal, and with 3 or 4 perimeters (I use 4, but it might be overkill). this will give better strength to your part. Infill can be something lower since the perimeters give the bulk of the strength. I use an ac delco torque adapter for measuring torque. You only need the smaller one, as the torque test nut will yield at around 25 ft.lbs of force (for PLA at least). It requires a 7/8" socket. For the shear and tensile strength tests, you need a hang scale, preferably one with a peak hold feature. The cheapest i was able to find was this one (https://www.amazon.com/gp/product/B0153E0DU4/) similar looking ones DO NOT have the peak hold feature! for a back stop, I used two of these brackets (https://www.amazon.com/gp/product/B08TGGW7YW/) which were bolted together and clamped down onto my work bench. This worked really well, and I would recommend it if you don't have scrap to make a back stop to pull against. If you want to follow my testing methodology, sand the 3d printed parts on the glue face with 80 grit sand paper, and then soap / wash the parts before gluing. Apply clamping force to all glues, and wait 5 days before testing. video showing PLA results and testing methodology:
With this file you will be able to print Glue strength test pieces with your 3D printer. Click on the button and save the file on your computer to work, edit or customize your design. You can also find more 3D designs for printers on Glue strength test pieces.
