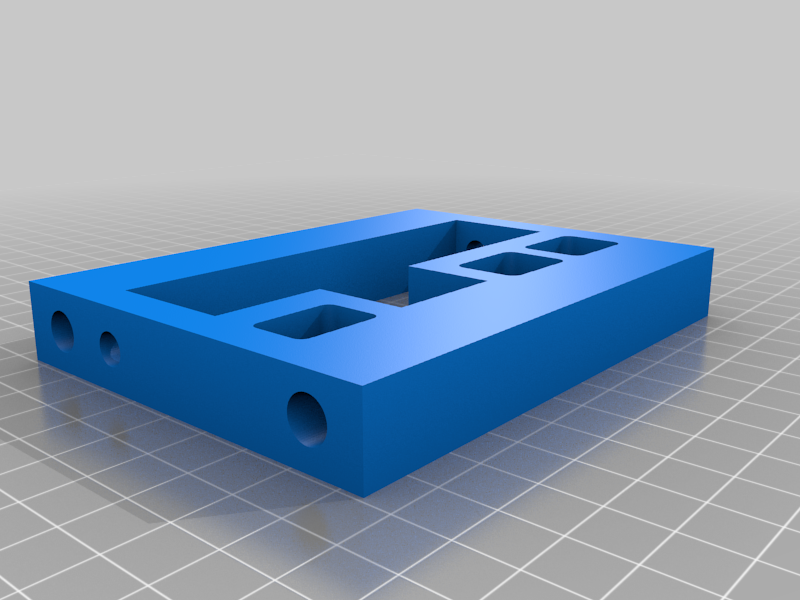
Glock Sight Tool
thingiverse
Install a Rear Sight on Your Glock with Ease - A DIY Guide Get ready to upgrade your Glock's accuracy and performance! To add a rear sight, you'll need two long bolts that will serve as frame supports for added rigidity. This is a simple project that requires minimal tools and expertise. With these easy-to-follow steps, you'll be able to install a rear sight on your Glock in no time. Step 1: Gather Your Tools and Materials Before you start, make sure you have the following items: * Two long bolts * A drill press or hand drill * A screwdriver or Allen wrench * The rear sight assembly Step 2: Prepare the Frame To ensure a smooth installation process, prepare the frame by removing any existing sights or attachments. This will give you a clean slate to work with. Step 3: Drill Pilot Holes Using your drill press or hand drill, carefully create pilot holes for the long bolts in the frame. Make sure the holes are aligned properly and evenly spaced. Step 4: Install the Long Bolts Insert the long bolts into the pilot holes and tighten them securely using a screwdriver or Allen wrench. This will provide additional support to the frame and help keep everything rigid. Step 5: Attach the Rear Sight Assembly With the long bolts in place, you're now ready to attach the rear sight assembly. Follow the manufacturer's instructions for specific mounting procedures. Congratulations! You've successfully installed a rear sight on your Glock. Enjoy the improved accuracy and performance that comes with it!
With this file you will be able to print Glock Sight Tool with your 3D printer. Click on the button and save the file on your computer to work, edit or customize your design. You can also find more 3D designs for printers on Glock Sight Tool.
