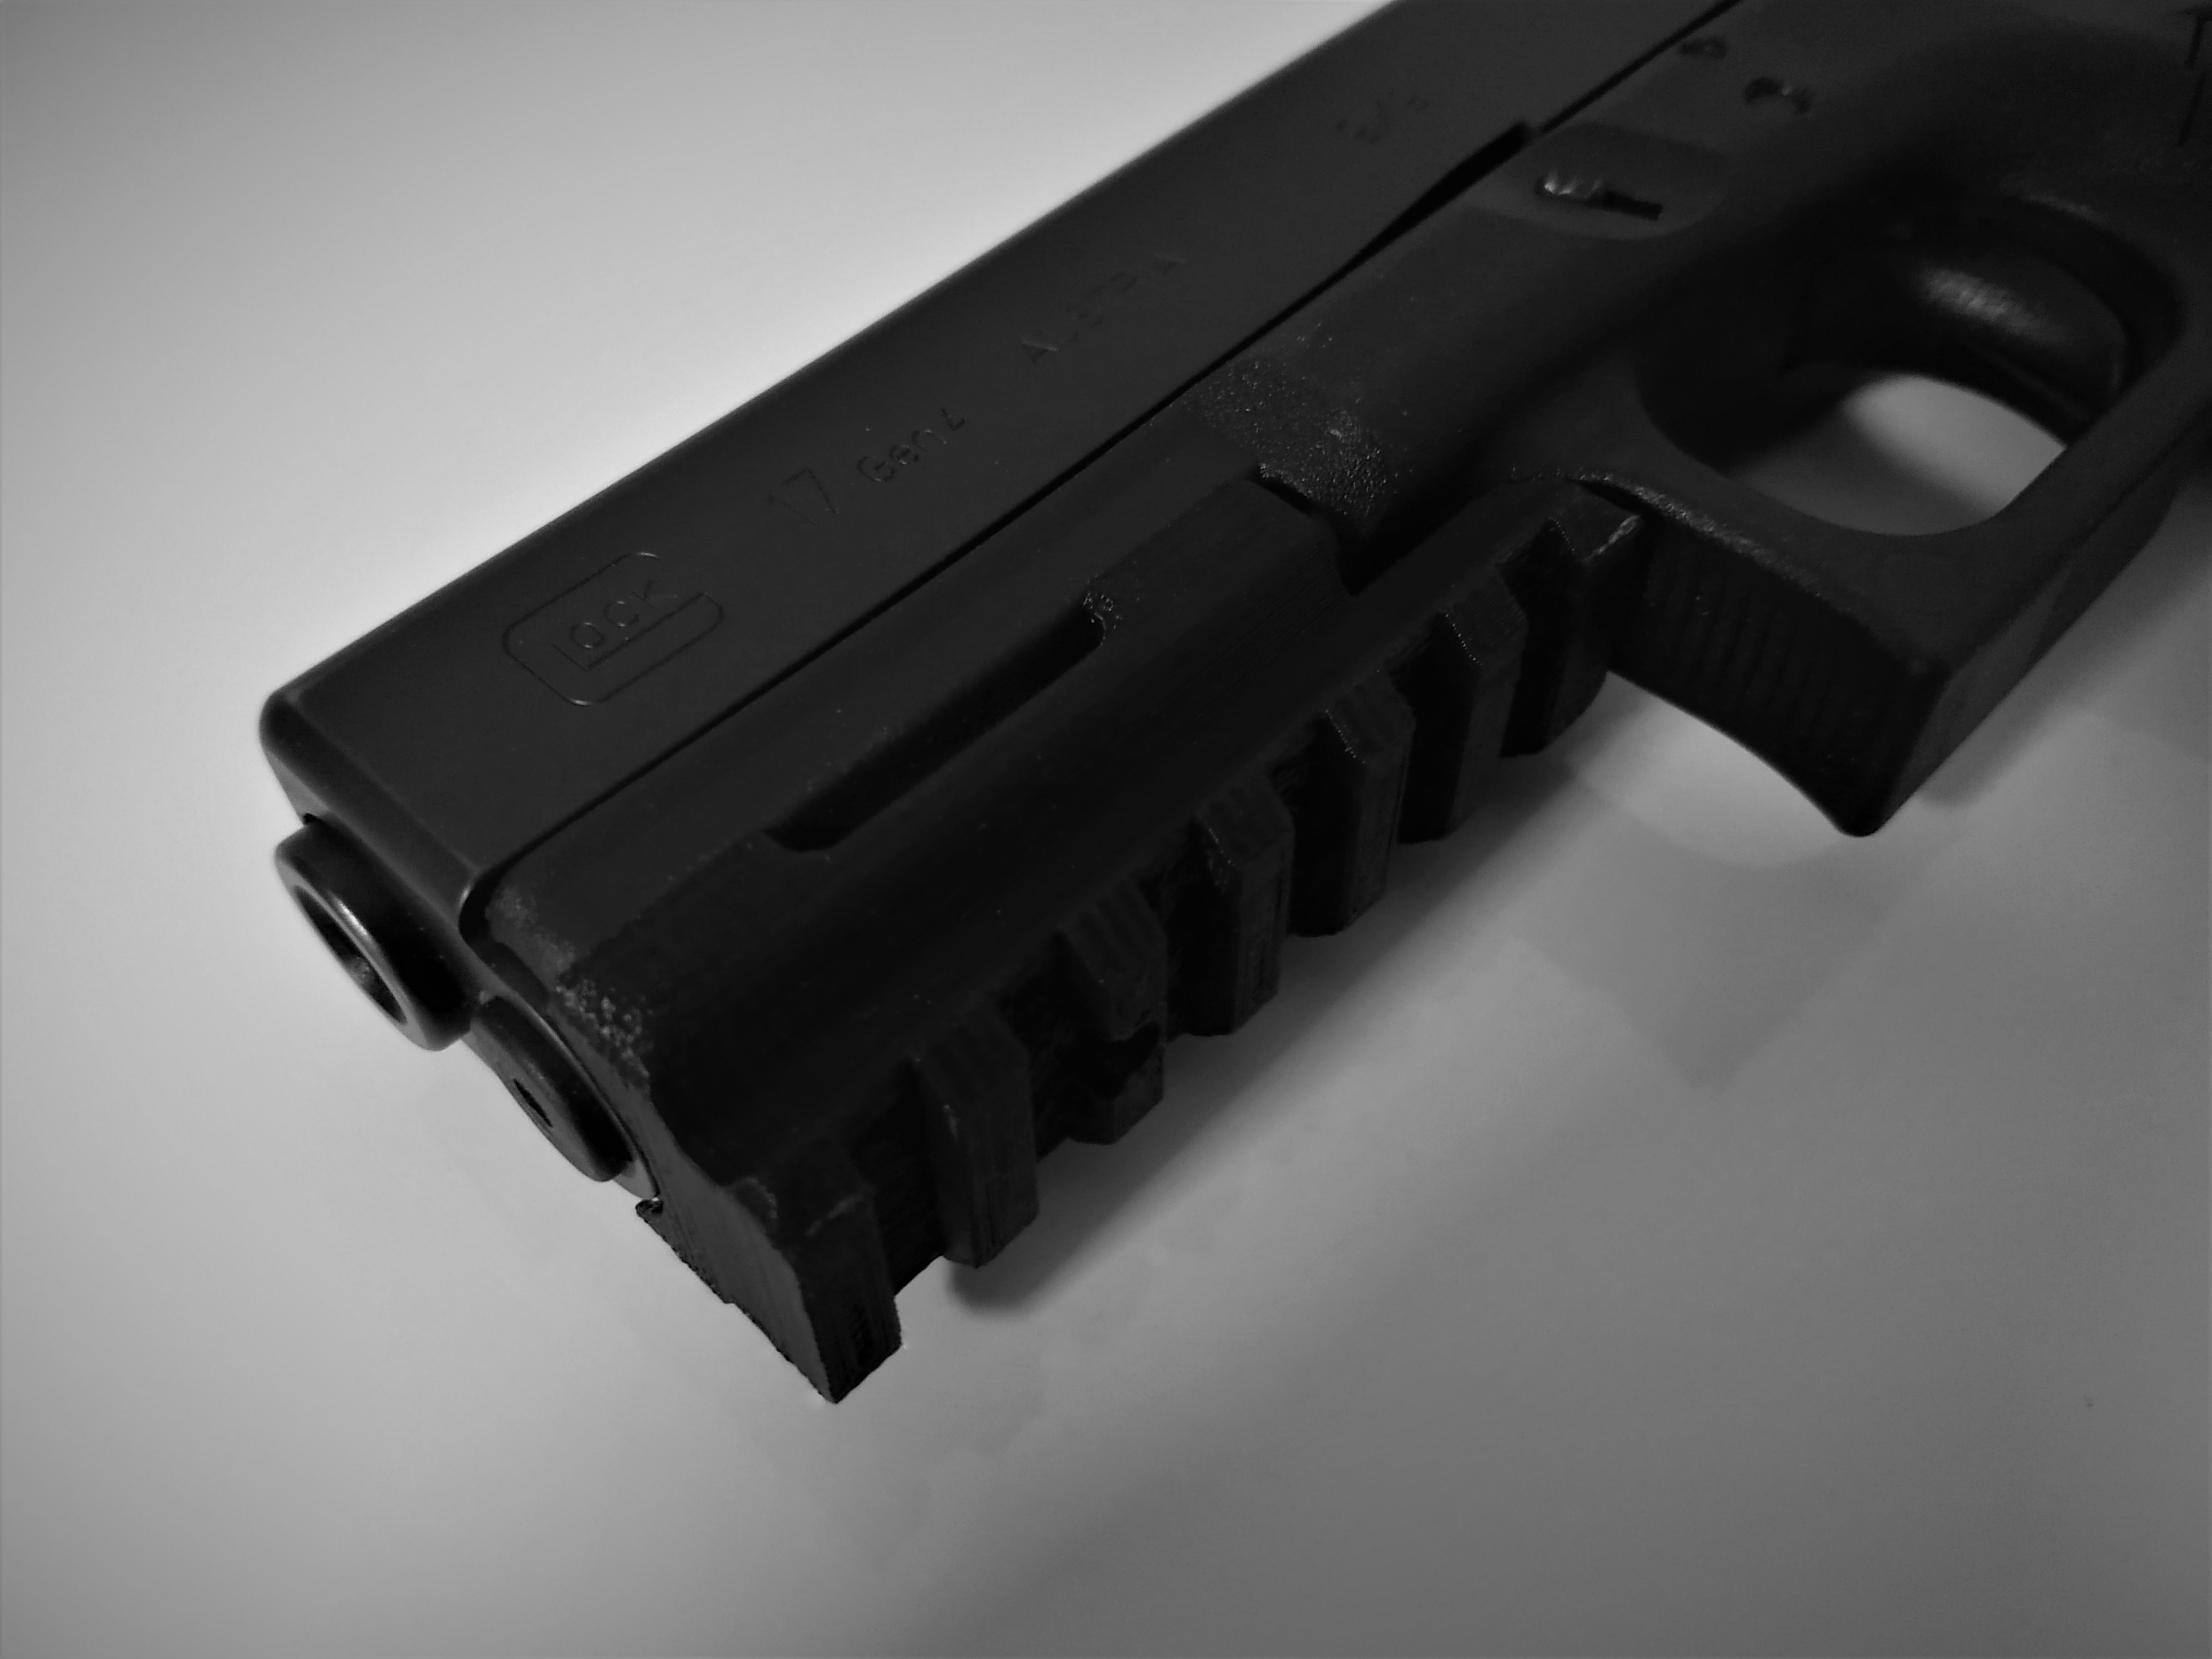
Glock 17 Picatinny Adaptor Rail (V1.5 Update)
prusaprinters
<p>Version 1.5 has been Released!</p><p>The following description is for V1.5, but the files for V1 are still included with V1.5 files as well.</p><p> </p><p>Compatible with Gen 4 Glock 17 frames, as well as Glock models that share the same frame such as: Glock 17L, 22, 31, 34, 35 and 37.</p><p>An updated design of the original Glock 17 Picatinny Adaptor Rail. Unneeded material has been removed from the internal structure, the edges of the picatinny rail channels have been scalloped, and overall height has been reduced by 1mm. Overall takes a few minutes less time to print, and needs a little material than the previous design.</p><p> </p><p>Hardware Needed:</p><p>1x M4x10mm Hex Socketed Set Screw</p><p> </p><p>Installation:</p><p>1) After support material removal, slide the picatinny adaptor over the Glock Rail.</p><p>2) Hold the rail to it's rearmost position and start threading the set screw into the adaptor.</p><p>3) Drive the set screw flush with the bottom of rail slot. Check every 2 screw revolutions to <br>see if the rail adaptor is properly secure.</p><p>4) Once secure, attach dem bomb diggity accessories. </p><p> </p><h3>Print instructions</h3><p>Print Settings:</p><p>Extruder: 204C <br>Bed: 56C <br>First Layer Print Height: .20mm <br>Standard Layer Height: .16mm<br>Wall Thickness: .40 <br>Wall Perimeters: 3<br>Infill: 25%<br>Infill Pattern: Gyroid<br>Material Flow: 100%<br>Support Material Percentage: 10%</p><p>Support material only for the rail slots directly above the print bed.</p>
With this file you will be able to print Glock 17 Picatinny Adaptor Rail (V1.5 Update) with your 3D printer. Click on the button and save the file on your computer to work, edit or customize your design. You can also find more 3D designs for printers on Glock 17 Picatinny Adaptor Rail (V1.5 Update).
