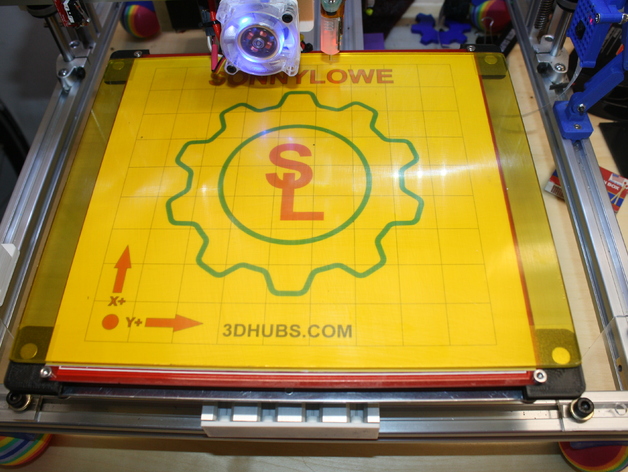
Glass Heated Bed Mounts Brackets - Magnetic, Folgertech 2020 Prusa i3
thingiverse
This is my effort at making my build glass removable. I've tried several other methods, none of which I liked. Magnets are great and many manufacturers use them, so I figured out how to adapt them to my Prusa i3. It's a pretty simple concept: make the glass long enough to overhang the heated bed and create brackets that hold small magnets. I've uploaded only one STL file, but you'll need four brackets, two opposite each other, so simply mirror two of them. I used these magnetic strips from Harbor Freight; they're really cheap (10) for $2.99 and should be easily accessible for most. I've included my method of assembling this, but I'm sure there are many suitable alternatives - that's why I wanted to give one at least. NOTE: If you don't want to use magnets, you can simply use binder clips to hold the glass to the brackets. This sets the binder clips well out of the way of the hotend...no more flying clips LOL Update (2-29): I finally got both glasses finished and I have to say I love this upgrade. No more binder clips getting in the way, and a super easy way to change glass when my Kapton Tape gets jacked up - you can also pull off the hot glass and start a new print right away...win/win if you ask me ;-) Instructions/BOM BOM Glass: Size: 200mm x 250mm x 3mm. Type: Window Glass 1/8" (3mm) thick Source: Ace Hardware, cut to order ($2.50 per sheet) QTY: ~2 (you buy as many as you want) Magnets: Source: Harbor Freight Type: http://www.harborfreight.com/10-piece-rare-earth-magnets-67488.html QTY: 2 pack (12 required for two glass sheets, 4 for each additional glass sheets used) Printed Parts: Source: You QTY: 4 (2 Mirrored) Adhesive: Type: General Purpose JB Weld Source: Just about anywhere QTY: The smallest pack you can find will most likely work Instructions: Glass: Edges: I used a soft grinding wheel to sand the edges of my glass. If you don't have a means to debur the glass edge, see if the place you purchase the glass from can (my Ace Hardware does not). Most "Glass" Shops can do this for you. Prep: Prep the four corners of the .75" X .75" for bonding the magnetic. I used a laser engraver to etch these areas, but a firm hand and some time with sandpaper should give similar results. The surface just needs to be roughed up a little to promote a better bond. Magnet: Prep: Sand one face of each of the 8 (initial) magnets, making sure to sand the opposite faces on four of them. Installation: Printed parts: Prep: I left the holes in the corner brackets small so they will need to be tapped to M3. This is so you can secure the brackets to the build platform. Bracket Bonding: - At this point your magnets are still not bonded in the brackets; simply repeat the bonding process but apply adhesive into the pockets of the brackets. Make sure to use the glass to set the magnets in the brackets, as it does two things for you: insures the magnets are properly located, and more importantly, they are put in the proper direction. - Repeat the cure for the brackets NOTE: You could cure all magnets at the same time, but I prefer to do them separate to make sure all goes well on the glass first, it also allows me to clean up the brackets a bit if needed prior to bonding in those magnets!?!
With this file you will be able to print Glass Heated Bed Mounts Brackets - Magnetic, Folgertech 2020 Prusa i3 with your 3D printer. Click on the button and save the file on your computer to work, edit or customize your design. You can also find more 3D designs for printers on Glass Heated Bed Mounts Brackets - Magnetic, Folgertech 2020 Prusa i3.
