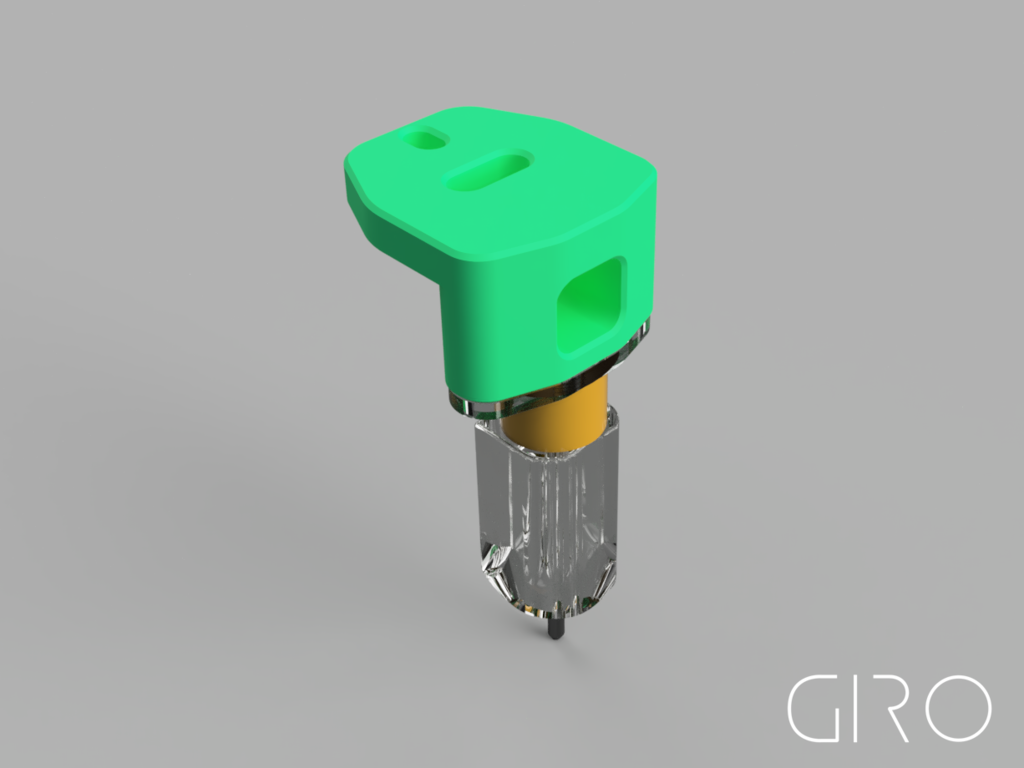
GIRO.ETS - BLTouch Mount
prusaprinters
<h4>GIRO.ETS - BLTouch Mount</h4><h4>General</h4><p>This bracket was designed to be mounted on top of the hotend enclosure. The BLTouch should be mounted facing the right side and the cables should be pulled through the longhole in the bracket.</p><p>You will need additional screws, nuts and washers for the mounting of bracket. The needed parts are mentioned below.</p><p><strong>Additional screws, nuts and washers per bracket</strong></p><p>2x M3x5 or 2x M3x10</p><h4>Printing</h4><p>I would recommend to use 2 or more perimeters. Print with a lower speed, for example 40 mm/s, to get a more accurate printing. I recommend to print the bracket with at least 50% infill.</p><h4>Firmware adjustments</h4><p>To set the accurate position of the BLTouch within the firmware it is necessary to adjust the position of the probe offset within the firmware. The following code is an example for the Marlin firmware.</p><p>#define X_PROBE_OFFSET_FROM_EXTRUDER 29</p><p>#define Y_PROBE_OFFSET_FROM_EXTRUDER 0</p><p>#define Z_PROBE_OFFSET_FROM_EXTRUDER -1.2</p><h4>Additional Information</h4><p>Let me know if there are any kind of problems with the bracket. I will try to help and if neccessary correct the design. I appreciate any kind of feedback to this bracket.</p><p>If you like my work and find it really usefull then I would be very happy if you give me a small tip as an appreciation for my work.</p><figure class="image image_resized" style="width:75%;"><img src="https://media.prusaprinters.org/media/prints/145644/rich_content/ad84b8d5-aed9-47c5-887c-ef5084fe622a/thankyou_2png.png#%7B%22uuid%22%3A%227cc9bce2-5357-4e71-89f2-b5a3a0224ea3%22%2C%22w%22%3A640%2C%22h%22%3A77%7D"></figure>
With this file you will be able to print GIRO.ETS - BLTouch Mount with your 3D printer. Click on the button and save the file on your computer to work, edit or customize your design. You can also find more 3D designs for printers on GIRO.ETS - BLTouch Mount.
