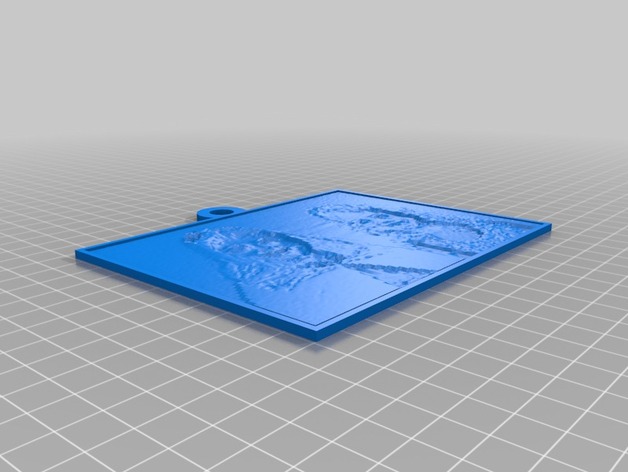
Girls
thingiverse
This custom design of a photo image container has been created with the help of a customized tool. It is inspired by http://www.thingiverse.com/thing:74322. You can create your own version of this custom design at Customizer! - http://www.thingiverse.com/apps/customizer/run?thing_id=74322. **Step 1** Make sure you have all the right materials and tools for this project. **Tools Needed** - Drill **Materials Needed** - Cardboard **Step 2: Cut out a Square from the cardboard sheet with scissors to create a flat piece. ** Make sure to clean it properly with water or soap. Put your image on a plain white paper Carefully place it at center, if necessary move around so that your design perfectly matches. Using our template is not just about saving time - but you get a professional design and don't waste a single second making your own. The Customizer also offers many customization options, which means that you have complete control over the final result. **Layered Effect: A Simple Technique to Give Your Print More Depth** In order for you to see this layered effect clearly in the output image you should adjust both 'Layer Height' and 'number_of_layers'. It will automatically generate each layer for printing with the correct layer height. **Step 1: Insert a Blank Space** Before placing the second picture on it. We want our design to have as many visual impact points, so I place this one directly opposite from where you've got the main object of the composition. Also please put some glue (optional). This may sound obvious but trust me its worth pointing out just in case. Using your hands isn't as simple as it seems. So lets make this even simpler using Customizer. This project takes approximately **minutes** to complete. Step 3: Use the hole_punch Hole punch with a pre-drilled 4.75 mm metal piece. If there is anything preventing from being able, drill another small one below and on each side as well to compensate so all sides appear nice round instead sharp points coming in way. To achieve an effective end result please consider how you're planning the coloration - don't just choose any color at random or even think "oh look a blue is good because it goes nicely together". Let me rephrase that in case I got wrong; blue doesn't complement any object. **Step 3: Use glue to make them stay.
With this file you will be able to print Girls with your 3D printer. Click on the button and save the file on your computer to work, edit or customize your design. You can also find more 3D designs for printers on Girls.
