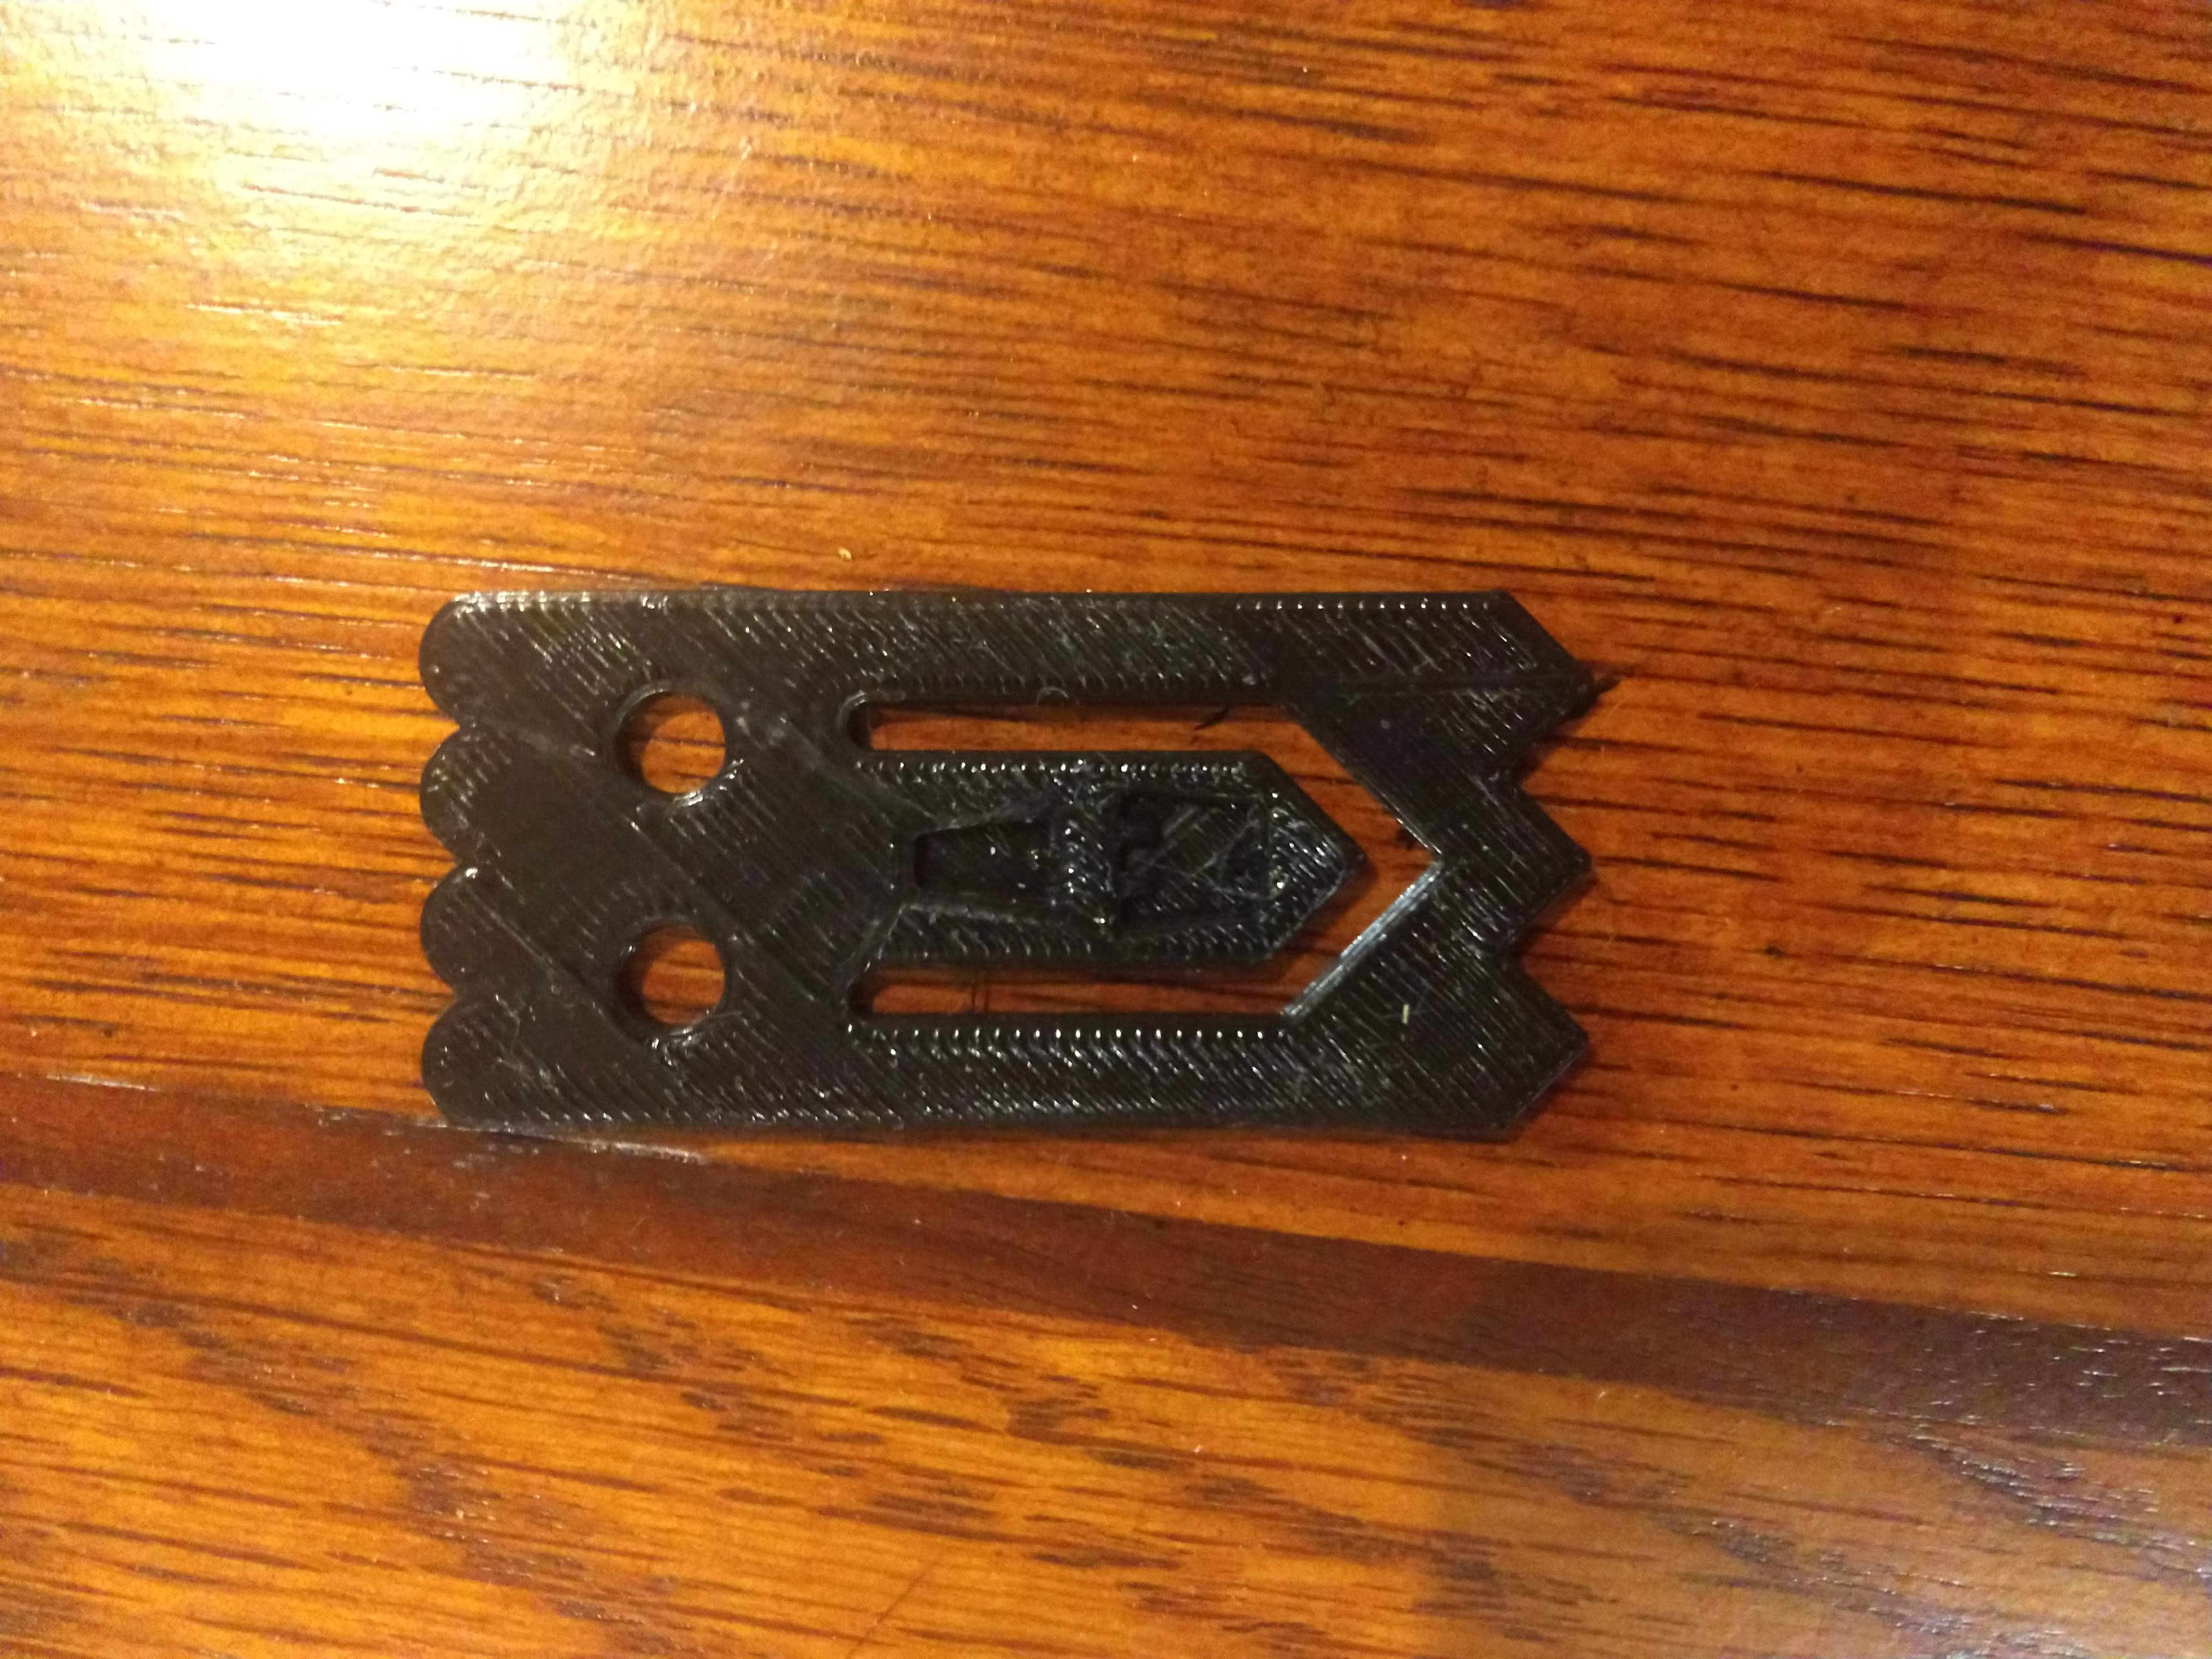
Ghost Paper Clip
prusaprinters
<p><strong>Lesson Plan and Activity:</strong></p><p>Joel and I had to recreate a ghost clip we were given using Solidworks. We had to have identical files, which we did by collaborating on each step one at a time.</p><p><br><strong>Assembly/Construction Instructions Section:</strong> </p><ol><li>Create a construction center rectangle off of the origin. Match dimensions on drawing.</li><li>Add a horizontal construction line below the top of the construction box.Match dimensions on drawing.</li><li>Add a horizontal construction line above the bottom of the construction box. Match dimensions on drawing.</li><li>Add a line on top of the construction line made in step 3 coming from the left, use smart dimensions to match it with drawing.</li><li>Place an anchor point on the bottom of the construction box, below the midpoint of the line made in step 4</li><li>Add a line connecting the left point of the line made in step 4 to the anchor point made in step 5, and again with the right side.</li><li>Create an anchor point on the midpoint of the bottom line of the construction box, connect that point to the right end of the line made in step 5.</li><li>Mirror everything made in steps 5-7 to the right.</li><li>Delete the extra construction line and smart dimension made in step 4, and set the lines made in steps 6-8 equal to each other.</li><li>Create an arc coming off of the left end of the construction line made in step 2, use dimensions in drawing. Create another arc to the right of the previous arc. Use the same dimensions.</li><li>Mirror arcs in step 10 to the right across the y-axis.</li><li>Create a line within the construction box, smart dimension top point to the top left corner with the dimensions on drawing.</li><li>Create a diagonal line from the bottom point of the previous line. Smart dimension the bottom point of the new line to the bottom left corner of the construction box.</li><li>Use offset entities of the two lines and check off bi directional and check reverse.</li><li>Mirror steps 12-14 to the right of the y-axis.</li><li>Create solid lines from the bottom of the arcs at the top corners to the top of the diagonal lines at the bottom corners.</li></ol><p><strong>Design Choices:</strong></p><p>As we were designing, one issue we noticed was that we could only mirror things across the center of our model, not over any line. This was a problem with our semi-circles at the top, as we planned to make 1 and mirror it 3 times. Instead, we made two right next to each other, and mirrored both of those across. <strong><img src="https://lh3.googleusercontent.com/-xGDdFfc_GIrtISKA_LP_5KDAnmrq0iJhhEnNO6hgBiXHzcQlkgnawyKbI-yTvtG9Q76P4kCadA6B79Yyx2hxrCkmsxC6xonDlyjP6SR6ix31oNJyvMjUSbCVmAHac5odjopgDSHOTDB1zicLHGAGiypKBHxIRnv0nVagxSadXVkLj75CD9Eld74zxz8UQ"></strong>Another issue we came across was that our original plan did not involve using the offset entities feature, which was a requirement for this project. We were originally going to use basic shapes to create the left side of the mouth, then mirror everything to the right to complete it. Instead, we made the outer edge of the left side of the mouth, offset that inwards, and mirrored everything to the right. <strong><img src="https://lh5.googleusercontent.com/FPrfisGEmDNC7AWLinfc1kfWkWNB0o1lX1_7PG8yHQwu2dcB8xUu9VCWriOp6Htxoe367XciObb98ai5RVVkV8oFa6WAZIWxHWQWLSVQ1qhO5NExQnSdvrrvv3lyVN23MpoUXcg8hx8yr1hZsfMCP05s6pmQjoAIzeXiZfdUTpFd1t4RJxZ0aLQLTKoz0g"></strong></p><p>After we finished designing the ghost clip, we compared our models to the actual ghost clips we were given. The next change we made was moving the eyes down and inwards. We originally had the center of each circle 1.3 cm below the very top of the model, but we changed it to 1.4 cm to better match the dimensions of the actual ghost clip. The center was also 0.8 cm away from the side, we changed that to 0.85 cm</p><p>. <strong><img src="https://lh4.googleusercontent.com/nop4CiZgq-HFRgm9EaFbLhJaVjvGkreXwcKe92DfLMP_frFCgrD6LPTOxsSZV06ctSAWMwn1sAq2DetlAMBF4xiWBRXrLhD9AaY_Za1MC-1IzPNg2Bq4Y502JWOwxeVGnKyFpfmBxaffC_t99Aj-wUlMNmKHPaz1Iz4GIt4RYMzO_SgUYW1vMgzKSRvKYg"></strong></p><p>We then did the same thing with the mouth, moving it down 1 cm to make it 0.8 cm from the bottom of the model rather than 0.9 cm. Lastly, the mouth had to be made a little smaller, so we moved everything on the left side of the ghost clip 0.1 cm to the left, and the mirroring allowed the same thing to happen on the right.</p><p><strong><img src="https://lh5.googleusercontent.com/fG-9QtIhYPiXdzqs-Sti24ypsyllmzt__d3akqef3j6_tf7GWTMbcDiwyzup0x-3wupCOdaQfDzOLWdvVFRYskDGgXXDxDgdP51Gy9vTSfDT7mN_O0KeWhruPdQ4G7ZNpW2FuKetf8NaUbA-ZH34FjvNzaLsQpcI0QsQPjceyX3t0IU-6vJipmIdr6EsCw"></strong></p><p><br> </p>
With this file you will be able to print Ghost Paper Clip with your 3D printer. Click on the button and save the file on your computer to work, edit or customize your design. You can also find more 3D designs for printers on Ghost Paper Clip.
