Geometric Nightlight
prusaprinters
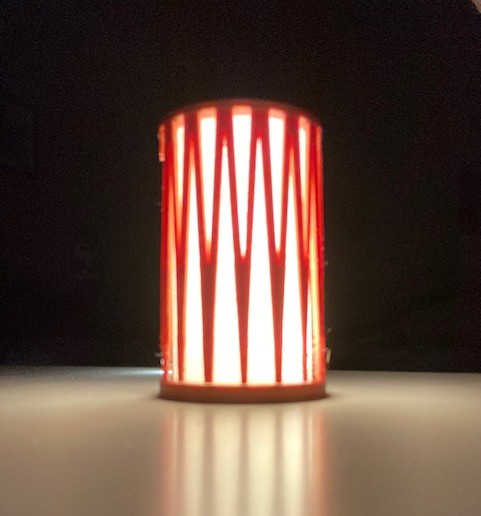
<p>Parts:</p><ul><li>1 x bottom</li><li>1 x lampshade</li><li>1 x top</li><li>1 x string of fairy lights</li></ul><p>Assembly</p><ol><li> Gather all of the parts (as shown in figure 1).</li><li> Start wrapping the fairy lights around the post on the bottom piece (figure 2).</li><li> When you have wrapped a satisfactory amount of the lights around the post, snap the lampshade piece in, with the hole for the cord coming out of the bottom (figure 3).</li><li>Glue the top onto the lampshade and the bottom using superglue or another adhesive (figure 4).</li><li>Enjoy!</li></ol><p>Tips:</p><ol><li>I printed the lampshade in spiral vase mode so that there wouldn't be any seams.</li><li>It is possible to create a string of these, just bring the end of the fairy lights coming out of the first nightlight into the second, and repeat the process over again.</li><li>The top and bottom pieces look best printed in the same color.</li><li>Scaling the nightlight does not work very well, although feel free to experiment with it.</li></ol>
With this file you will be able to print Geometric Nightlight with your 3D printer. Click on the button and save the file on your computer to work, edit or customize your design. You can also find more 3D designs for printers on Geometric Nightlight.