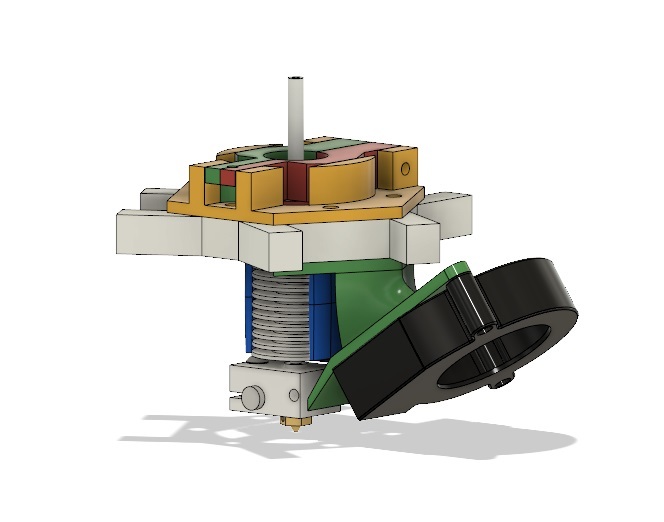
Geetech Rostock 301 Simple fan mount
thingiverse
Here's a straightforward DIY project to build a basic fan mount for your Rostock 301 delta printer. This design is easy to replicate and doesn't require any advanced fabrication skills. We'll use readily available materials, making it accessible to most makers. **Materials:** * Aluminum or steel rod (1/4 inch diameter, 12 inches long) * 3D printed fan mount bracket * Hot glue gun * Super Glue (optional) **Instructions:** 1. Cut the aluminum or steel rod into a 5-inch length for the main support. 2. Attach the 3D printed fan mount bracket to one end of the support using hot glue. 3. Mount the bracket to your Rostock 301 delta printer's frame, positioning it close to the heat sink or other components that require cooling. 4. Secure the bracket with screws or adhesive (like Super Glue) if necessary. This design keeps the fan in place while allowing for easy access and adjustments as needed.
With this file you will be able to print Geetech Rostock 301 Simple fan mount with your 3D printer. Click on the button and save the file on your computer to work, edit or customize your design. You can also find more 3D designs for printers on Geetech Rostock 301 Simple fan mount.