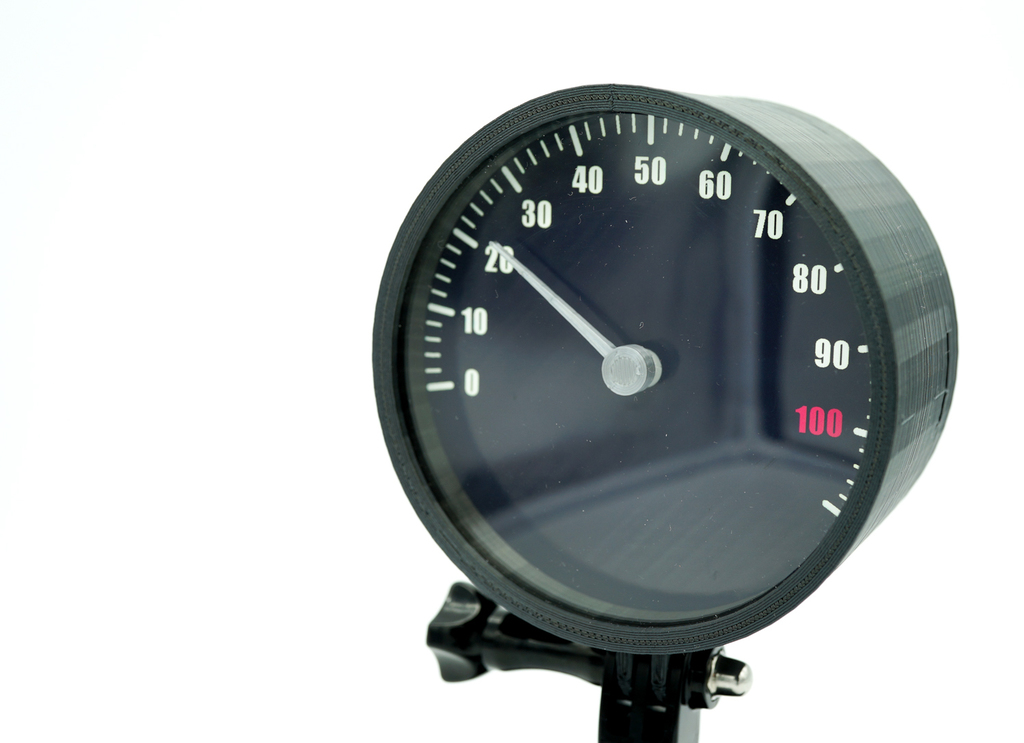

Geekservo Analog Meter
thingiverse
I'm excited to share with you my latest project, a analog meter using Geekservo's Gray: 270 Degrees model. Let me break down the components involved. First, we have the Meter Panel, which is the visible part of the meter where you'll see the needle moving. Then there's the Housing, which provides a protective cover for the entire assembly. The Back Panel is where all the electronics are housed, making it easy to access and program the Arduino board. Speaking of which, the Needle is the component that moves back and forth to indicate the measured value. To make this project more convenient, I added an Easy Stand, which allows you to place the meter on a flat surface without any hassle. The Spacer helps keep everything aligned properly, ensuring accurate readings every time. And finally, I included the Meter panel .ai data, which is essential for creating print data using Cura. Now, let's talk about how I printed this project using my Ender-3 Pro 3D printer. For those who are new to 3D printing or programming Arduino, here are some useful resources: To learn more about making and programming Arduino, check out this article: https://slanew.com/news/2387/ If you're interested in getting your hands on Geekservo's Gray: 270 Degrees model, head over to Amazon: https://amzn.to/2uWHLVI Lastly, if you'd like to see the project in action or learn more about it, I've uploaded some videos to YouTube: https://youtu.be/PfSf-cO9zQA https://youtu.be/1_ZuYjszvWI https://youtu.be/rRJLRLEr324

With this file you will be able to print Geekservo Analog Meter with your 3D printer. Click on the button and save the file on your computer to work, edit or customize your design. You can also find more 3D designs for printers on Geekservo Analog Meter.
