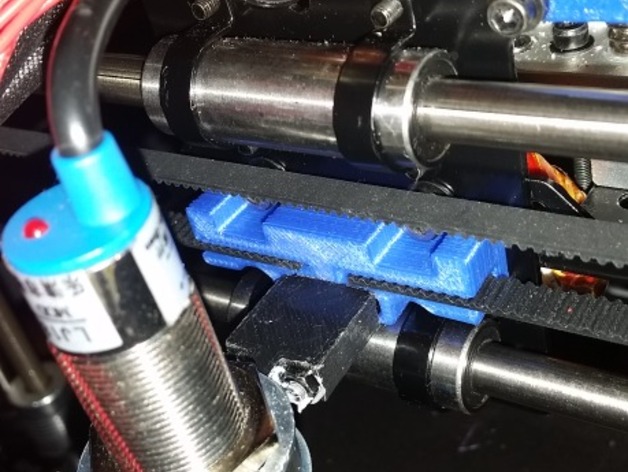
Geeetech Prusa I3 Pro C Dual Extruder Inductive Sensor Bracket
thingiverse
Installing the inductive sensor for auto bed levelling has significantly improved my printer's performance, making it the best modification I've ever made. Figuring out how it works took some time, but the print quality has dramatically increased since then. One major advantage of this setup over other inductive holders is its positioning at the rear and center of the dual extruder. This design provides complete corner mapping and simplifies the process of determining the Z offset. Initially, I used aluminium tape to achieve accurate corner mapping, but it was a frustrating experience. Therefore, I purchased an MK3 aluminium heat bed from eBay for $29 AU, which allows the inductive sensor to detect the heat bed itself. The 8mm sensor I installed is sufficient, although using a 10mm sensor would be even better since I'm only about 1mm away from my printed objects. A 10mm sensor would provide an additional 2mm of clearance. If you need help setting up your inductive sensor, feel free to ask and I'll be happy to assist. The choice between NPN or PNP doesn't matter, as it's a straightforward change in the firmware. My current setup uses an 18mm sensor, but using a smaller one would result in a lighter design. To implement this modification in SCAD, simply replace the ?? with your sensor dimensions: cylinder(d = ??, h = 7, centre = true); Printer Settings: - Printer: Geeetech i3 pro C dual extruder - Rafts: No - Supports: No - Resolution: .2 - Infill: 100% - Notes: Although ABS would be preferred, I used PLA since black was not available.
With this file you will be able to print Geeetech Prusa I3 Pro C Dual Extruder Inductive Sensor Bracket with your 3D printer. Click on the button and save the file on your computer to work, edit or customize your design. You can also find more 3D designs for printers on Geeetech Prusa I3 Pro C Dual Extruder Inductive Sensor Bracket.
