Geeetech Prusa i3 mounts
thingiverse
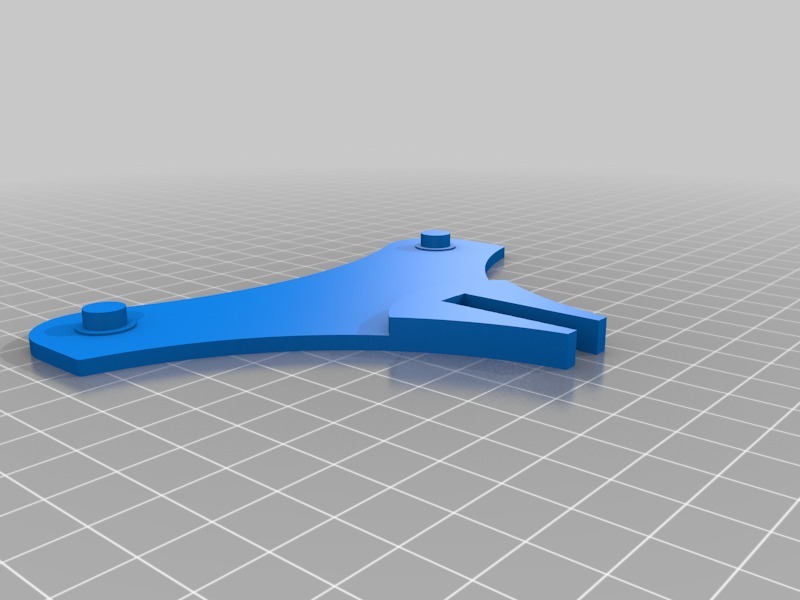
## Spool Holder Setup To set up the spool holder, you will need to follow these steps: Remove the display from the top of the printer. This will give you clear access to the area where the spool holder will be installed. Next, print out four copies of the spool holder design. These will serve as the foundation for your spool holder setup. Now that you have your printed spool holders, it's time to attach them to your printer. To do this, you will need to use 4x 608 bearings to space them evenly apart. Simply stick the spool holders on top of your printer and secure them with the bearings. ## Display Mount for Geeetech i3 To mount a display on your Geeetech i3 printer, follow these steps: First, print out two copies of the display mount design. One should be printed normally, while the other should be mirrored to ensure proper alignment. Once you have both prints ready, it's time to assemble them to your front bottom plate. The threads on the prints should fit through the holes on the plate, making it easy to secure them in place. ## Rounder Corners for LED Strip Mounting To add a professional touch to your printer's frame, you can install rounder corners that allow for easy mounting of an LED strip. To do this, simply glue the rounder corners into the existing corners of your printer's frame. This will give your printer a sleek and modern look while also providing a convenient spot for installing an LED strip.
With this file you will be able to print Geeetech Prusa i3 mounts with your 3D printer. Click on the button and save the file on your computer to work, edit or customize your design. You can also find more 3D designs for printers on Geeetech Prusa i3 mounts.
