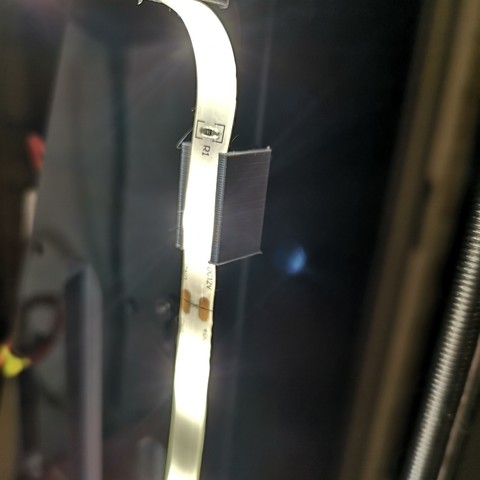
geeetech I3 pro B LED mounting
cults3d
Mounting an LED strip light on a Geeetech I3 Pro B 3D printer requires careful planning and precision to ensure a secure and even installation. Begin by identifying the best location for the LED strip, taking into consideration the printer's design and any obstructions that may affect visibility or accessibility. To start, remove any protective film from the LED strip, making sure not to touch the adhesive backing as this can leave fingerprints or smudges. Next, clean the area where you plan to mount the strip with a soft cloth and some isopropyl alcohol, ensuring it's free of dust, oils, and other contaminants that may compromise adhesion. Now, align the LED strip along the desired path, using a level tool to ensure it's perfectly horizontal or vertical, depending on your preference. Once satisfied with its position, press the strip firmly onto the surface, applying even pressure to prevent air bubbles from forming. Allow the adhesive to cure for several hours before turning on the printer and testing the LED strip. Make any necessary adjustments to achieve an optimal lighting effect.
With this file you will be able to print geeetech I3 pro B LED mounting with your 3D printer. Click on the button and save the file on your computer to work, edit or customize your design. You can also find more 3D designs for printers on geeetech I3 pro B LED mounting.
