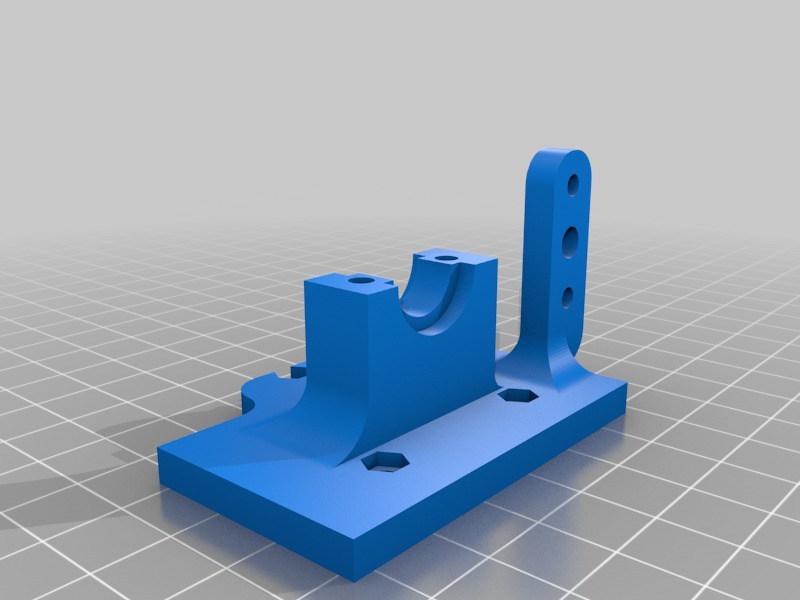
Geeetech e3d bowden support with 3dtouch
thingiverse
E3D Clone Bowden Setup Guide for Geeetech i3B 3D Printers, Including FreeCAD Design Files. Are you looking to upgrade your Geeetech i3B 3D printer with an E3D Clone Bowden setup? Look no further! This comprehensive guide will walk you through the process of installing and configuring this popular aftermarket upgrade. Please note that this guide is specifically tailored for the Geeetech i3B model, but the steps can be adapted to other similar printers as well. Step 1: Prepare Your Printer Before starting the installation process, make sure your printer is properly assembled and calibrated. This includes leveling the bed, adjusting the extruder tension, and calibrating the hotend temperature. Step 2: Acquire the Necessary Components To complete this upgrade, you will need the following components: * E3D Clone Bowden setup (includes heatbreak, barrel, and extruder assembly) * Geeetech i3B specific hardware (includes screws, nuts, and other fasteners) You can obtain these components from various online retailers or through the official E3D website. Step 3: Install the Heatbreak Begin by removing the original hotend from your printer. You will need to disconnect the thermistor and fan connections. Next, install the new heatbreak into the extruder assembly. Make sure it is securely fastened with the provided screws. Step 4: Attach the Barrel Once the heatbreak is installed, attach the barrel to the extruder assembly. Secure it with the provided nuts and make sure it is properly seated. Step 5: Install the Extruder Assembly With the barrel attached, install the extruder assembly into the printer's hotend. Make sure it is securely fastened with the provided screws. Step 6: Connect the Thermistor and Fan Reconnect the thermistor and fan connections to the new heatbreak. Make sure they are properly secured and not touching any moving parts. Step 7: Calibrate Your Printer With the E3D Clone Bowden setup installed, you will need to recalibrate your printer. This includes adjusting the extruder tension, calibrating the hotend temperature, and leveling the bed. Step 8: Test Your Upgrade Once the calibration is complete, test your upgraded printer with a series of prints. Make sure it is functioning properly and producing high-quality prints. FreeCAD Design Files: If you're interested in modifying or customizing your E3D Clone Bowden setup, I've included a set of FreeCAD design files for your convenience. These files can be used to create custom parts or modify existing ones to suit your needs. Design File 1: E3D Clone Bowden Heatbreak * Description: This file contains the design for the heatbreak component. * Components: Includes the heatbreak, barrel, and extruder assembly. Design File 2: Geeetech i3B Specific Hardware * Description: This file contains the design for the specific hardware required for this upgrade. * Components: Includes screws, nuts, and other fasteners. Design File 3: Custom Extruder Assembly * Description: This file contains the design for a custom extruder assembly. * Components: Includes the heatbreak, barrel, and extruder assembly. Please note that these design files are provided as is, and it's up to you to modify or customize them to suit your needs. If you're new to FreeCAD or 3D modeling, I recommend checking out some tutorials or online resources for help. That's it! With this comprehensive guide, you should now have a fully functional E3D Clone Bowden setup on your Geeetech i3B printer. Remember to always follow proper safety protocols and take necessary precautions when working with electrical and mechanical components.
With this file you will be able to print Geeetech e3d bowden support with 3dtouch with your 3D printer. Click on the button and save the file on your computer to work, edit or customize your design. You can also find more 3D designs for printers on Geeetech e3d bowden support with 3dtouch.
