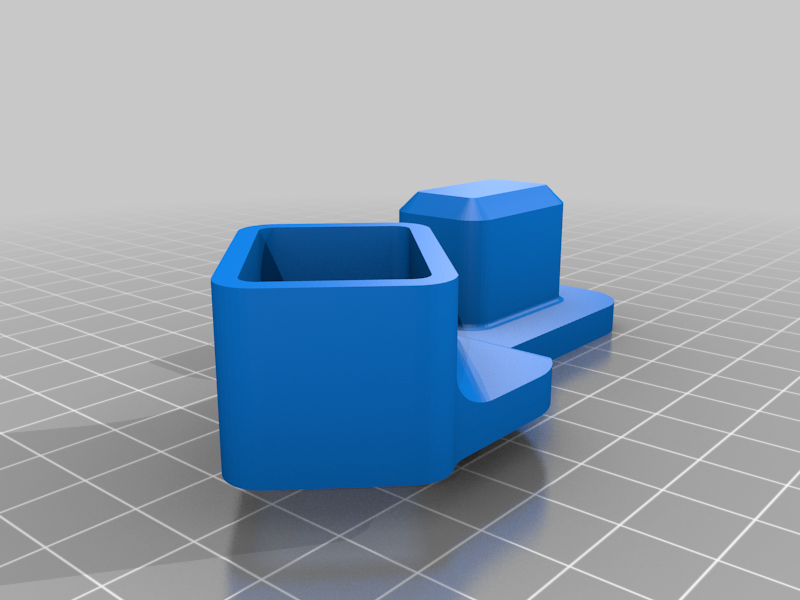
Geeetech DP200 drip off
thingiverse
Building a Drip Off Device for the Geeetech DP200 Printer Quickly First and foremost, it's essential to understand that creating a drip-off device for the Geeetech DP200 printer is not a complicated process. However, it does require some basic knowledge of electronics and 3D printing. To start off, gather the necessary materials which include a breadboard, jumper wires, an Arduino board, a temperature sensor, a fan, a heating element, a power supply, and a microcontroller. Next, connect the temperature sensor to the Arduino board, then connect the fan to the temperature sensor. Ensure that the fan is positioned in a way that it can draw air from under the printer's hotend. After connecting all the components, upload the Arduino code to the microcontroller which will control the fan and heating element based on the temperature reading from the temperature sensor. Once you've uploaded the code, plug in the power supply and turn on the device. The fan should start blowing air when the temperature reaches 220°C and stop when it drops below 200°C. The drip-off device is now functional and can be attached to the Geeetech DP200 printer's hotend. This will prevent the extruder from dripping melted plastic during retraction.
With this file you will be able to print Geeetech DP200 drip off with your 3D printer. Click on the button and save the file on your computer to work, edit or customize your design. You can also find more 3D designs for printers on Geeetech DP200 drip off.
